Method 1: Install Notepad From Optional Features
Microsoft has made Notepad an optional feature. You must install it from the Optional Features settings on your Windows PC to use it.
Step 1: Open Windows Settings (Win + I). Then, go to System > Optional features.
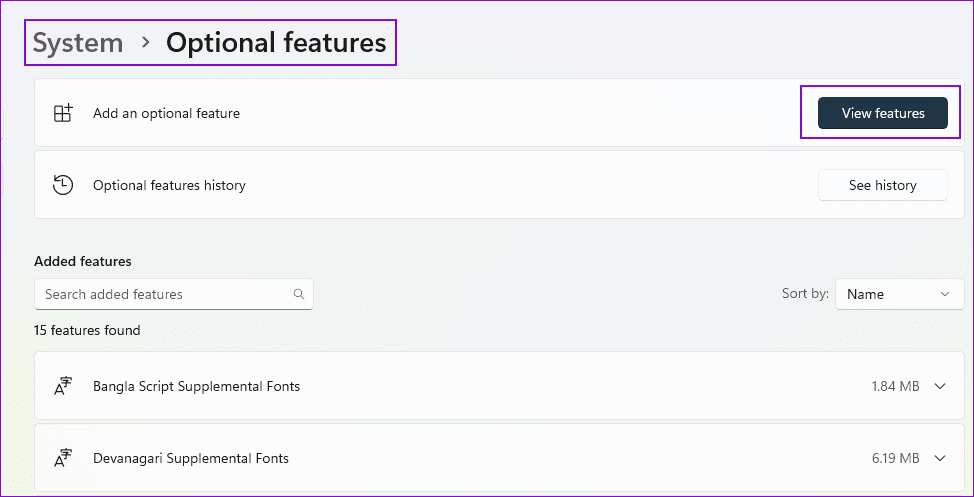
Step 2: Click the View features button to open the Add an optional feature window.
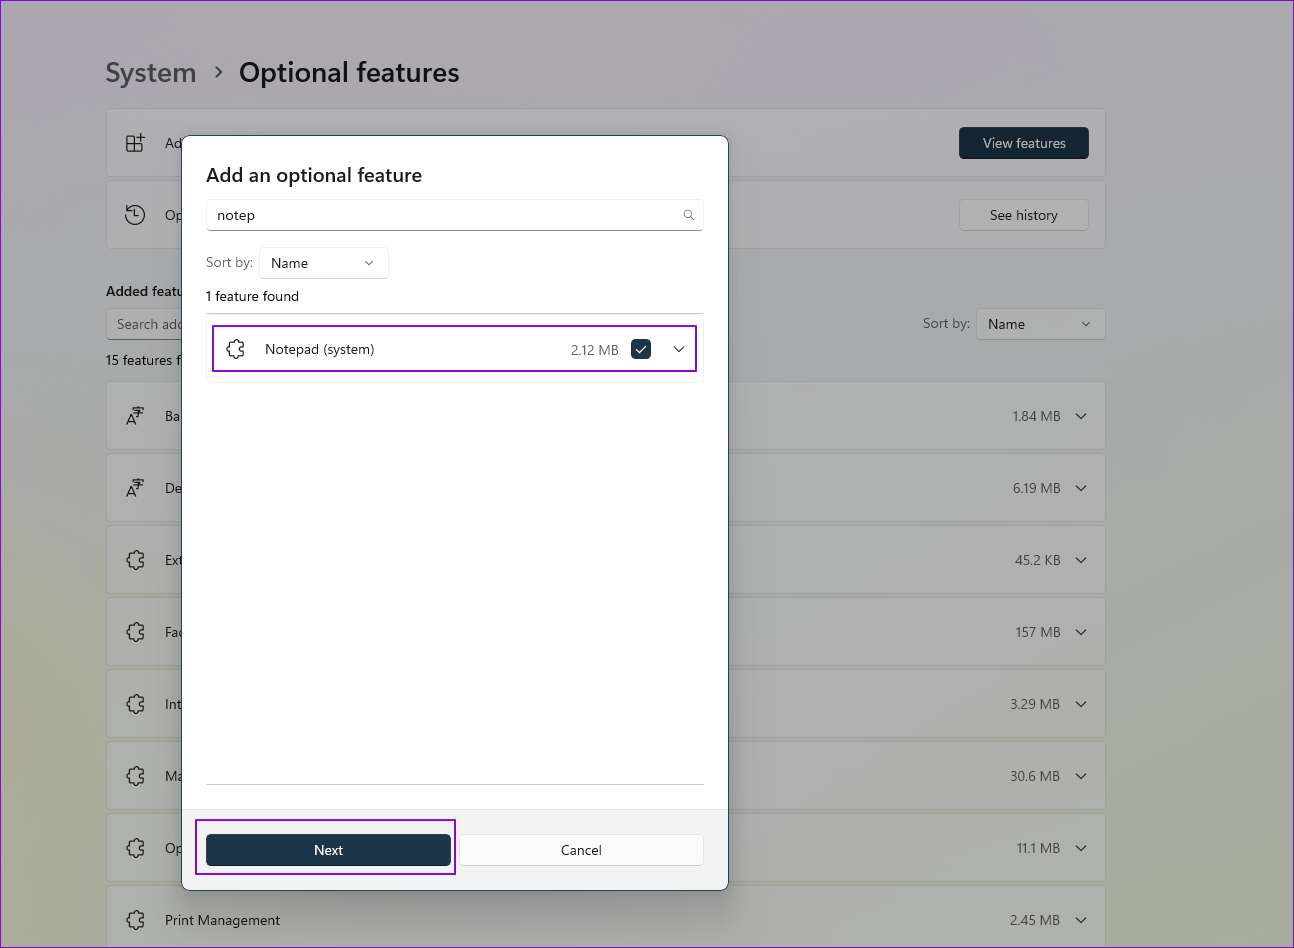
Step 3: Type Notepad in the search box. When it appears, check the box next to it, and then click Next, followed by the Add button.
Step 4: Once installed, you can open Notepad using the usual method after a restart.

However, remember that adding Notepad using this method installs the classic version of Notepad, which doesn’t have features such as Tabs, remembering what you were editing the last time, and so on.
If you don’t find Notepad under View features, you will need to uninstall and reinstall
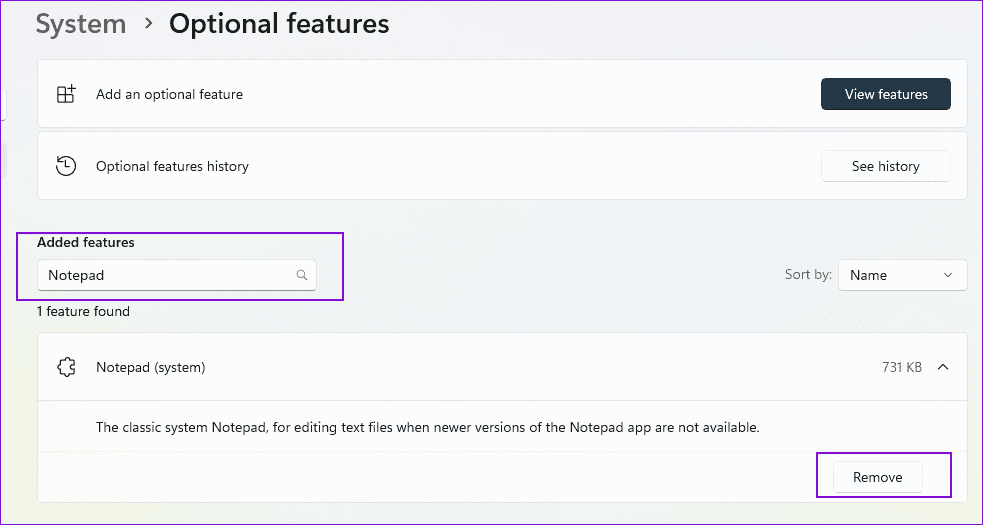
Step 1: Go back, and you will find Notepad under Added Features on the Optional Features screen.
Step 2: Expand the listing. Click the Remove button to uninstall Notepad from Windows PC.
Step 3: Once uninstalled, restart your PC and install it again, as shown above. Or, use the subsequent method.
Pro Tip: If you cannot find the Notepad, or it is not opening up, follow our troubleshooting guide to fix Notepad.
Method 2: Install Notepad From Microsoft Store
Microsoft has rolled out a modern version of Notepad in the Microsoft Store. Once installed, it overrides Windows’ default Notepad app so you can get the best experience without any confusion.
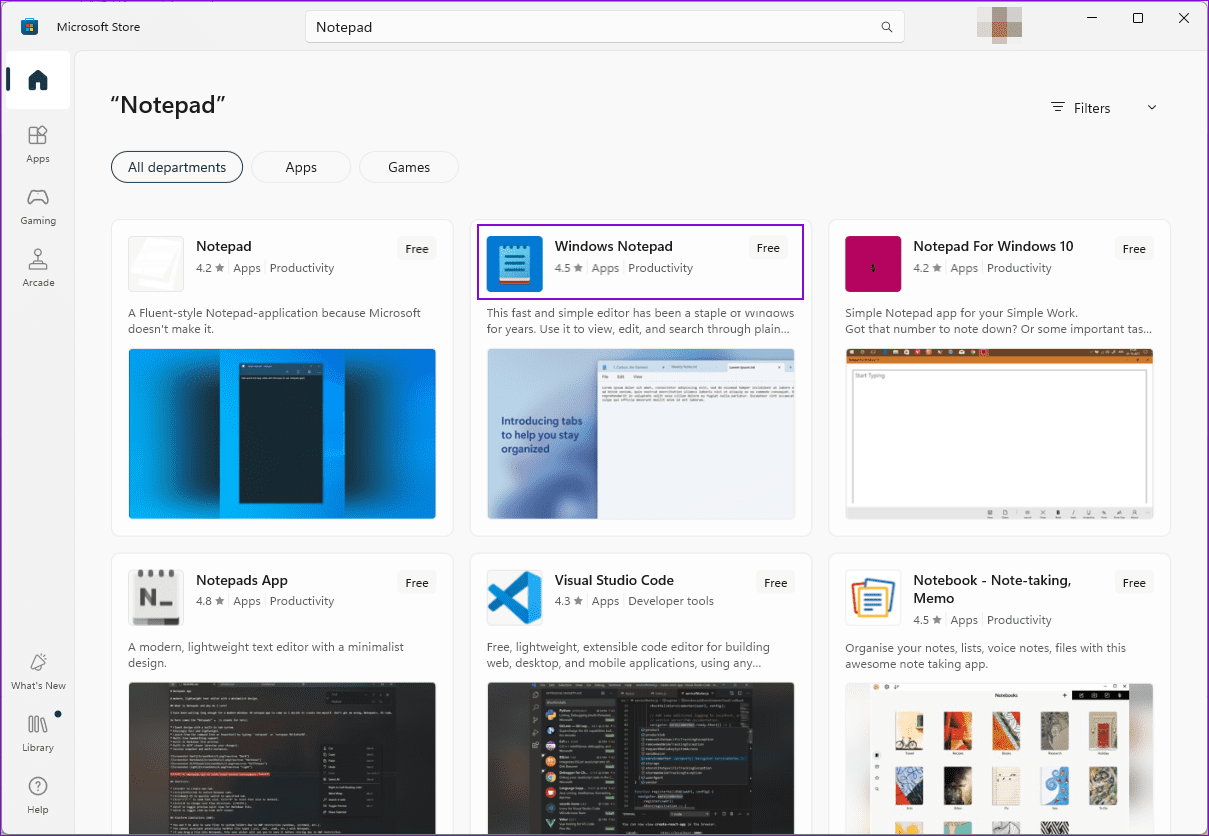
Step 1: Open the Microsoft Store and click the search box. Type Notepad and press the Enter key.
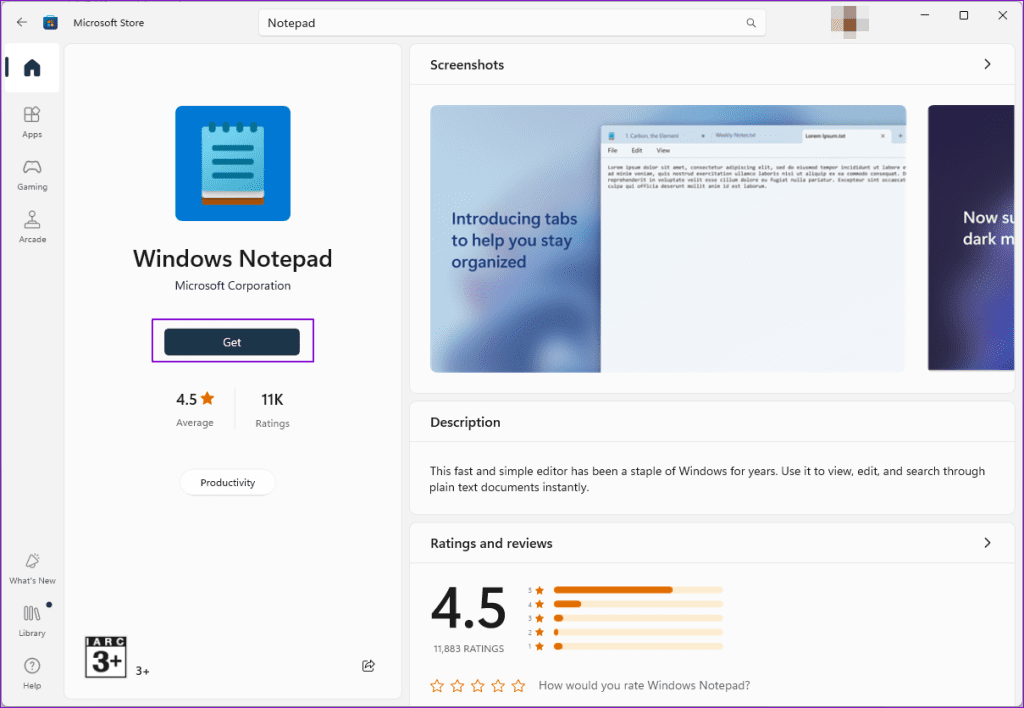
Step 2: Look for an app named Windows Notepad from the search result. Click to open it.
Step 3: Confirm it is from Microsoft, then click the Get button to install the app.
Was this helpful?
Last updated on 22 April, 2024
Read Next
 How to Fix Notepad Not Opening on Windows 11
Notepad is Windows' official word processing tool that comes pre-installed with the OS.
How to Fix Notepad Not Opening on Windows 11
Notepad is Windows' official word processing tool that comes pre-installed with the OS.
 Top 10 Notepad++ Plugins For Writers And Coders
If you’re starting out with web development, programming or just writing in general, you need a strong text editor in tow.
Top 10 Notepad++ Plugins For Writers And Coders
If you’re starting out with web development, programming or just writing in general, you need a strong text editor in tow.
 How to Compare Two Files in Notepad++: A Comprehensive Guide
Notepad++ is a versatile and feature-rich text editor catering to the needs of programmers, writers, and anyone who deals with text files.
How to Compare Two Files in Notepad++: A Comprehensive Guide
Notepad++ is a versatile and feature-rich text editor catering to the needs of programmers, writers, and anyone who deals with text files.
 How to Fix Windows 10 Calculator Missing Issue
One of the oldest Windows apps is the Calculator.
How to Fix Windows 10 Calculator Missing Issue
One of the oldest Windows apps is the Calculator.
 How to Fix the Windows 10 Sandbox Mode Missing Issue
Windows Sandbox possibly is one of the unique and exciting features to debut on Windows 10 in quite a while.
How to Fix the Windows 10 Sandbox Mode Missing Issue
Windows Sandbox possibly is one of the unique and exciting features to debut on Windows 10 in quite a while.
 8 Ways to Fix Windows Search Bar Is Missing Issue
Windows 10 came with a lot of tweaks under the hood.
8 Ways to Fix Windows Search Bar Is Missing Issue
Windows 10 came with a lot of tweaks under the hood.
 Top 7 Ways to Fix Copilot Missing Issue in Windows 11
Microsoft is riding the AI bandwagon and recently included a lot of AI-focused features in Windows 11 with the 23H2 update.
Top 7 Ways to Fix Copilot Missing Issue in Windows 11
Microsoft is riding the AI bandwagon and recently included a lot of AI-focused features in Windows 11 with the 23H2 update.
 How to Encode and Decode Base64 on Notepad ++
Base64 encoding and decoding are fundamental techniques for converting binary data into a text format and vice versa.
How to Encode and Decode Base64 on Notepad ++
Base64 encoding and decoding are fundamental techniques for converting binary data into a text format and vice versa.
The article above may contain affiliate links which help support Guiding Tech. The content remains unbiased and authentic and will never affect our editorial integrity.