Windows operating system and software installed on it often create Temporary files (or Temp files, for short) on your computer. These files come with their benefits, and tend to have negative effects on your PC in the long run. Accumulated temporary files can eat up storage space on your computer’s hard disk as they sometimes run into a couple of gigabytes. Deleting them can free up storage space and consequently speed up your PC’s performance.

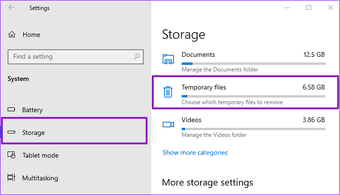
Removing temporary files is as easy as navigating to Settings > System > Storage > Temporarily Files. Doing this will scan your PC for redundant temporary files that can be deleted to reclaim storage space on your device. Despite how straightforward this looks, some users report that temporary files remain on their PC after being deleted via the Windows Settings menu.
You can fix this issue by updating your PC’s operating system. It’s quite possible that the bug might be related to that OS build’s version. If temporary files still don’t get deleted through the Settings menu, refer to the methods below to remove them from your computer.
1. Use Disk Cleanup
Disk Cleanup is a disk maintenance utility built into the Windows operating system to help users clear unwanted system files from their PC’s hard drive. Of course, it won’t appear on the desktop like other programs. If the Windows Settings menu refuses to delete temporary files, you can use the Windows Disk Cleanup utility; it analyzes and deletes temporary files just as better.
Step 1: Launch the Windows Run box (Windows key + R), type control into the Open dialog box, and tap OK.
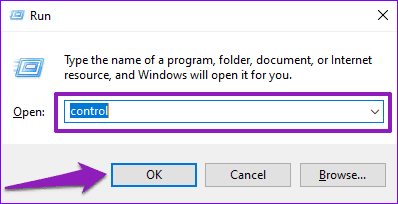
That will launch the Control Panel.
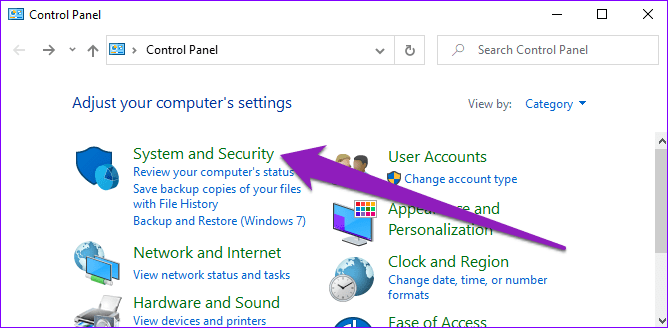
Step 2: Tap ‘System and Security.’
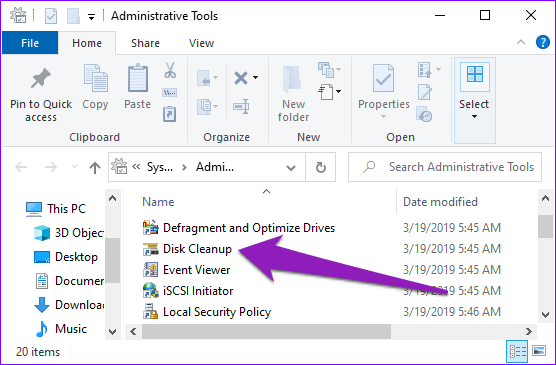
Step 3: Select Administrative Tools.

That will launch a new Administrative Tools window.
Step 4: Double-click Disk Cleanup.
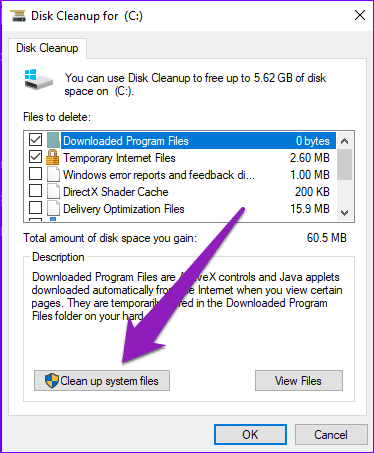
Step 5: On the Disk Cleanup window, tap the ‘Clean up system files.’
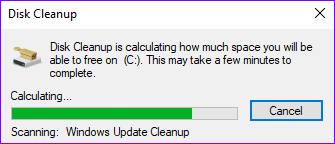
The Disk Cleanup utility will proceed to analyze how much space you can free up on your computer.
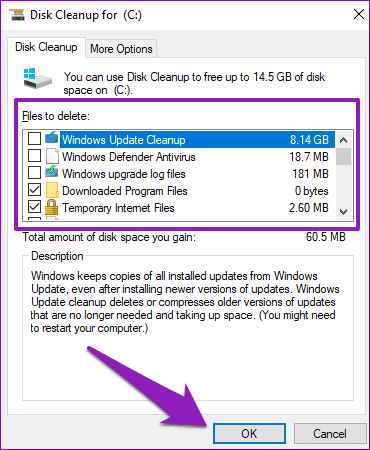
Step 6: Check the files you want to delete in the ‘Files to delete’ section and tap OK to proceed.
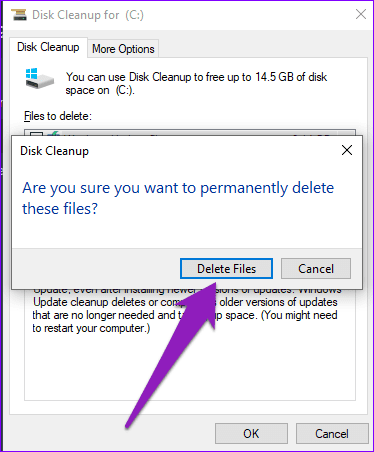
Step 7: Tap Delete Files on the confirmation prompt to proceed.
2. Use Command Prompt
You can also use the Command Prompt to delete temporary files on your PC if the Windows Settings menu doesn’t do it. It’s even somewhat easier and less complicated than using the Windows Disk Cleanup.
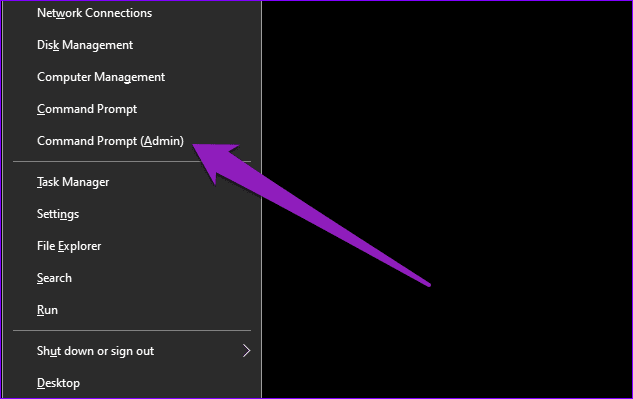
Step 1: Launch the Windows Quick Access Menu using the Windows logo + X keyboard shortcut and select ‘Command Prompt (Admin).’
Step 2: Paste the command below into the Command Prompt console and hit the Enter key on your keyboard.
del /q /f /s %temp%\* && del /s /q C:\Windows\temp\*

The above is a combined command line that deletes both temporary users’ files and temporary system files on your Windows computer. Here’s a breakdown of the command line.
del /q /f /s %temp%\* —— this deletes temporary users files.
del /s /q C:\Windows\temp\* —— this deletes temporary system files.
Note: We recommend that you close all active apps and reboot your PC before running this command.
3. Use Third-Party Apps
Another way to easily remove temporary files that aren’t deleting from the Windows Settings menu is to use third-party storage optimization software/tools. Some of these tools are free and will effectively wipe out temporary files from your Windows computer at the click of a button.
CCleaner is one app that we’ve tried, tested and found to be effective. CCleaner is an all-round system optimizer and privacy tool that helps Windows users uninstall apps, remove unwanted files, fix system errors, and lot more.
Here’s how you to use CCleaner to remove temporary files from your Windows computer.
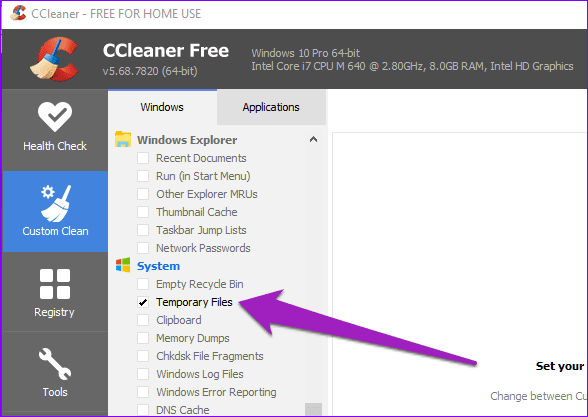
Step 1: Launch CCleaner and navigate to the Custom Clean section.

Step 2: Check the Temporary Files you want to delete and uncheck all other options in the app’s left-hand menu.
Step 3: Tap the Analyze button.
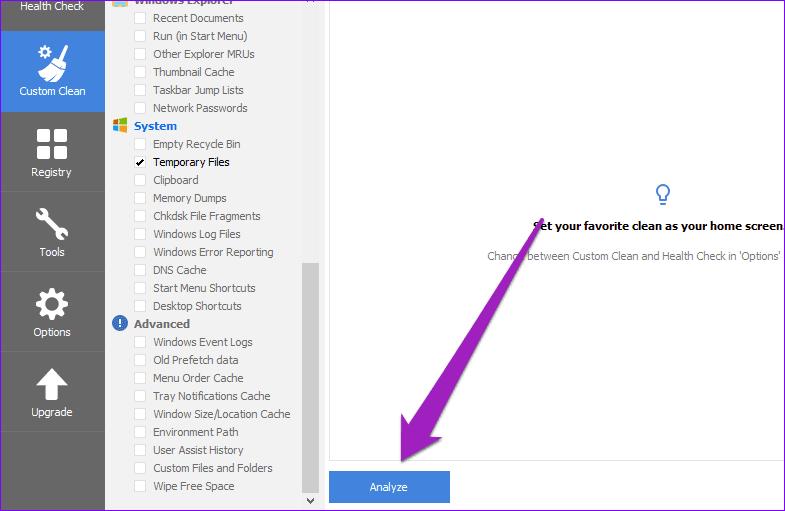
That will scan your PC for temporary files.
Note: We recommend that you close other apps before this process.
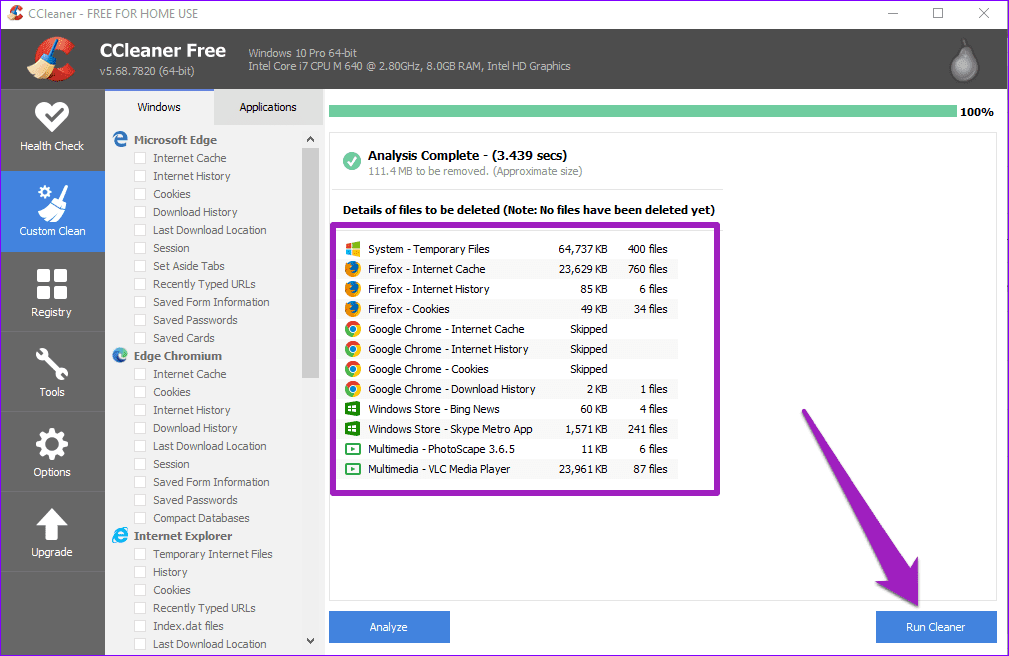
Afterward, you will be shown a preview of the temporary files that were detected.

Step 4: Tap the Run Cleaner button to delete the temporary files from your computer.
Be Meticulous About It
Although the methods mentioned above will delete temporary files on your computer when the Windows Settings menu fails, you recommend that you use methods #1 and #3 (i.e., Disk Cleanup and third-party apps). That is because you can select/choose the temporary files you want to delete. With method #2 (the Command Prompt option), there’s no freedom to choose files to be deleted as all temporary files will be erased from your PC after running the command line. Let us know which method(s) worked the magic for your computer or any help.
Next up: Read the post linked below to learn how to fix Windows 10 PIN not working issue. No need to reset or format your computer until you tried these methods.
Was this helpful?
Last updated on 07 February, 2022
Read Next
 Top 6 Ways to Delete Temporary Files on Windows 11
As you continue to install new apps, programs, and updates on your Windows 11 PC, all these activities create temporary files.
Top 6 Ways to Delete Temporary Files on Windows 11
As you continue to install new apps, programs, and updates on your Windows 11 PC, all these activities create temporary files.
 How to Stop OneDrive From Deleting Files Automatically on Windows 11
Have you recently noticed your files magically disappearing from OneDrive?
How to Stop OneDrive From Deleting Files Automatically on Windows 11
Have you recently noticed your files magically disappearing from OneDrive?
 Top 6 Ways to Free Up Space on Windows 11 Without Deleting Apps
Using your Windows computer that runs low storage is slow and sluggish.
Top 6 Ways to Free Up Space on Windows 11 Without Deleting Apps
Using your Windows computer that runs low storage is slow and sluggish.
 Top 7 Fixes for Logged in With a Temporary Profile Error on Windows
Does Windows keep logging you in with a temporary profile?
Top 7 Fixes for Logged in With a Temporary Profile Error on Windows
Does Windows keep logging you in with a temporary profile?
 Top 7 Ways to Free Up Space on Android Without Deleting Apps
You might face performance, camera, and gaming issues with insufficient storage on Android.
Top 7 Ways to Free Up Space on Android Without Deleting Apps
You might face performance, camera, and gaming issues with insufficient storage on Android.
 3 Best Ways to Fix Chrome Bookmarks Not Deleting Issue
Usually, deleting unwanted bookmarks and folders in Google Chrome is a relatively simple and convenient affair.
3 Best Ways to Fix Chrome Bookmarks Not Deleting Issue
Usually, deleting unwanted bookmarks and folders in Google Chrome is a relatively simple and convenient affair.
 How to Rearrange Instagram Posts Without Deleting
Do you want to change your Instagram profile layout and rearrange your posts without deleting them?
How to Rearrange Instagram Posts Without Deleting
Do you want to change your Instagram profile layout and rearrange your posts without deleting them?
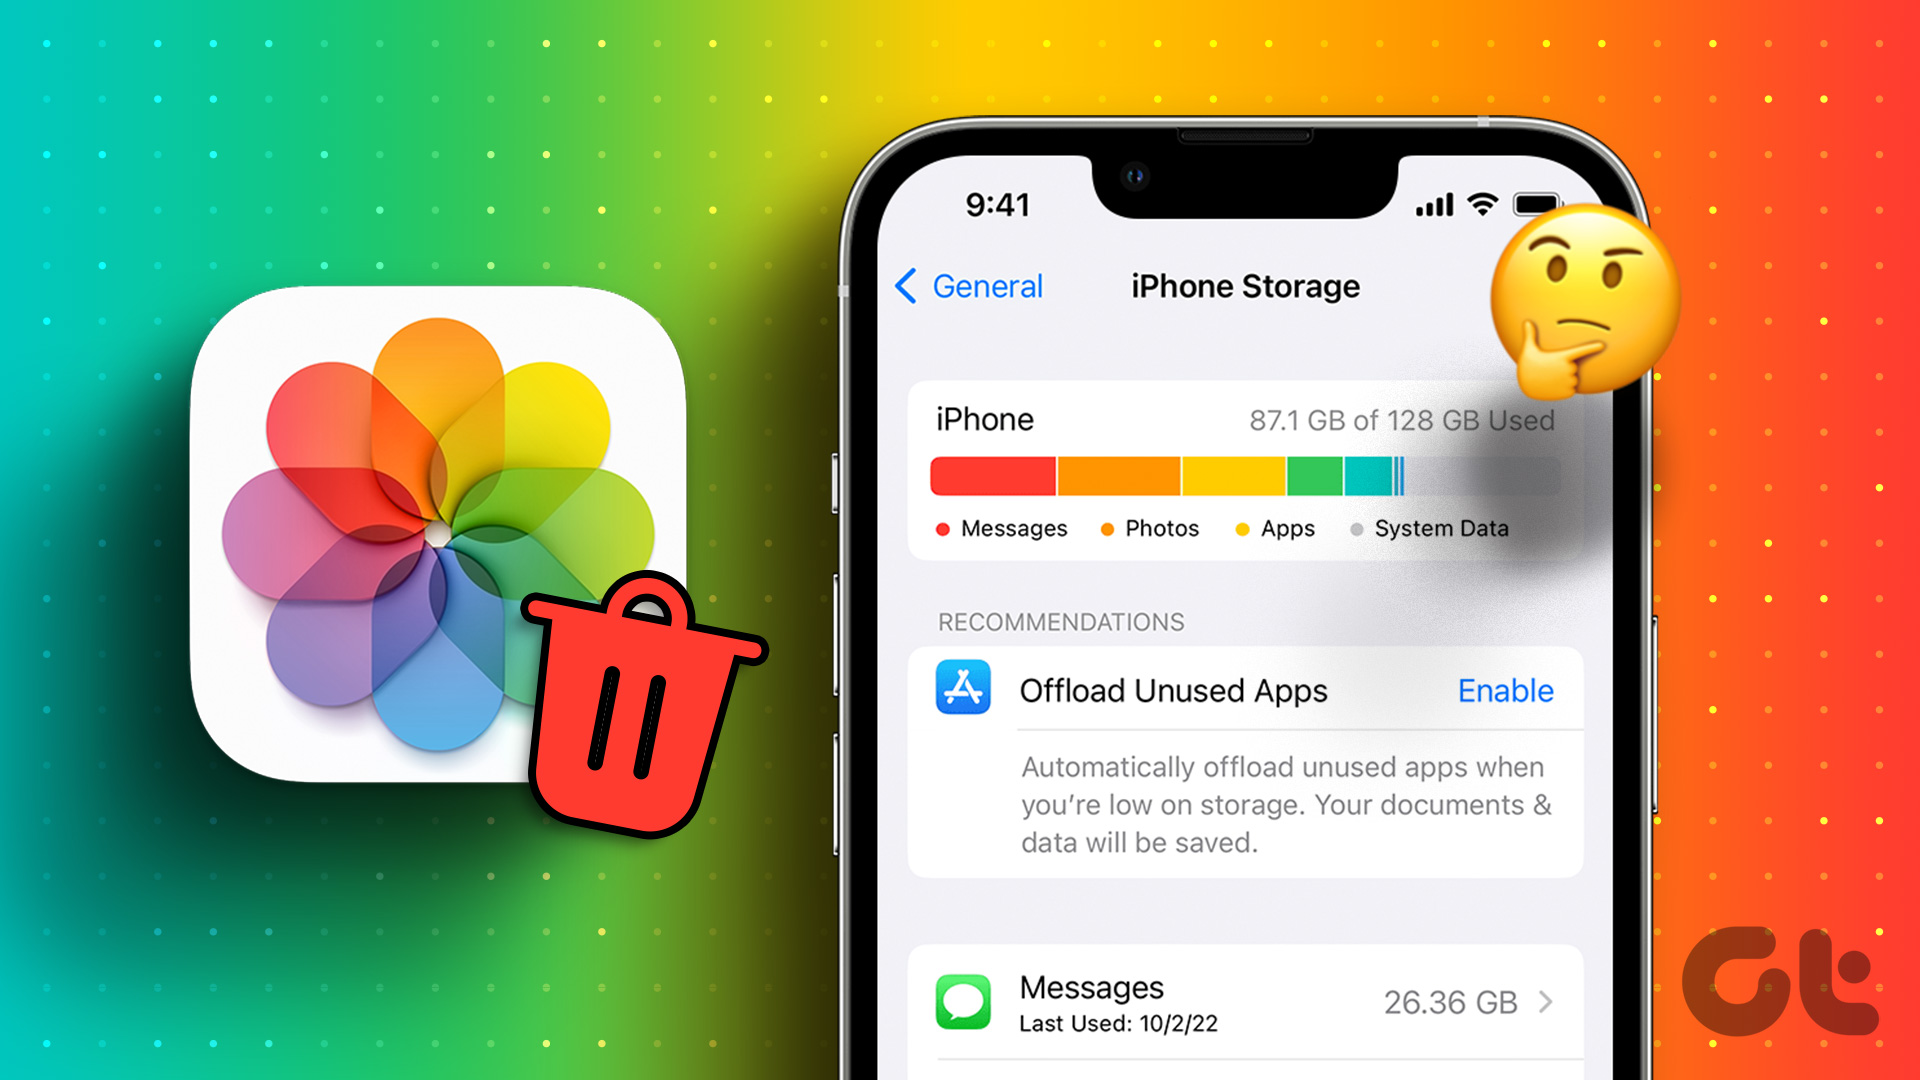 8 Fixes for iPhone Photos Taking Up Space Even After Deleting Them
We make questionable choices while purchasing tech at times, and buying the base 64GB variant of the iPhone was one of them.
8 Fixes for iPhone Photos Taking Up Space Even After Deleting Them
We make questionable choices while purchasing tech at times, and buying the base 64GB variant of the iPhone was one of them.
The article above may contain affiliate links which help support Guiding Tech. The content remains unbiased and authentic and will never affect our editorial integrity.