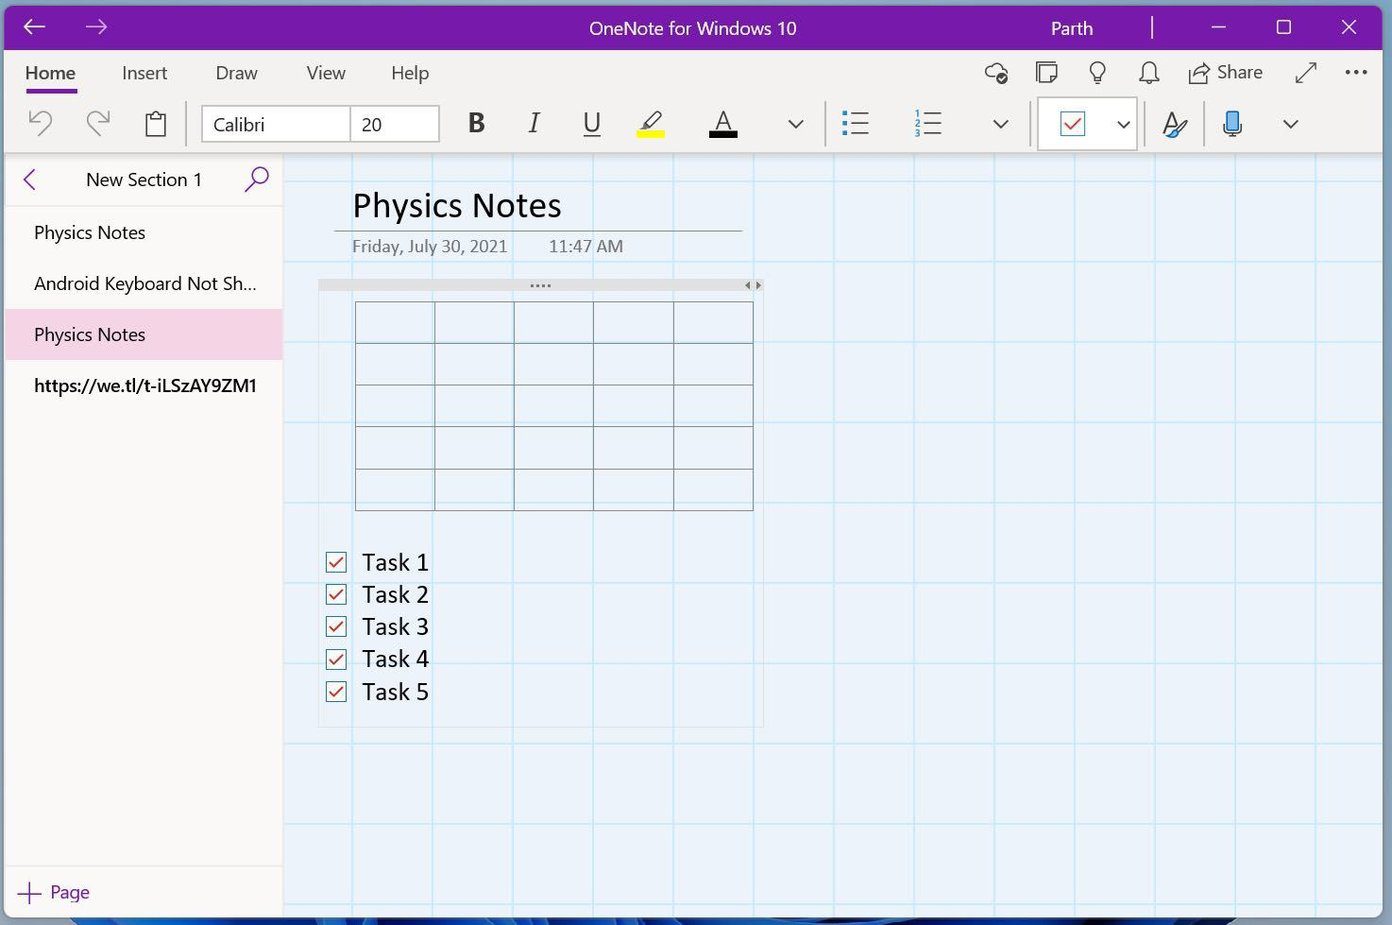
Microsoft OneNote is one of the oldest and feature-rich note-taking apps out there. Unfortunately, even after years of development, the software suffers from random syncing issues, offline error, and read-only status. The latter is highly confusing as it won’t let you make any changes to the note in OneNote. Here are the seven best ways to fix OneNote read-only status on Windows.

OneNote read-only might get triggered due to wrong sharing permissions or changes to Notebook properties. Let’s discuss every possible scenario and troubleshoot the issue for you.
1. Disable Read Only from Notebook Properties
By default, OneNote saves all the notebooks to the OneDrive app on Windows. You can view those notebooks from the File Manager menu.
If you have enabled Read-only for a notebook, it’s time to disable it. With read-only status, you can only open the notebook and can’t make any changes to it.
Step 1: Open File Manager on Windows PC or use the Windows + E keys shortcut.
Step 2: Navigate to OneDrive > OneNote, and you will see all your stored OneNote notebooks in the list.
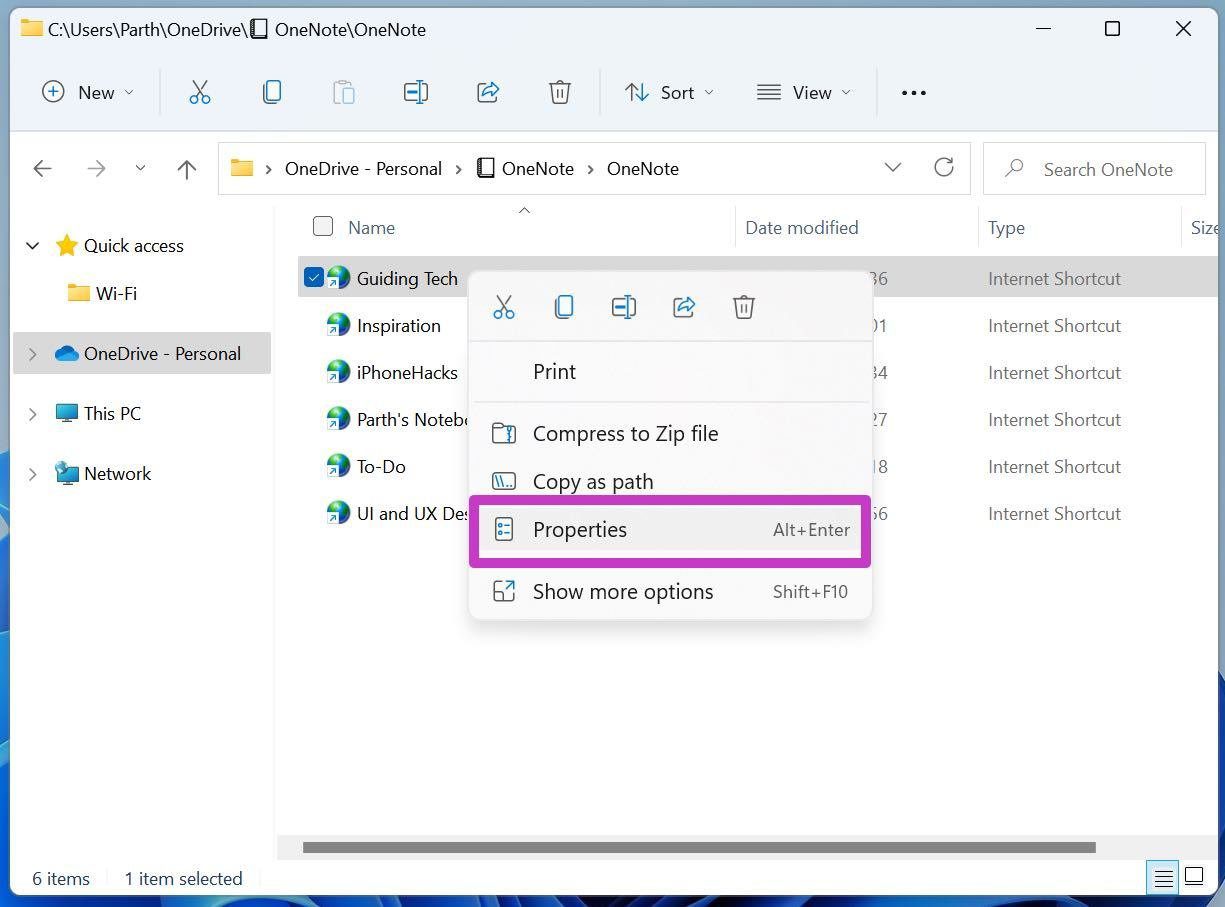
Step 3: Right-click on the notebook that’s giving you trouble and open Properties.
Step 4: From General > Attributes, disable Read-only and click on OK at the bottom.

Open OneNote and try to access a note on it.
2. Reopen Notebook
This trick has worked wonders for us when we faced OneNote syncing and offline errors on a specific OneNote notebook. You can close a notebook and reopen it from the same location. Here is what you need to do.
Step 1: Open OneNote on Windows 10/11.
Step 2: Click on all notebooks at the top and right-click a notebook that’s showing read-only status.

Step 3: Select Close this Notebook.
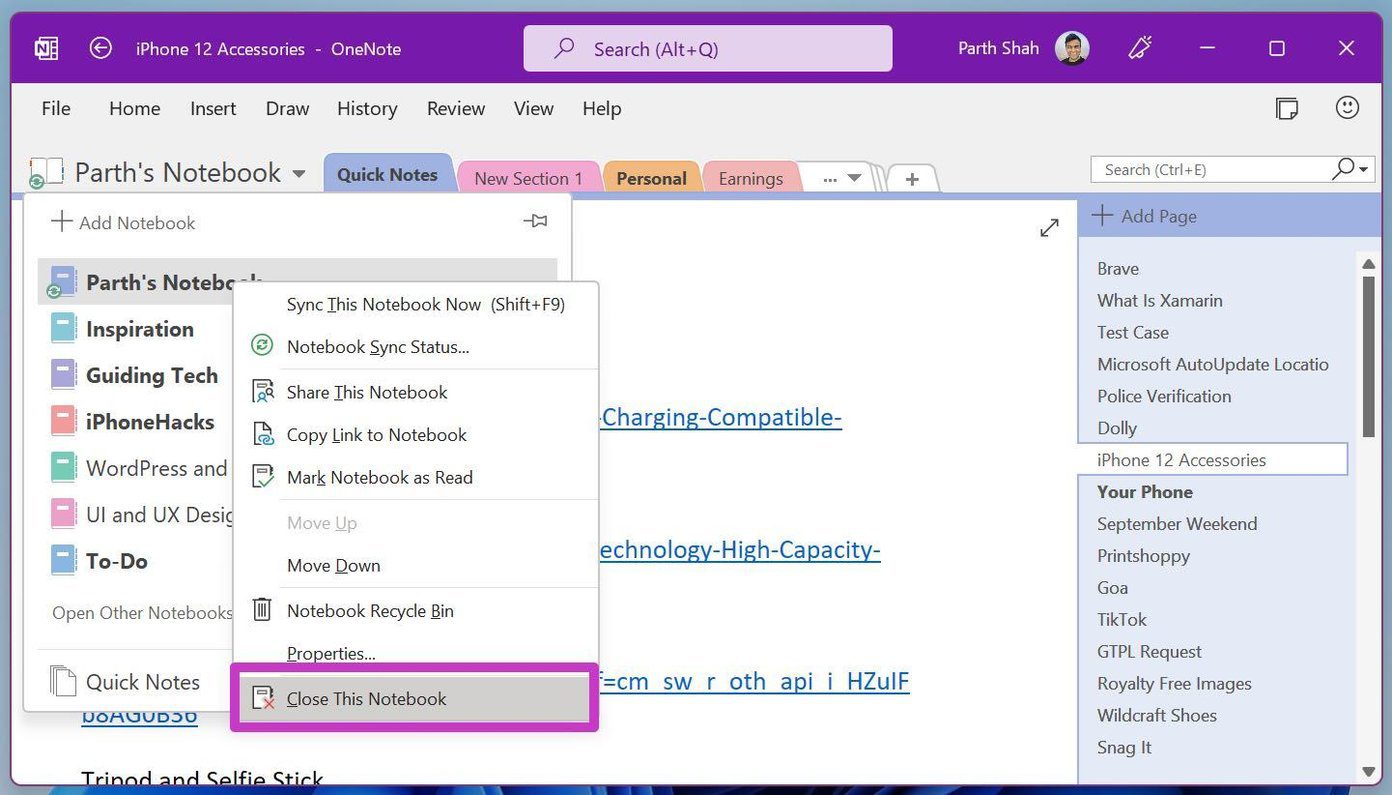
Step 4: Go to File > Open and select the notebook location from OneDrive and open it.

Try to open notes from the notebook section and you won’t see the read-only error.
3. Get an Editable Link
OneNote also allows you to share notebooks with others. If you are working with shared notebooks and received a view-only link, you won’t be able to edit the note. It’ll show read-only status.
You need to ask the admin to send a notebook link with editing permission. Here’s how.
Step 1: Open OneNote Notebook that you need to share.
Step 2: Go to File > Share > Get a Sharing Link.
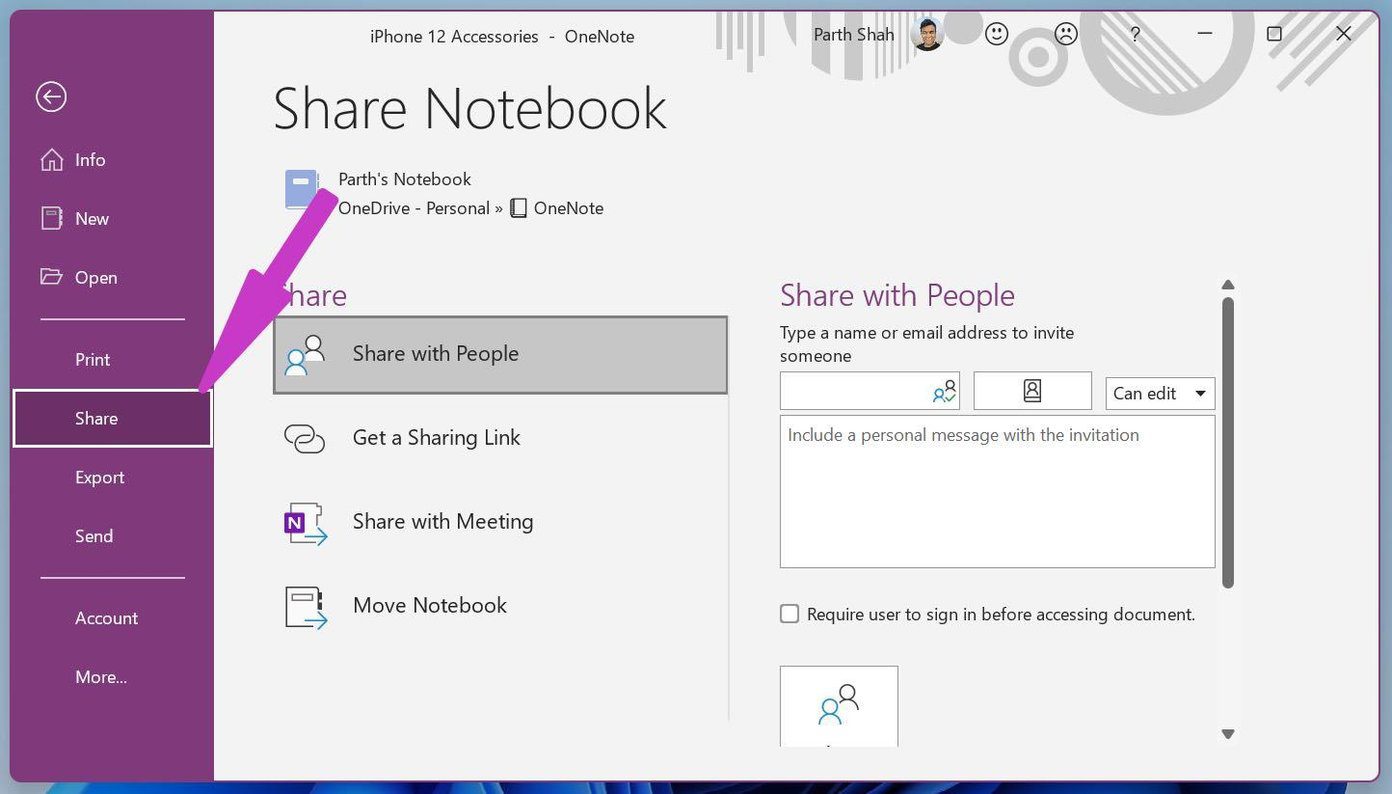
Step 3: Click on Create an edit link and share it with others.
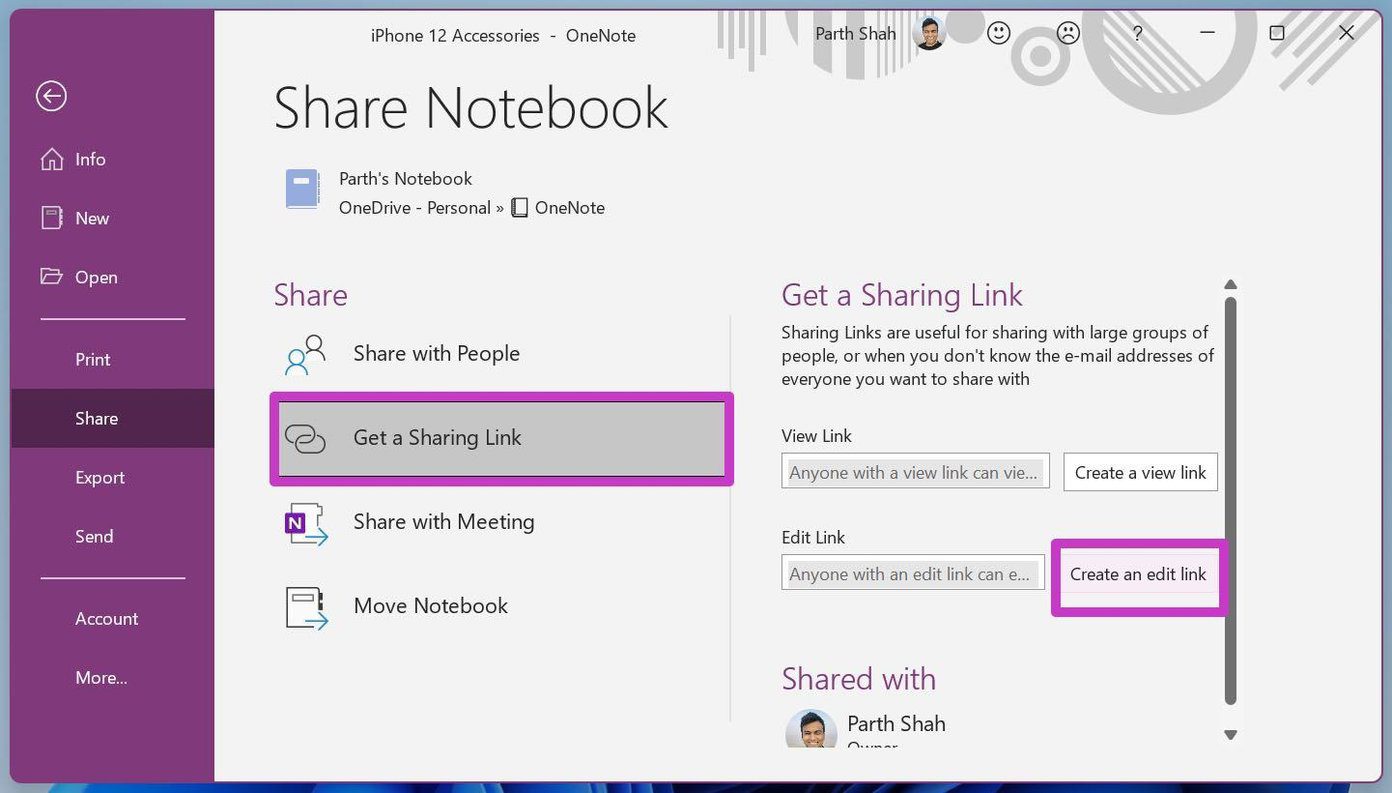
From now on, anyone with access to the link can make changes to the OneNote Notebook. So be careful while sharing it with others.
4. Close OneNote from Other Devices
It’s possible that the same note is open in another device. For instance, if it is open in a Mac and you’re trying to access it on a Windows PC.
In such cases, OneNote will keep showing the read-only status. That means you can open and use a note only on one device at a time.
5. Activate Microsoft 365 Subscription
Are you using the OneNote app that comes with Microsoft 365 subscription? Most laptop OEMs offer 30-days of free trial for Microsoft 365 Personal subscription.
If you are using a free trial, it will expire after 30-days, and the OneNote app will get stuck at read-only status.
You need to purchase the Microsoft 365 pack or opt for the free OneNote app for Windows available from the Microsoft Store.
6. Check OneDrive Storage
Microsoft offers only 5GB of OneDrive storage for free. That might be insufficient for OneNote power users. You can either purchase the additional OneDrive storage from Microsoft or opt for the Microsoft 365 subscription that unlocks all the Office apps and 1TB of OneDrive storage.
7. Update OneNote
If you use the native Windows OneNote app, you’ll need to check for the updates or install the latest version from the Microsoft Store.
An outdated OneNote built on Windows 10/11 might show the read-only status when you try to access a notebook.
Open the Microsoft Store app and go to the Library menu. Click on Get Update, and you will see the new OneNote build, if available.
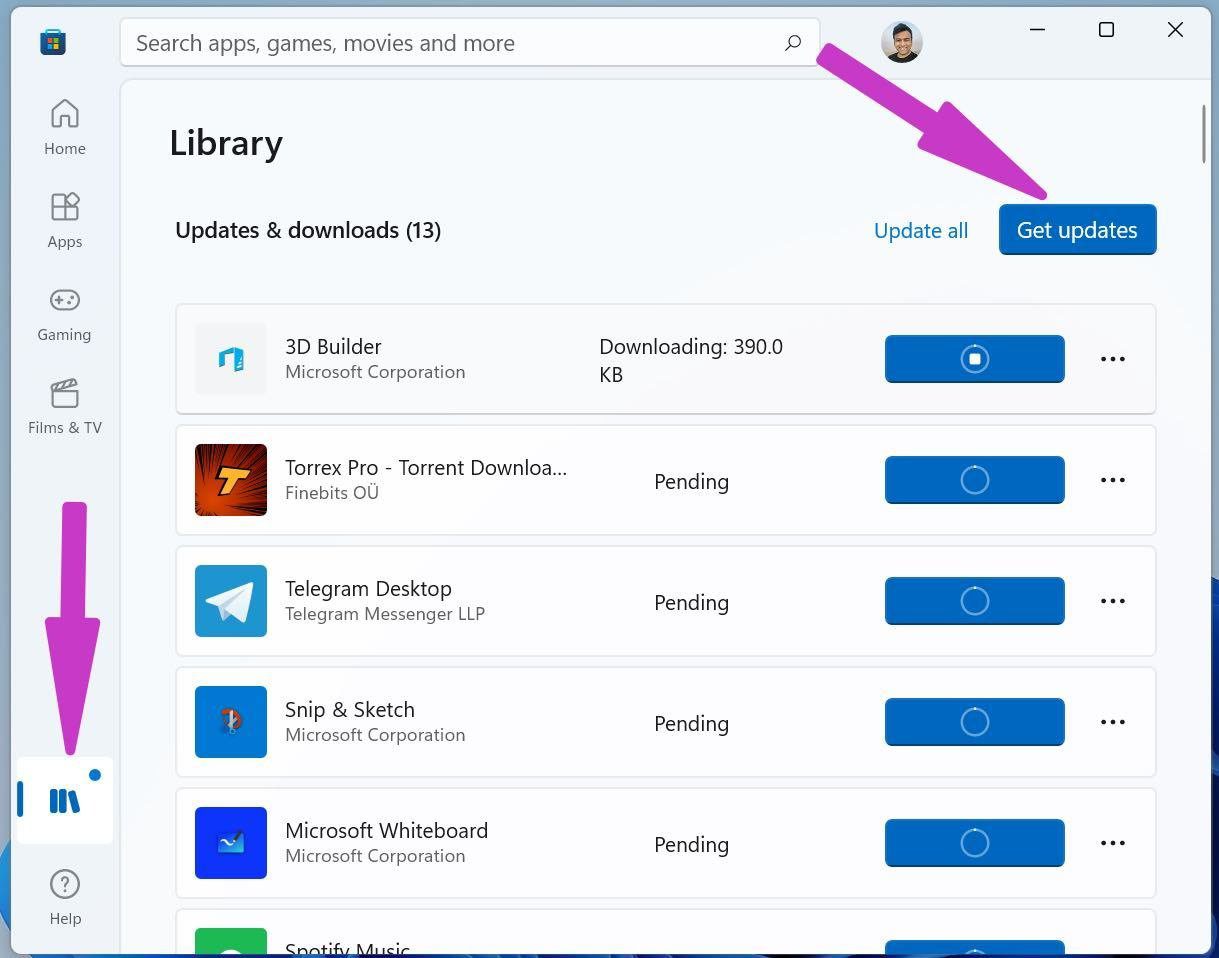
Install the OneNote update and try editing the notes in it.
Start Editing OneNote Notes
If OneNote pages are still showcasing read-only status, try accessing the same notebook from the OneNote web. Even with rivals like Notion, Apple Notes, and Evernote, OneNote remains our top pick for several reasons.
Issues such as a read-only notebook might spoil the mood for you. The steps above should take of the issue, and you can start editing your notes again.
Was this helpful?
Last updated on 07 February, 2022
Read Next
 Does Bumble Have Read Receipts and How to Tell if Someone Read Your Message
Once matched, the next thing we do on Bumble is talk with the match and learn about them.
Does Bumble Have Read Receipts and How to Tell if Someone Read Your Message
Once matched, the next thing we do on Bumble is talk with the match and learn about them.
 7 Top Ways to Fix OneNote Notebook Disappearing Error on Windows
Microsoft OneNote has gone through a number of iterations.
7 Top Ways to Fix OneNote Notebook Disappearing Error on Windows
Microsoft OneNote has gone through a number of iterations.
 Top 7 Ways to Fix OneNote’s Working Offline Error
Microsoft OneNote is one of the oldest note-taking apps out there.
Top 7 Ways to Fix OneNote’s Working Offline Error
Microsoft OneNote is one of the oldest note-taking apps out there.
 Top 10 Ways to Fix OneNote Not Opening on Windows 10 and Windows 11
Microsoft OneNote remains one of the feature-rich note-taking apps out there.
Top 10 Ways to Fix OneNote Not Opening on Windows 10 and Windows 11
Microsoft OneNote remains one of the feature-rich note-taking apps out there.
 Top 6 Ways to Fix Unable to Sign in to Microsoft OneNote on Windows
Microsoft OneNote is an excellent app for creating, storing, and organizing notes on your Windows computer.
Top 6 Ways to Fix Unable to Sign in to Microsoft OneNote on Windows
Microsoft OneNote is an excellent app for creating, storing, and organizing notes on your Windows computer.
 Top 8 Ways to Fix Microsoft Word Opens Files in Read-Only Mode in Windows 10 and Windows 11
Microsoft Word is a popular word processor among Windows users for creating and editing documents.
Top 8 Ways to Fix Microsoft Word Opens Files in Read-Only Mode in Windows 10 and Windows 11
Microsoft Word is a popular word processor among Windows users for creating and editing documents.
 Top 5 Ways to Fix Folder Keeps Reverting to Read-Only in Windows 11
When a folder has a read-only status in Windows, it usually means that all the files within that folder are read-only too.
Top 5 Ways to Fix Folder Keeps Reverting to Read-Only in Windows 11
When a folder has a read-only status in Windows, it usually means that all the files within that folder are read-only too.
 5 Fixes When Read Aloud Is Not Working in Microsoft Word for Windows
Fix 1: Add the Read Aloud Option Is the Read Aloud option missing from Microsoft Word?
5 Fixes When Read Aloud Is Not Working in Microsoft Word for Windows
Fix 1: Add the Read Aloud Option Is the Read Aloud option missing from Microsoft Word?
The article above may contain affiliate links which help support Guiding Tech. The content remains unbiased and authentic and will never affect our editorial integrity.