Google Play Store is the official store to download apps and games on Android. The Play Store’s navigation is confusing, and sometimes the app fails to download apps and games. At times, Google Play Store shows errors while checking for updates in the Manage apps & device menu. You can fix that.
Over the years, Google has revamped the Play Store with a new UI. But the issues underneath are still intact. As a result, users frequently see the Play Store getting errors for checking apps and games updates. If you are among the affected ones, it’s time to troubleshoot the issue and install the latest apps and games on the Android phone.
1. Check Internet Connection
The biggest culprit behind the Play Store failing to check for updates is a sloppy internet connection. Make sure your Android phone has good enough internet speed.
Try opening few browser tabs in Chrome or Firefox and observe the speed. If you are connected to a 2.4GHz Wi-Fi frequency, try connecting to the 5.0GHz frequency, and it should improve the internet speed on your phone.
2. Check App Updates Preference
Google Play Store allows you to auto-update apps in the background. This can be useful when you keep getting errors for checking updates manually.
With auto-update apps, you can leave the updating hassle to Google. Here’s how to set auto-update apps in the Google Play Store.
Step 1: Open Google Play Store on your Android phone.
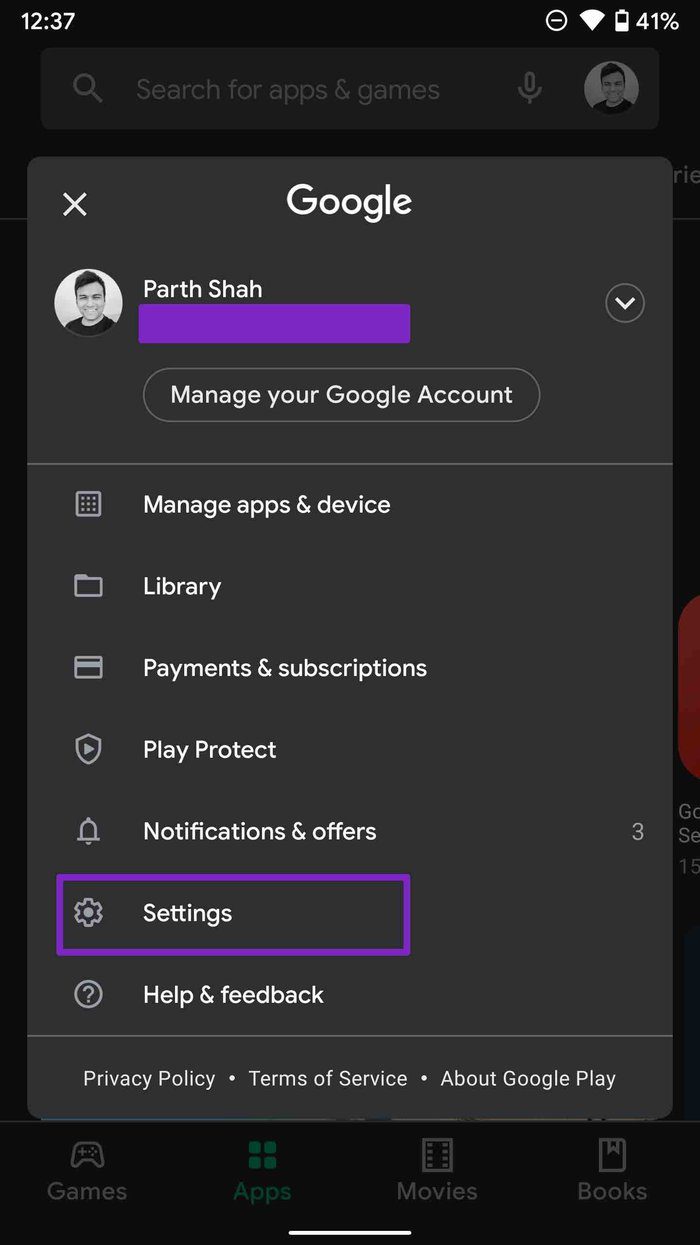
Step 2: Tap on the account profile icon at the upper right corner and go to Settings.
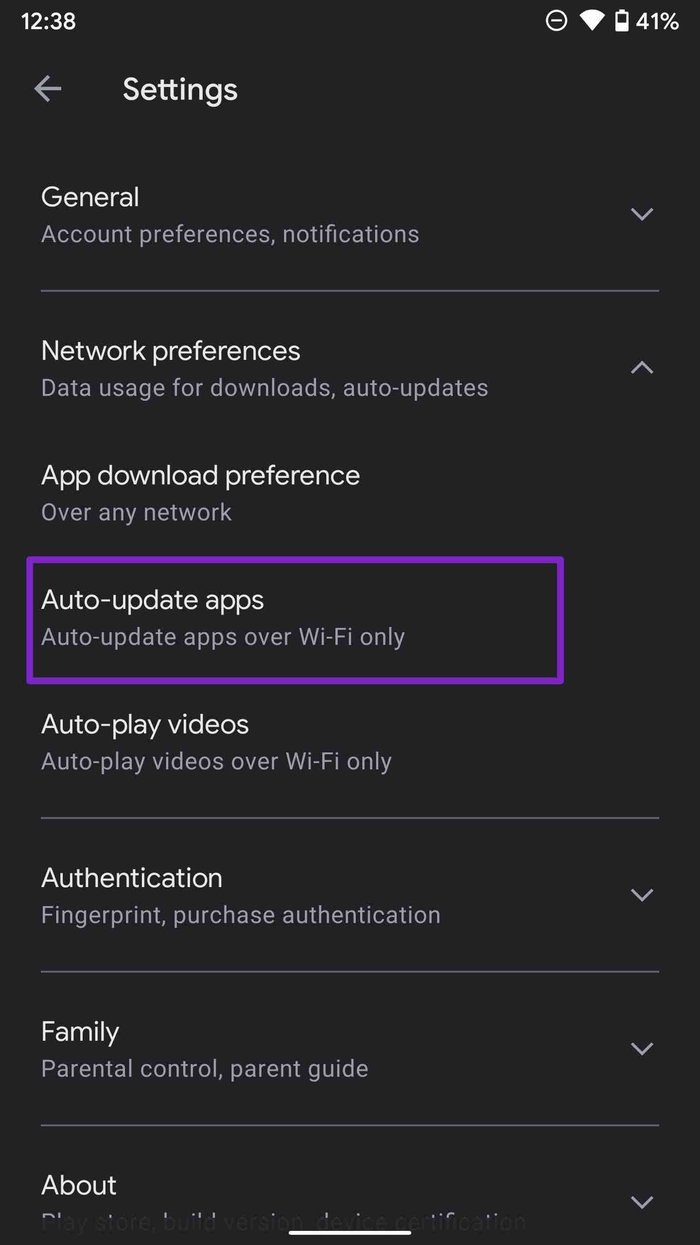
Step 3: Navigate to Network preferences > Auto-update apps.
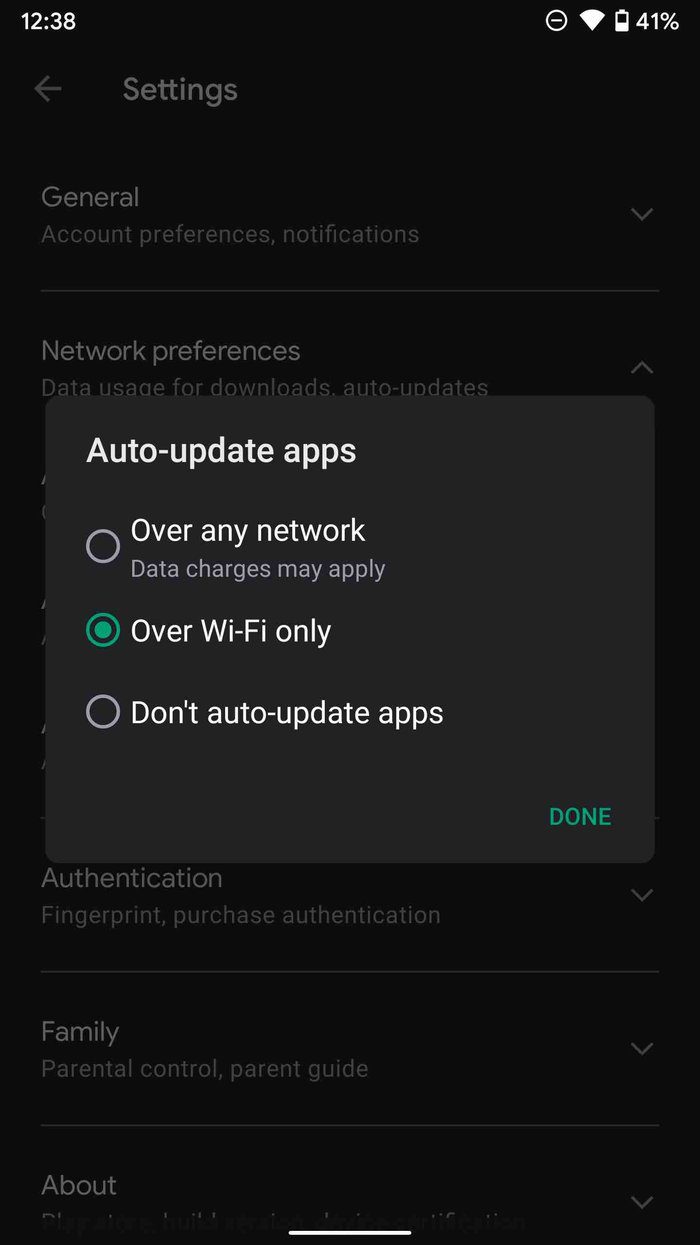
Step 4: Set auto-updates apps to over any network or on Wi-Fi only.
3. Clear Play Store Cache and Data
Google Play Store collects cache data in the background to open frequently visited app pages quickly. A massive cache and storage data may lead to errors in checking for new app updates in the Play Store.
You need to clear the Play Store cache and storage from the Settings menu. Here’s how.
Step 1: Find the Play Store app icon in the app drawer or the home screen menu.
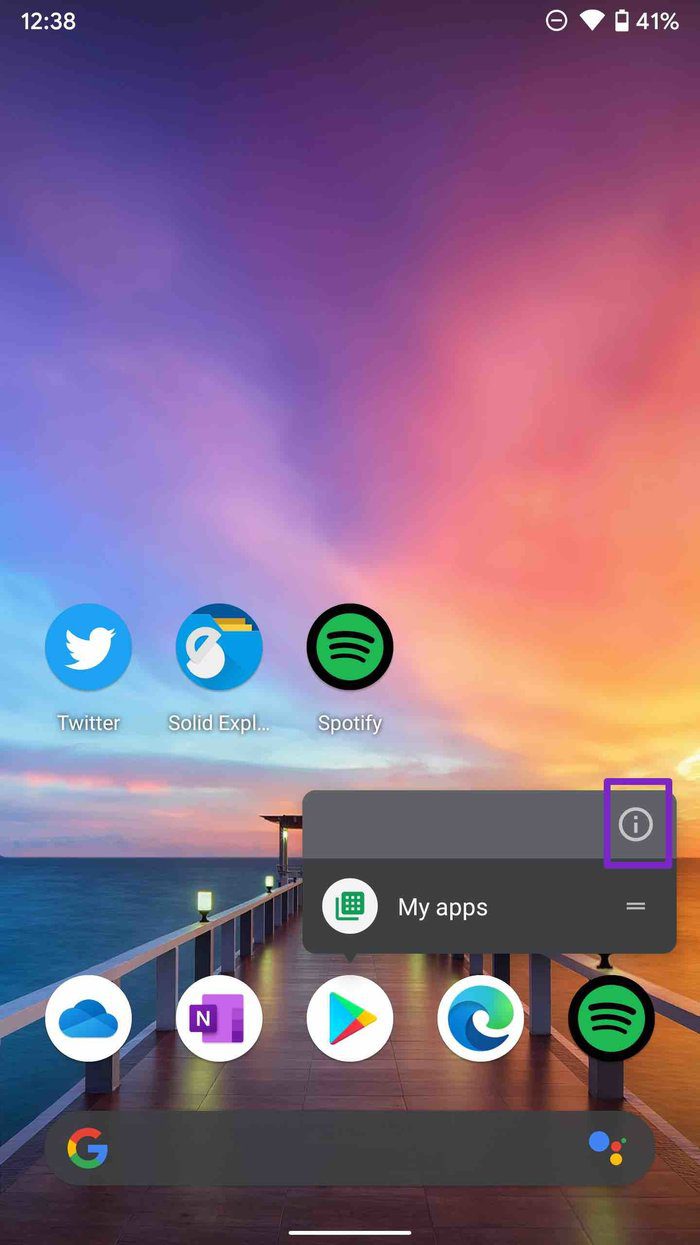
Step 2: Long-press on the Play Store icon and tap on the little info button in the context menu.
Step 3: Go to Storage & cache.


Step 4: Clear storage and Clear cache from the following menu.

Step 5: Open the Play Store app and try updating apps again.
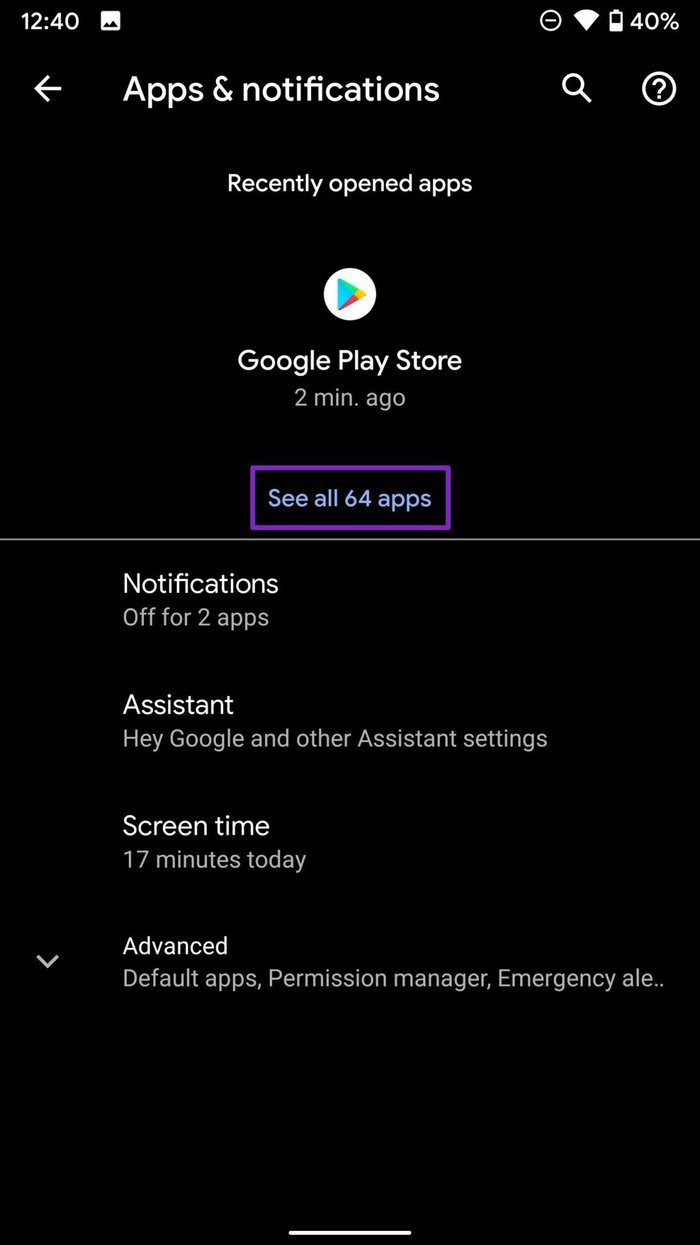
Alternatively, you can go to Settings > Apps & notifications > See all apps and select Google Play Store from the following menu.


4. Give Google Play Store Unrestricted Data Usage
With unrestricted data usage, Google Play Store can automatically update the apps in the background even when the Data Saver is on.
Step 1: Find the Play Store app icon in the app drawer or the home screen menu.
Step 2: Long-press on the Play Store icon and tap on the little info button in the context menu.
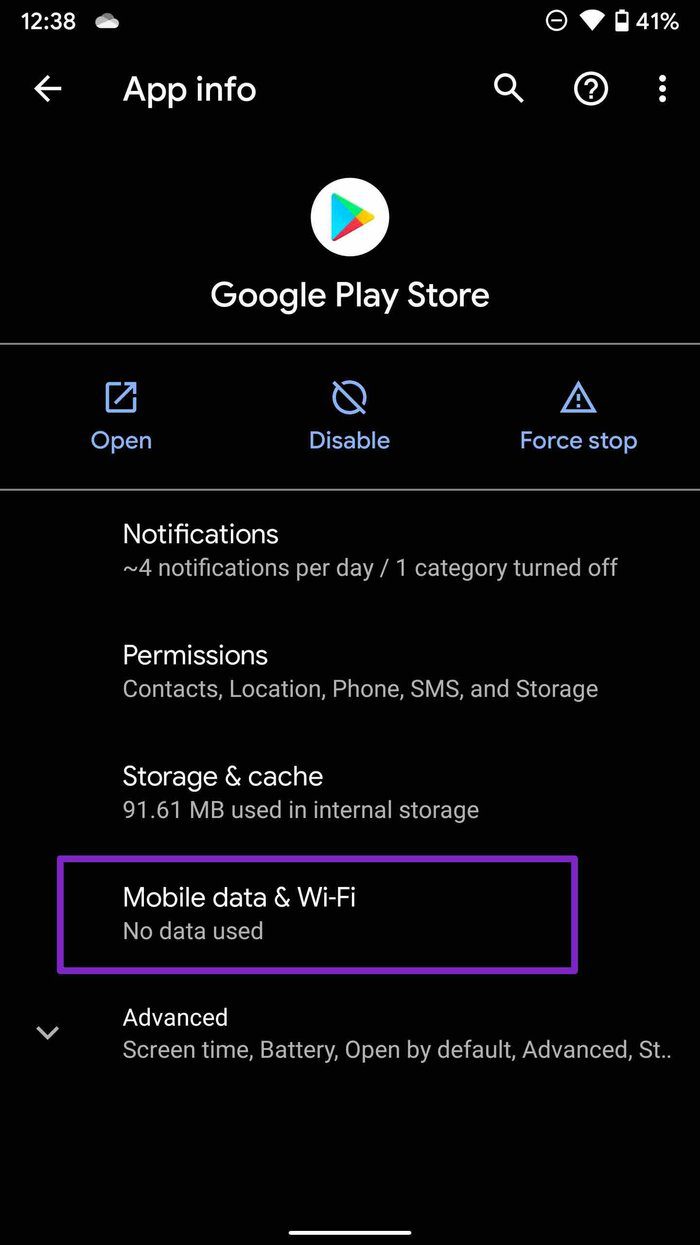
Step 3: Go to Mobile data & Wi-Fi.
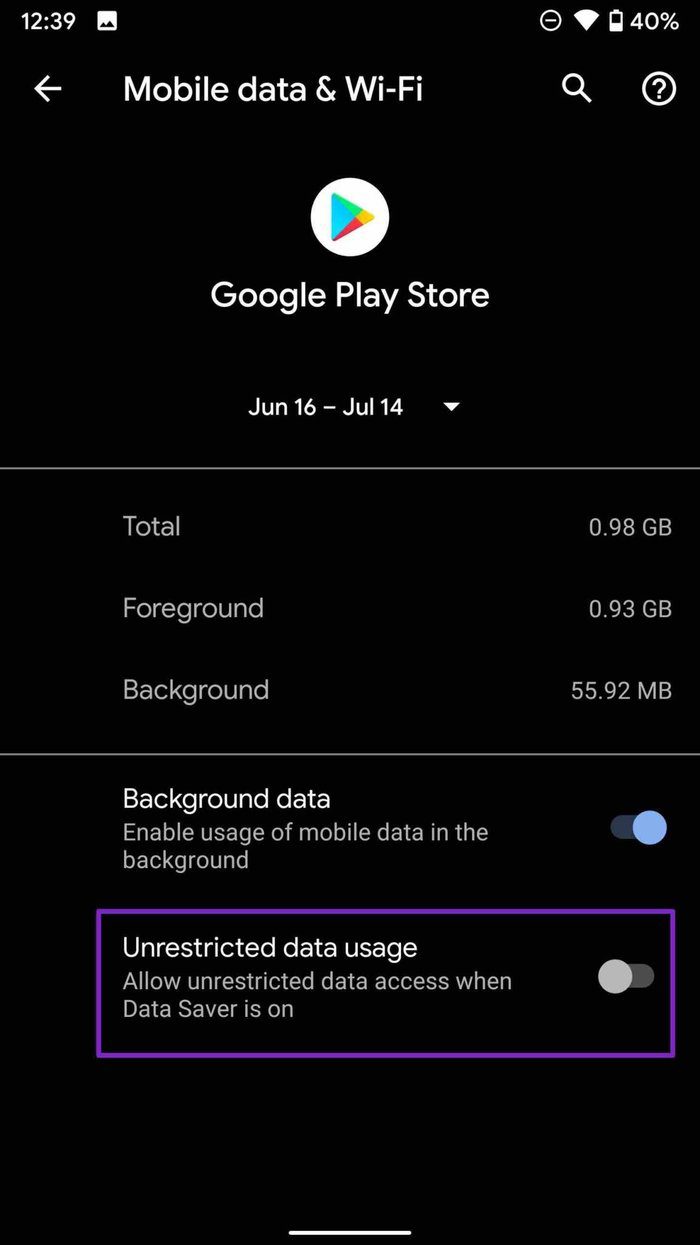
Step 4: Enable Unrestricted data usage toggle from the following menu.
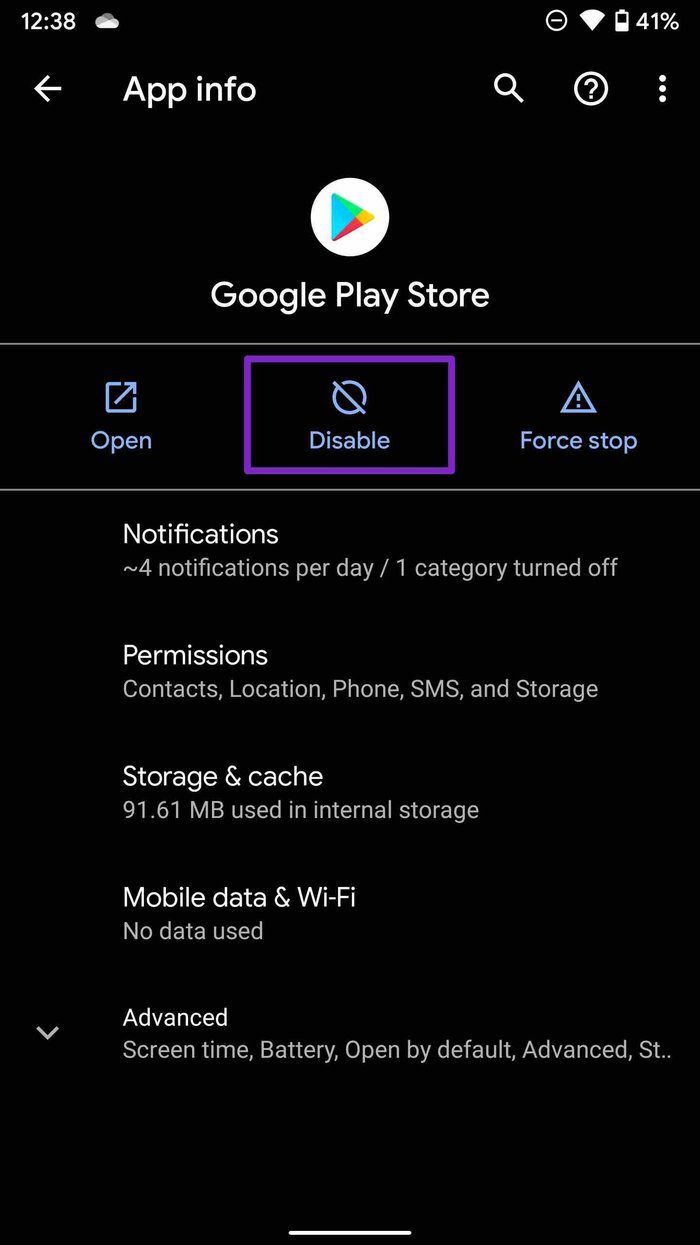
5. Disable Google Play Store
Sometimes, disabling and enabling the Play Store from the Settings menu might fix annoying issues.
The option to disable Google Play Store is in the same app info menu. Open Settings and navigate to Apps & notifications > Google Play Store and disable the app from the following menu. You can enable it again from the same menu.
Open the Play Store and try to update the apps again.
6. Reset App Preferences
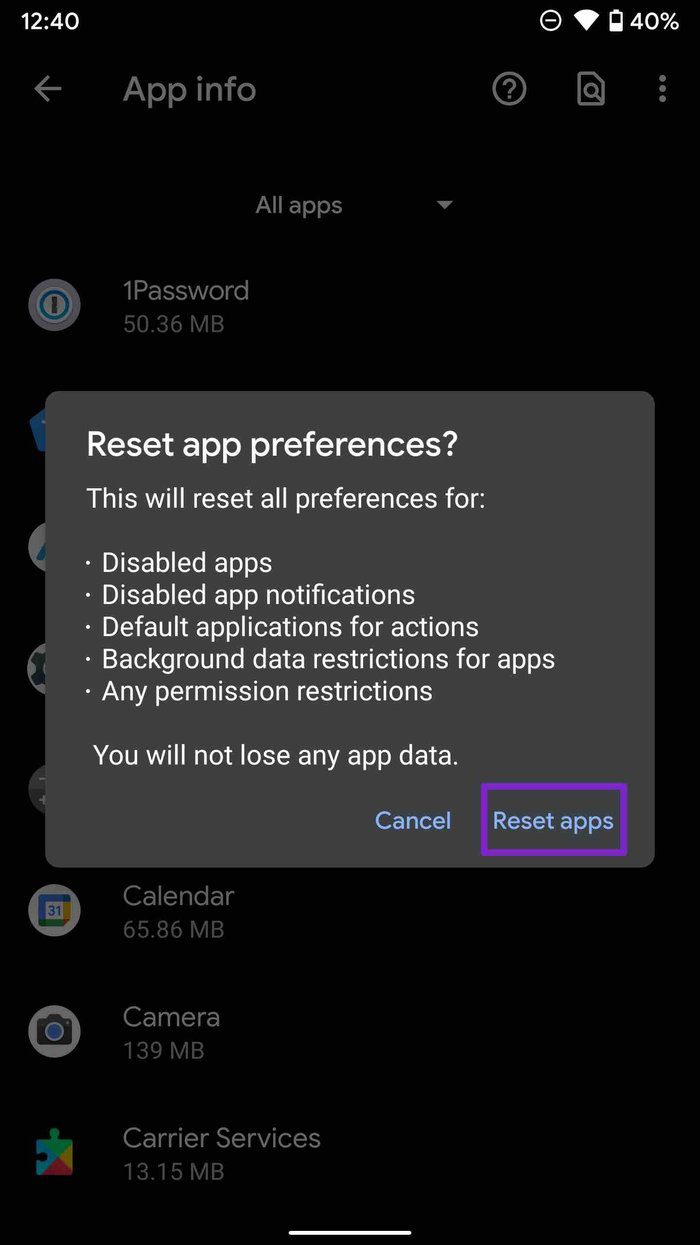
Normally, we don’t advise using this trick unless it’s necessary. The Reset app preferences toggle will reset all preferences for disabled apps, disabled app notifications, background app restrictions for apps, and reset any permission restrictions.
All your custom app preferences will be gone, and you will have to set them up again. So use this method only if the error for check updates isn’t solved by now.
Step 1: Open the Settings app on your Android phone.
Step 2: Go to Apps & notifications > See all apps.

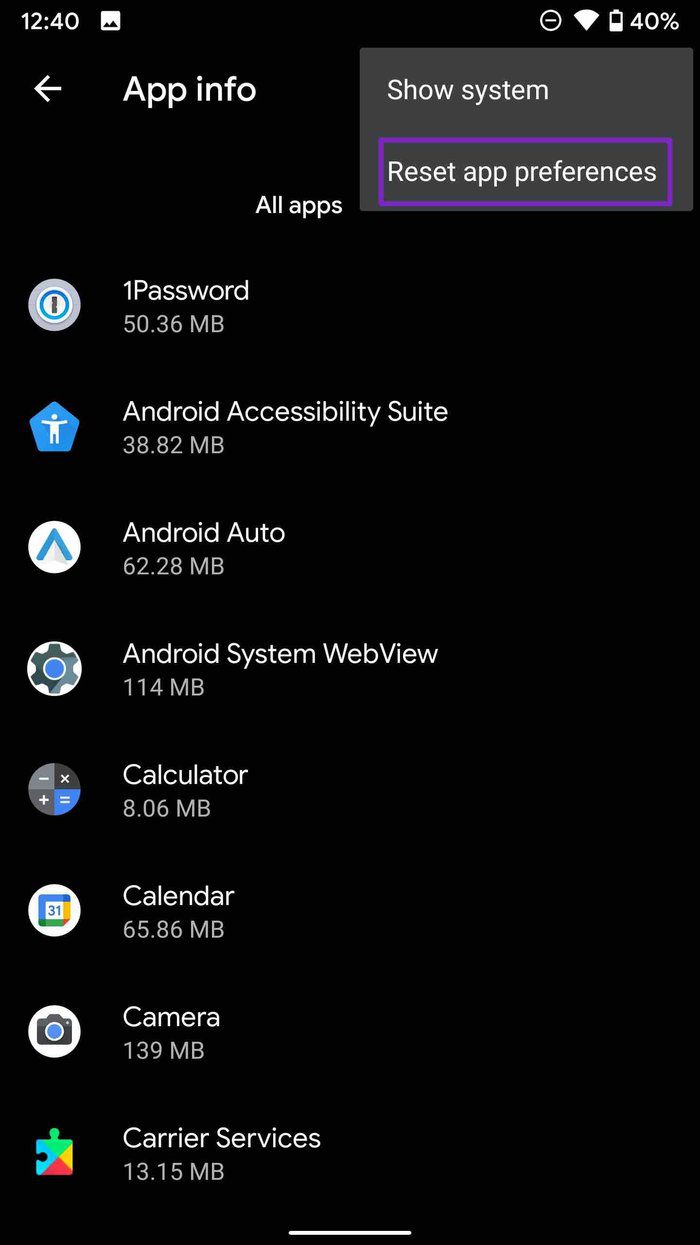
Step 3: Tap on the three-dot menu at the top and select Reset App preferences.
7. Uninstall Play Store Updates
Unlike the App Store on iOS, the Google Play Store works as a separate app on Android. Meaning, it’s not tied with Android OS updates, and Google can frequently release Play Store updates to add new features and change UI.
The latest Google Play Store update might have messed up the app updates function on the phone. You can uninstall those updates and go back to the factory version. Follow the steps below.
Step 1: Long-press on the Google Play Store icon and open the info menu.
Step 2: From the Play Store app info menu, tap on the three-dot menu at the top and select Uninstall updates option.
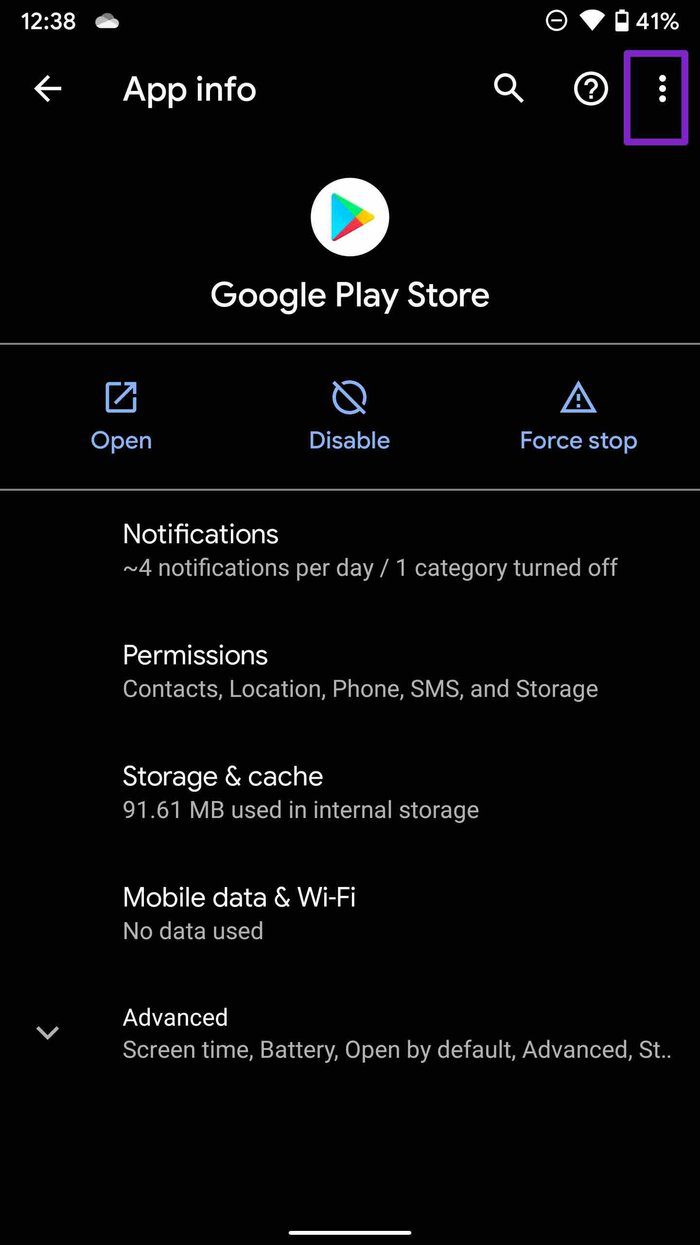
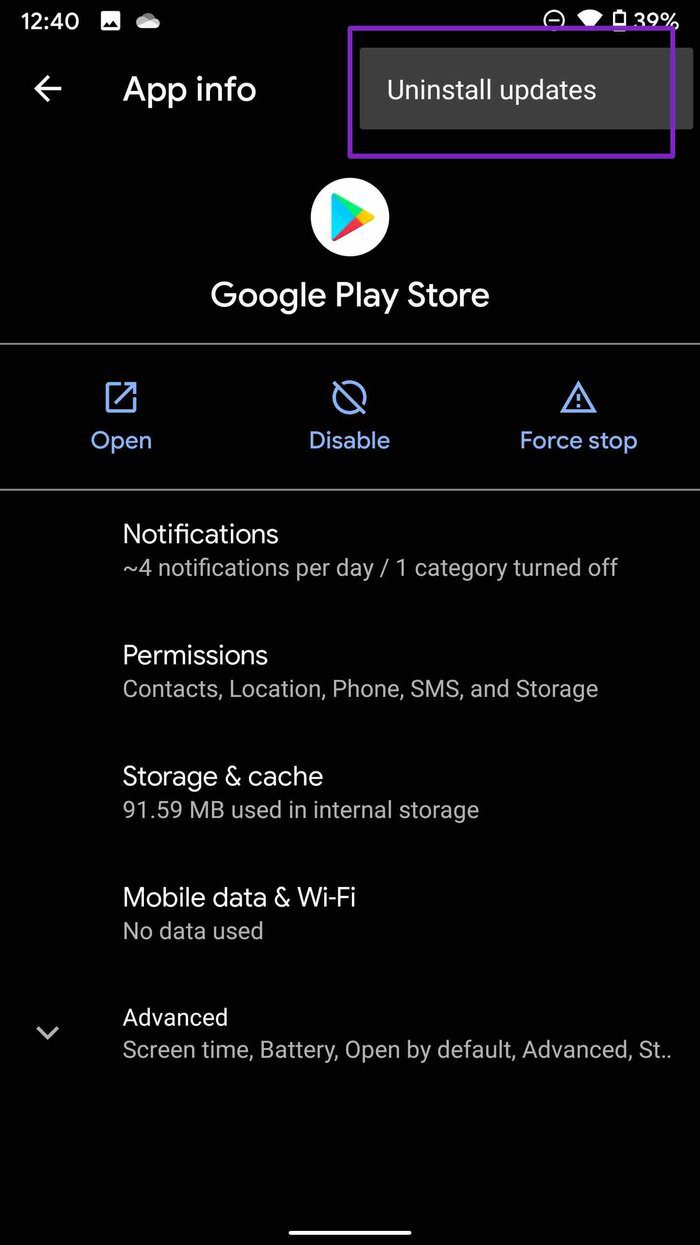
Step 3: Confirm your decision, and the Play Store will revert to the factory version.
Start Updating Apps Again
Google Play Store showing errors for checking updates might lead you to side-loading APK files from the web. It’s unproductive and unsafe to install apps from other sources rather than Google Play Store on Android. The methods mentioned above should fix up things for you. Let us know which trick fixed the Play Store error for you in the comments below.
Next up: Is the auto-update apps function not working for you in the Play Store? Read the post below to learn the top nine fixes for Google Play Store not auto-updating apps in the background.
Was this helpful?
Last updated on 07 February, 2022
Read Next
 10 Ways to Fix Discord Stuck on Checking for Updates
Discord is a great place to hang out with friends and the community.
10 Ways to Fix Discord Stuck on Checking for Updates
Discord is a great place to hang out with friends and the community.
 How to Fix Windows 10 Update Stuck on Checking for Updates Issue
A few days back, I noticed my laptop’s fan was running at full speed when plugged in.
How to Fix Windows 10 Update Stuck on Checking for Updates Issue
A few days back, I noticed my laptop’s fan was running at full speed when plugged in.
 Top 10 Ways to Fix Google Play Store ‘No Connection’ Error
Although Android phones come with some of the must-have apps pre-installed, the real treasure lies within the Google Play Store.
Top 10 Ways to Fix Google Play Store ‘No Connection’ Error
Although Android phones come with some of the must-have apps pre-installed, the real treasure lies within the Google Play Store.
 Top 6 Ways to Fix Play Store Movies Not Downloading Error
Several Google services are available from the Play Store.
Top 6 Ways to Fix Play Store Movies Not Downloading Error
Several Google services are available from the Play Store.
 12 Ways to Fix ‘Something Went Wrong’ Error in Play Store
Play Store is the place where users can safely download apps for their Android devices.
12 Ways to Fix ‘Something Went Wrong’ Error in Play Store
Play Store is the place where users can safely download apps for their Android devices.
 Top 6 Ways to Fix Account Not in This Store Error in App Store for iPhone
The App Store is the only reliable source for downloading apps and games on your iPhone.
Top 6 Ways to Fix Account Not in This Store Error in App Store for iPhone
The App Store is the only reliable source for downloading apps and games on your iPhone.
 Top 8 Ways to Fix WhatsApp Checking for New Messages Notification on Android
WhatsApp is the world's most popular instant messenger.
Top 8 Ways to Fix WhatsApp Checking for New Messages Notification on Android
WhatsApp is the world's most popular instant messenger.
 Top 8 Ways to Fix Apple Mail Stuck on Checking for Mail on iPhone
Apple Mail app got a solid boost with the iOS 16 update.
Top 8 Ways to Fix Apple Mail Stuck on Checking for Mail on iPhone
Apple Mail app got a solid boost with the iOS 16 update.
The article above may contain affiliate links which help support Guiding Tech. The content remains unbiased and authentic and will never affect our editorial integrity.

