Apple Music is one of the most feature-rich music streaming apps but isn’t free from flaws. Several users seem to face the error message ‘Request Timed Out’ on Apple Music, and if you’re one among them – you’re in the right place. In this article, we want to show you all the effective methods to eliminate the problem.
The issue can occur due to a variety of reasons. Apple Music servers might be facing an outage or an issue with your network connectivity. Further, a bug might be present on the Apple Music app, or your subscription may have expired. Let’s try to fix the issue by simply restarting the app on your iPhone.
Also Read: 8 Ways to Fix the Resource Unavailable Error in Apple Music on iPhone
1. Restart Apple Music
Restarting Apple Music shuts down all its services and starts it again once the app is reopened. Since it refreshes the app, there is a good chance it can help you eliminate the ‘Resource Unavailable’ error message.
Step 1: Swipe up from the bottom of your home screen to launch the app switcher. If you use an iPhone with a home button, double-tap on the same.
Step 2: Swipe up to clear the Apple Music app.
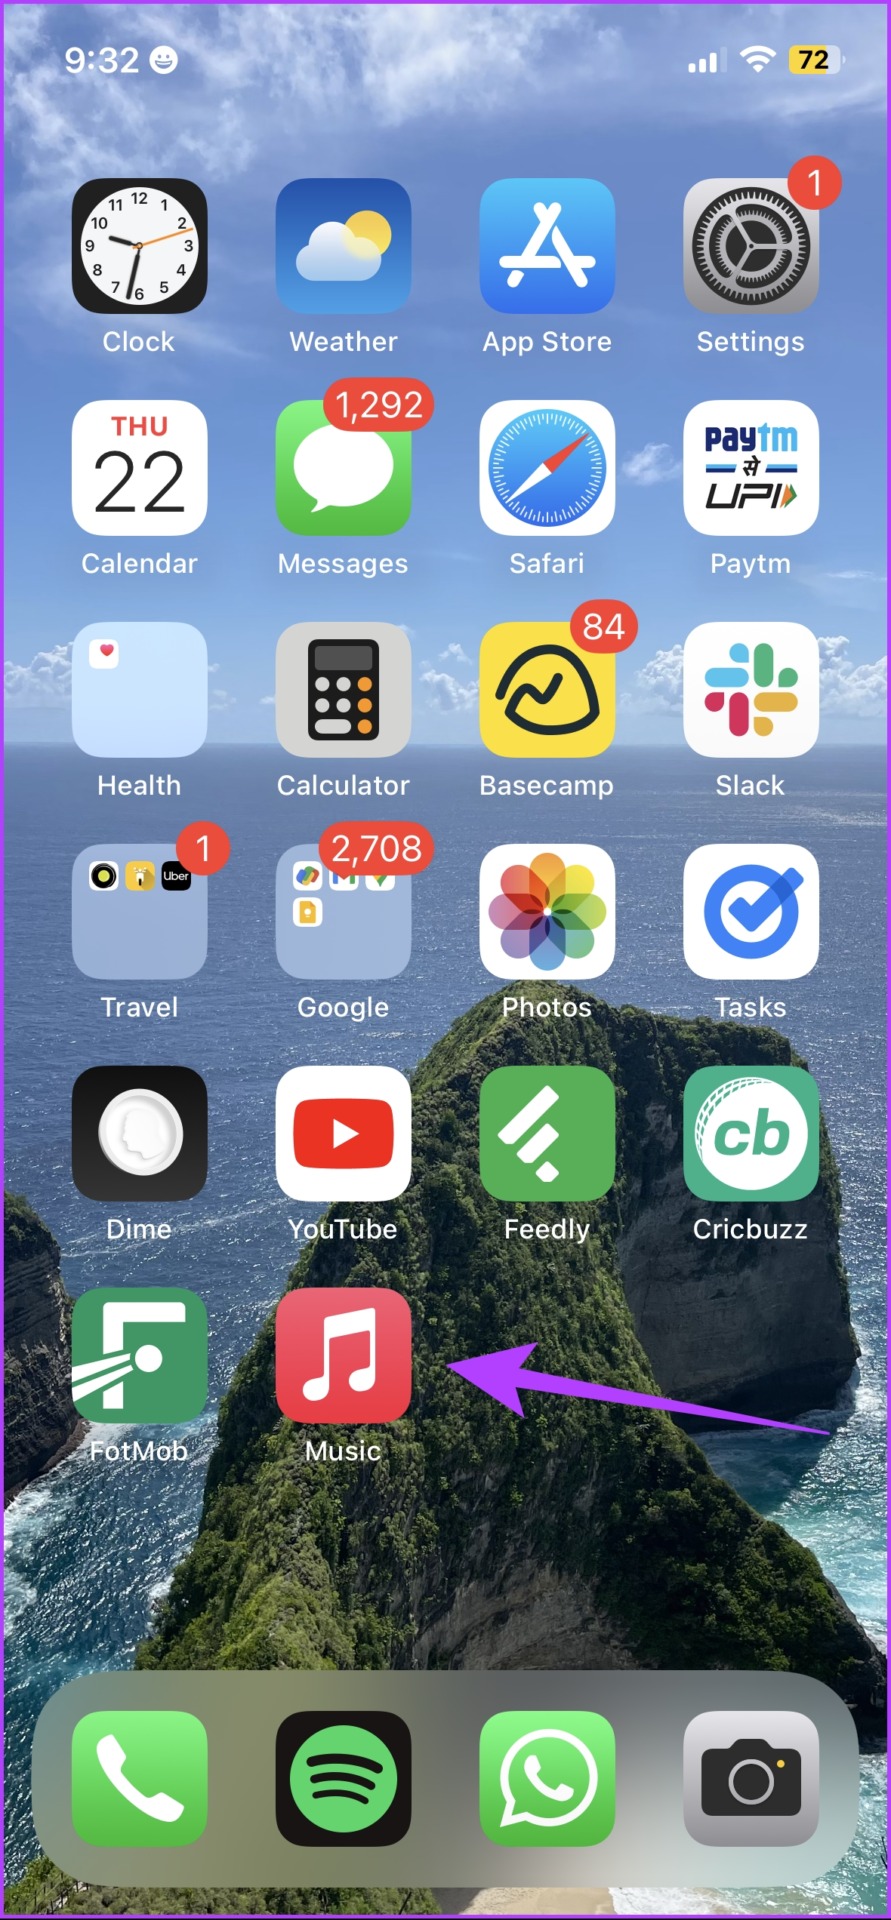
Step 3: Relaunch the Apple Music app from your home screen.

2. Check If Apple Music Is Down
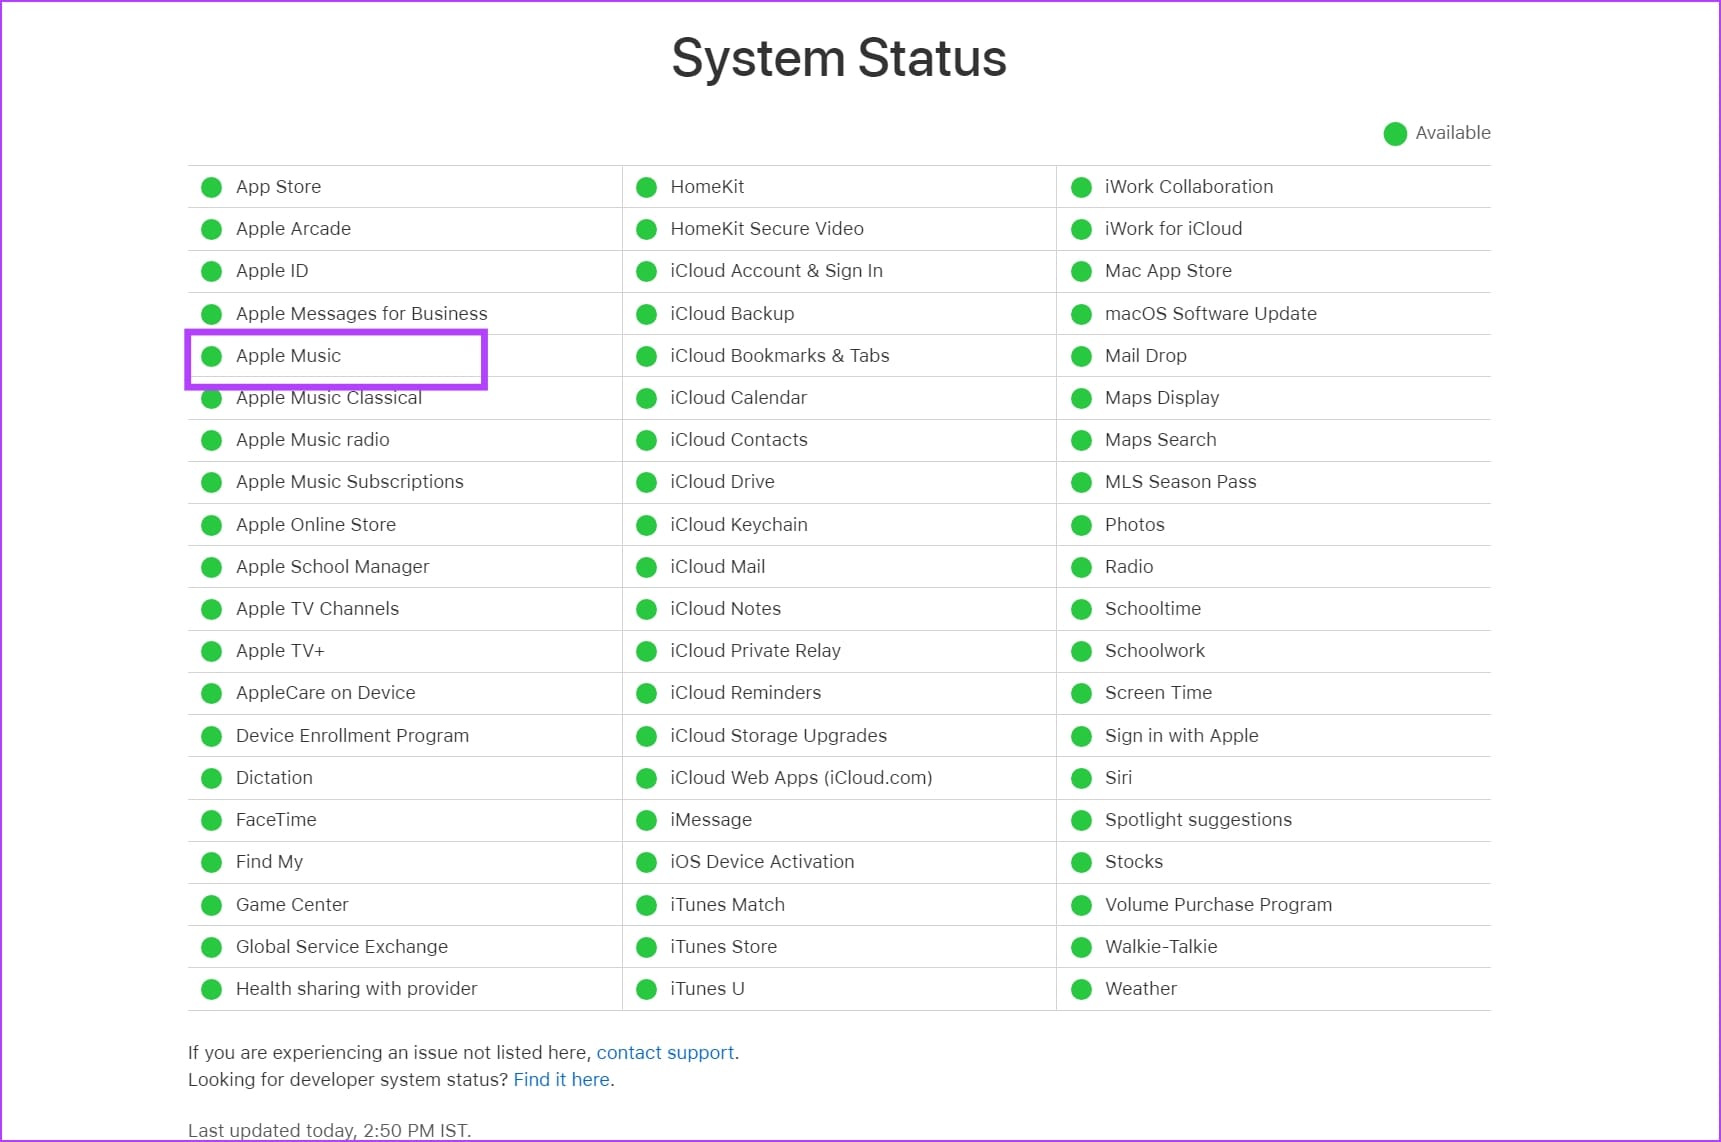
If the servers of Apple Music are down, music playback may be affected too, and you might face the ‘Request Timed Out’ error on Apple Music.
However, you can check the system status of Apple Services on this dashboard and see if Apple Music is affected.
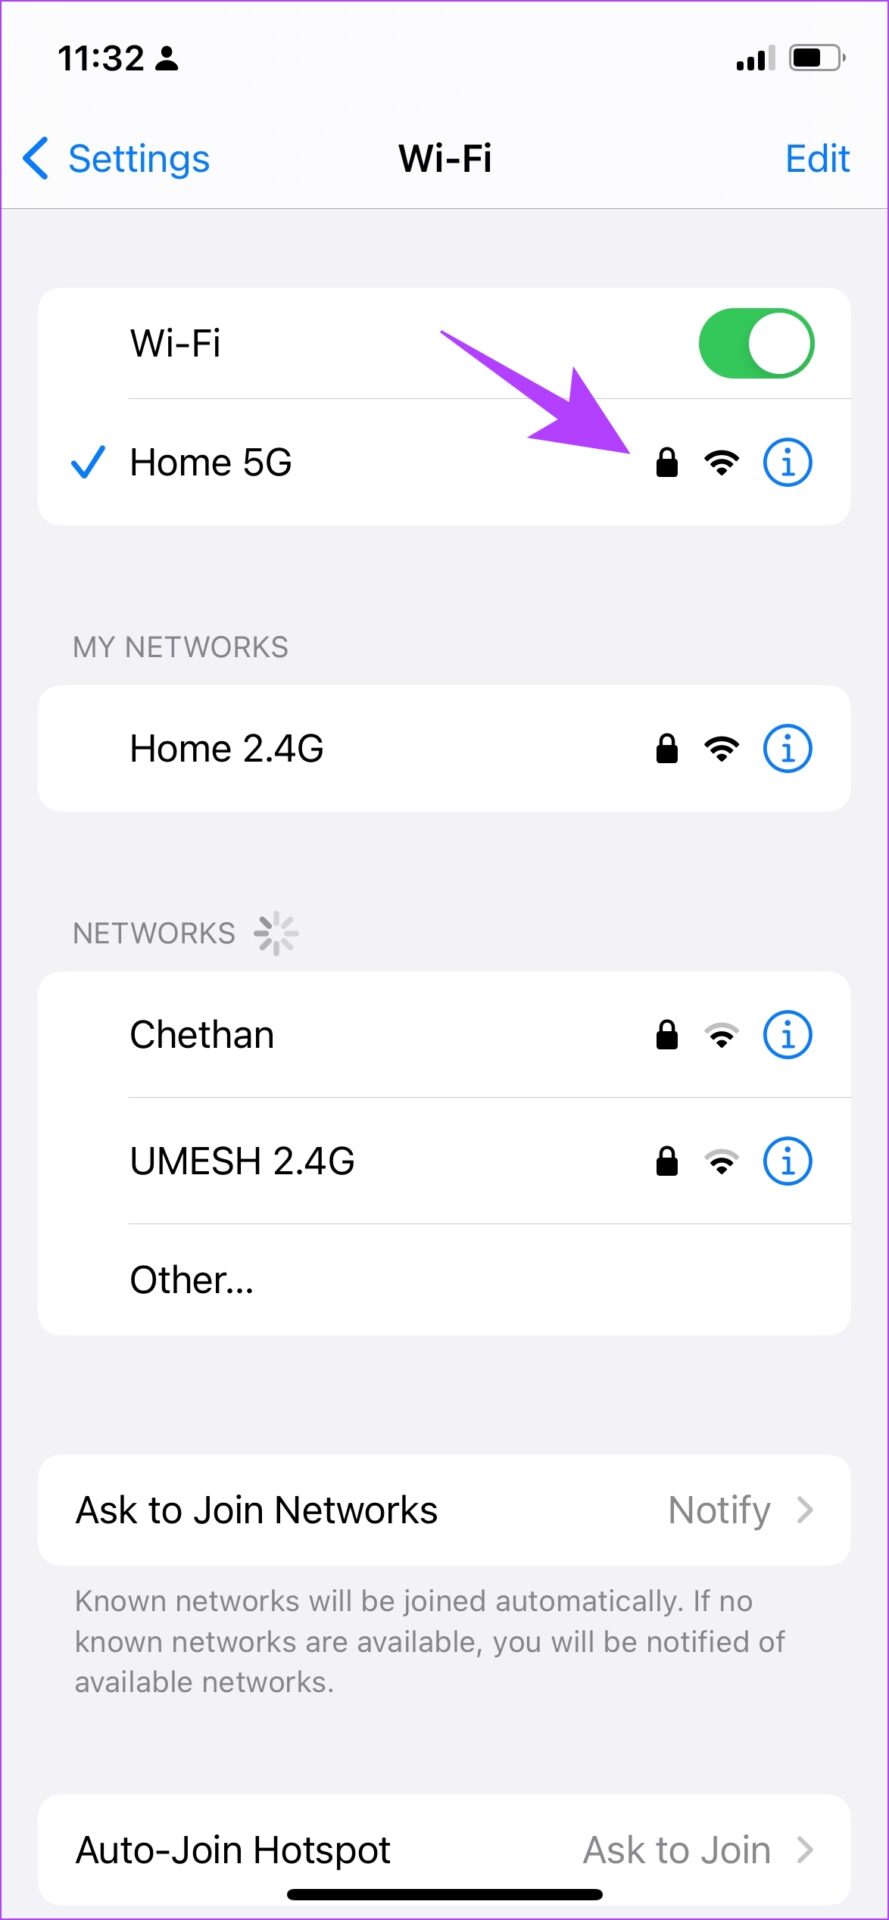
3. Check Network Connectivity
If Apple Music keeps showing the ‘Request Timed Out’ message, there is likely a problem with your internet connectivity. Apple Music requires an active internet connection to work without flaws. Therefore, ensure that you operate on a cellular network with an active plan or a high-speed Wi-Fi network with good signal strength.
4. Restart iPhone
If you see the ‘Request Timed Out’ error on Apple Music, restart your iPhone or iPad. It might be affected by a bug running in the current session. Once you turn off your device, it closes all the elements and operations, including the bug.
Once you turn your device on, the chances of the bug restarting are slim. Therefore, restarting your iPhone will help you fix the issue.
Step 1: First, shut down your device.
- On iPhone X and above: Press and hold the volume down and the side button.
- On iPhone SE 2nd or 3rd gen, 7, and 8 series: Press and hold the side button.
- On iPhone SE 1st gen, 5s, 5c, or 5: Hold the power button at the top.
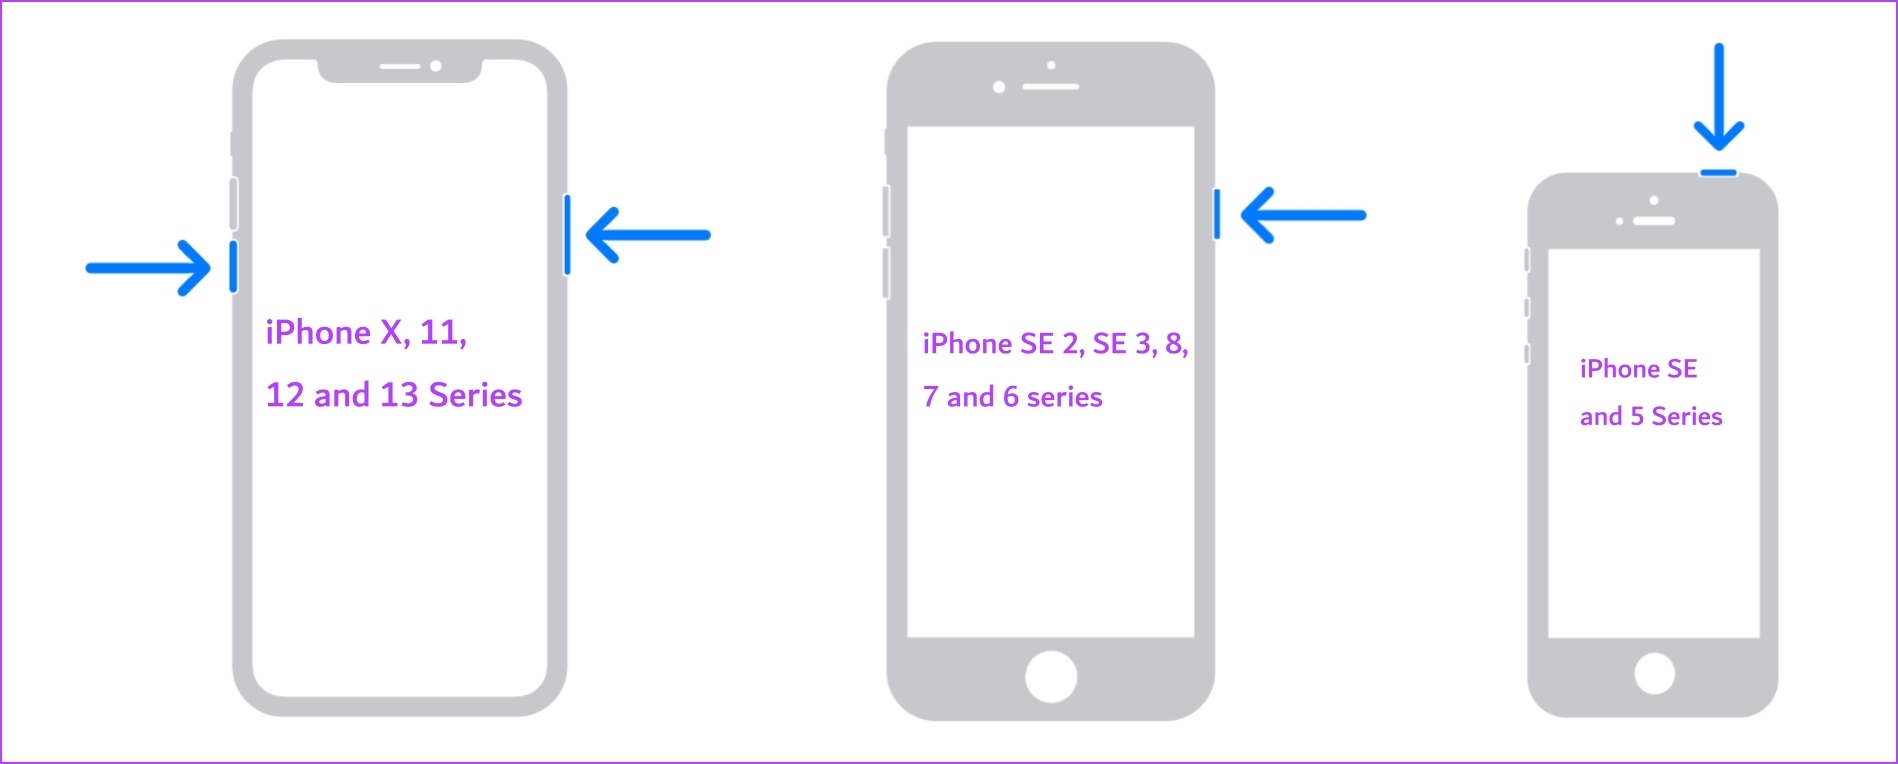
Step 2: Now, drag the power slider to turn off the device.
Step 3: Next, turn on your device by
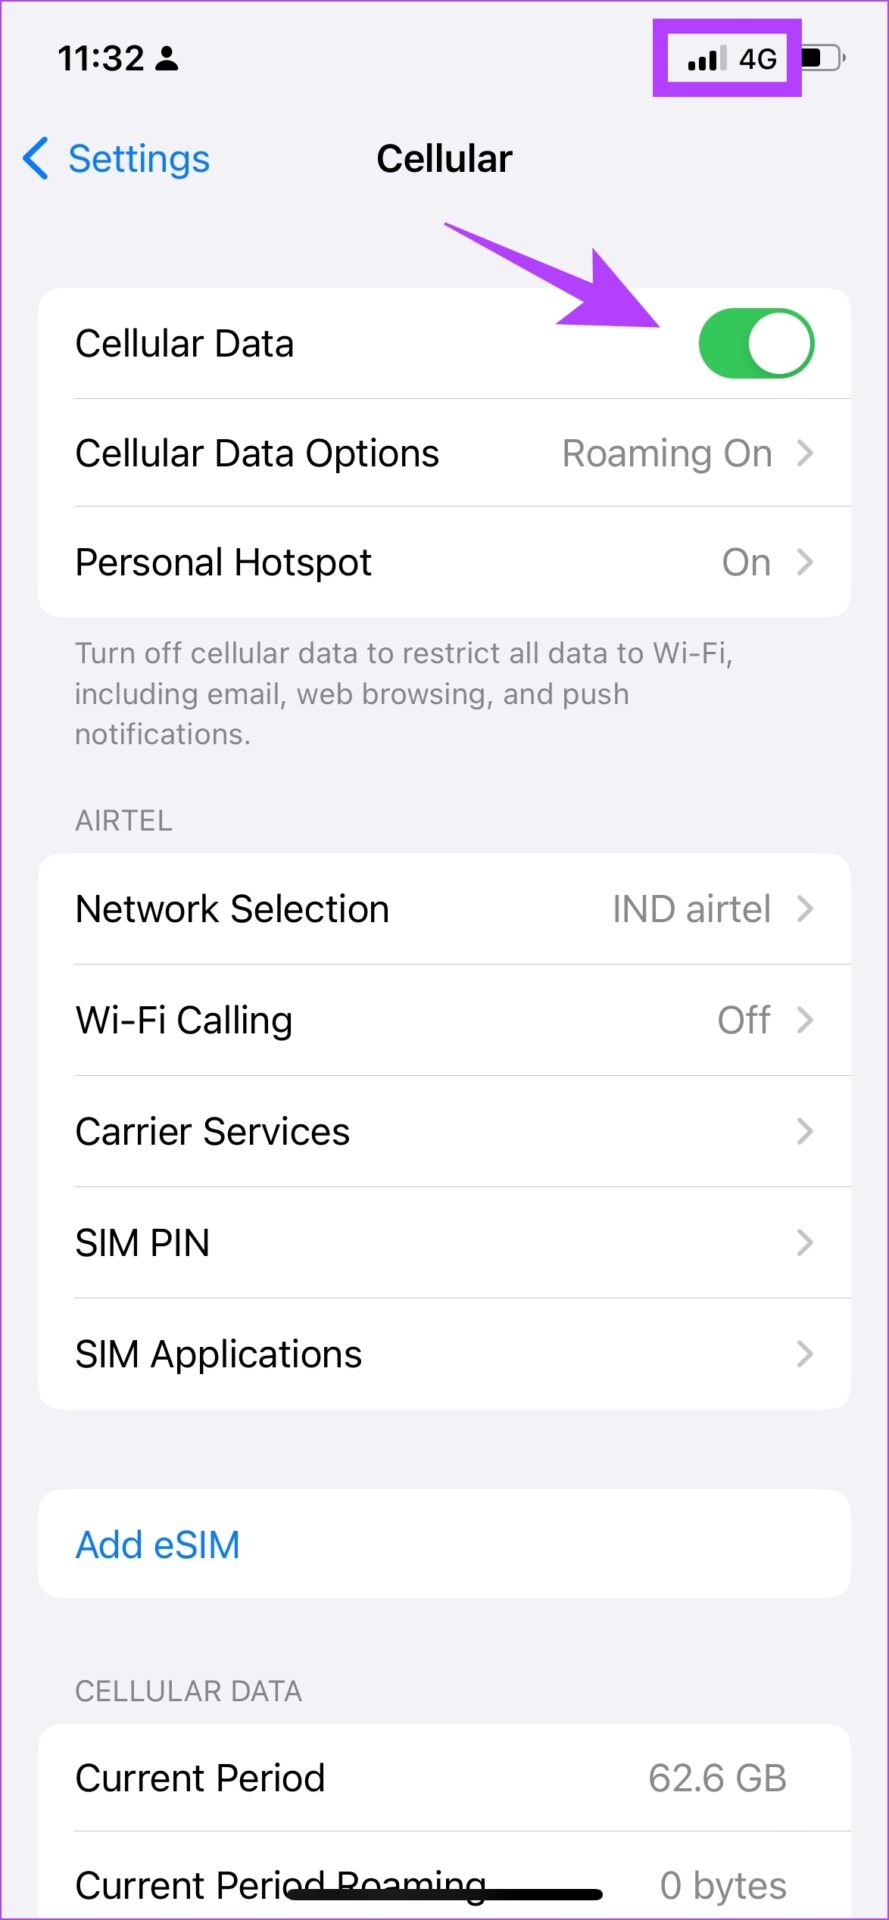
5. Check Cellular Data for Apple Music
If Apple Music shows an error message while using mobile data only, check if you have enabled internet access for it in the first place. If not, you need to provide mobile data access. Here’s how to do it.
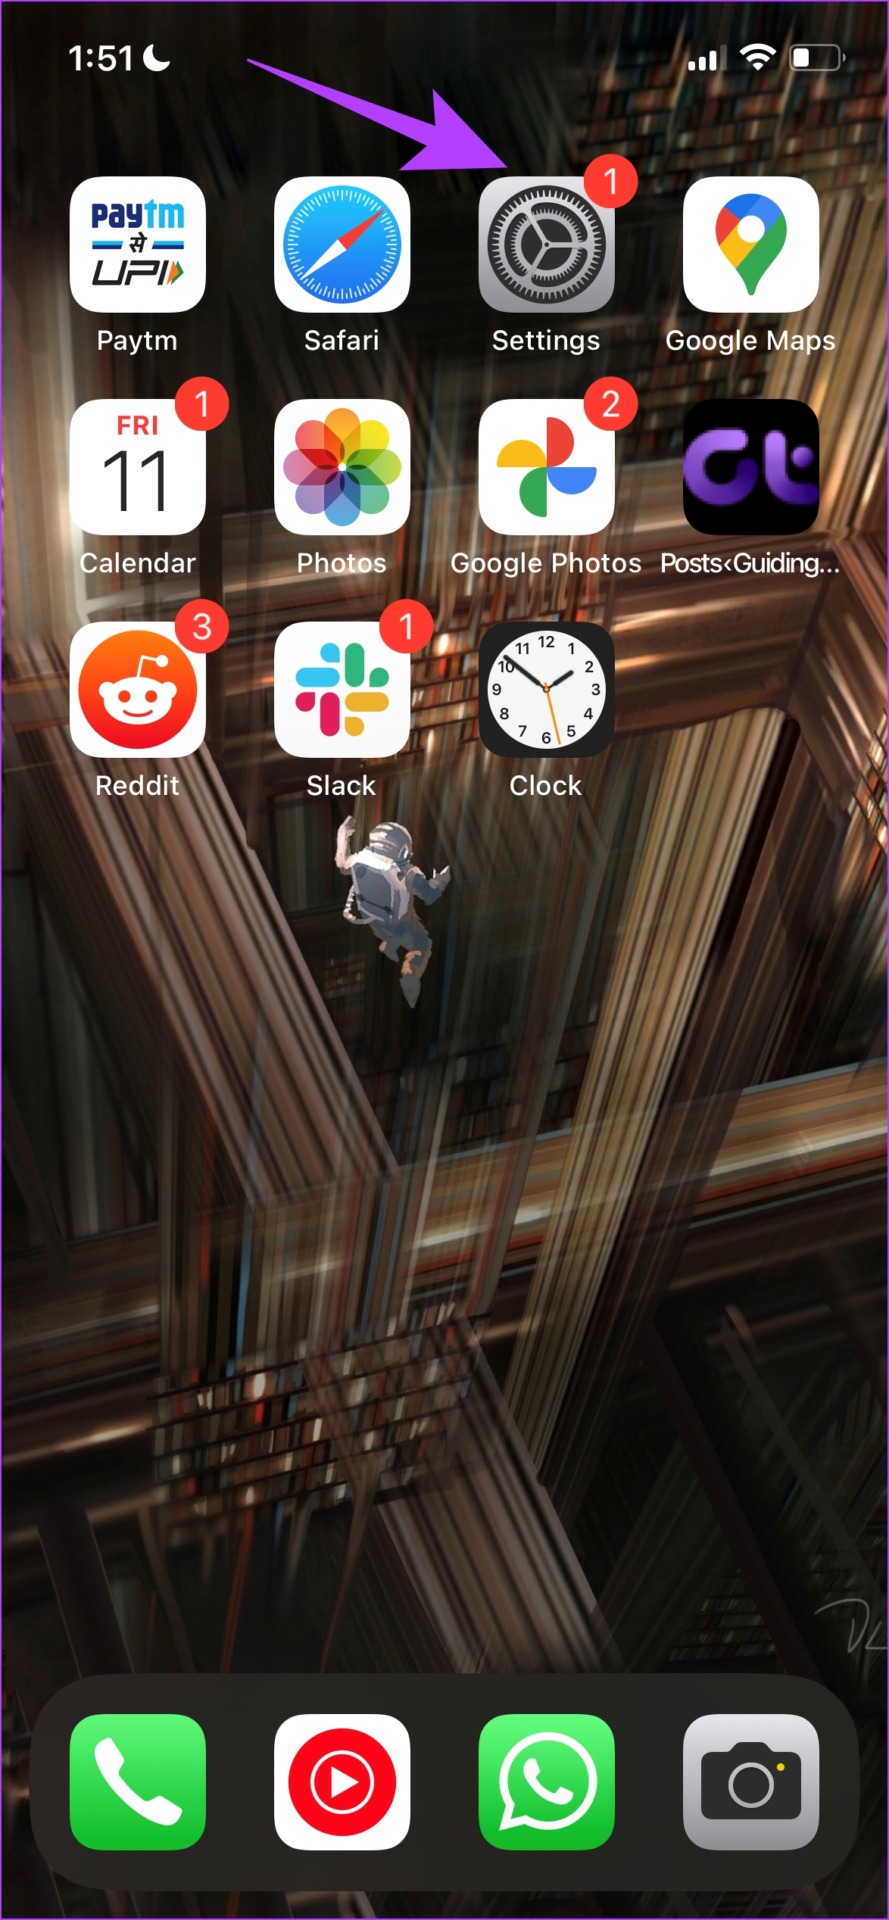
Step 1: Open the Settings app.
Step 2: Tap on Mobile Data.

Step 3: Scroll down to find Music and ensure to turn on the toggle for the same.

6. Disable VPN
A VPN is a private connection that routes incoming and outgoing internet traffic through a private server. However, the VPN that you might be using could be slow or facing an outage.
If you are trying to use Apple Music on that VPN and it does not work as expected, your best bet to fix the issue is to ensure you are not connected to any VPN.
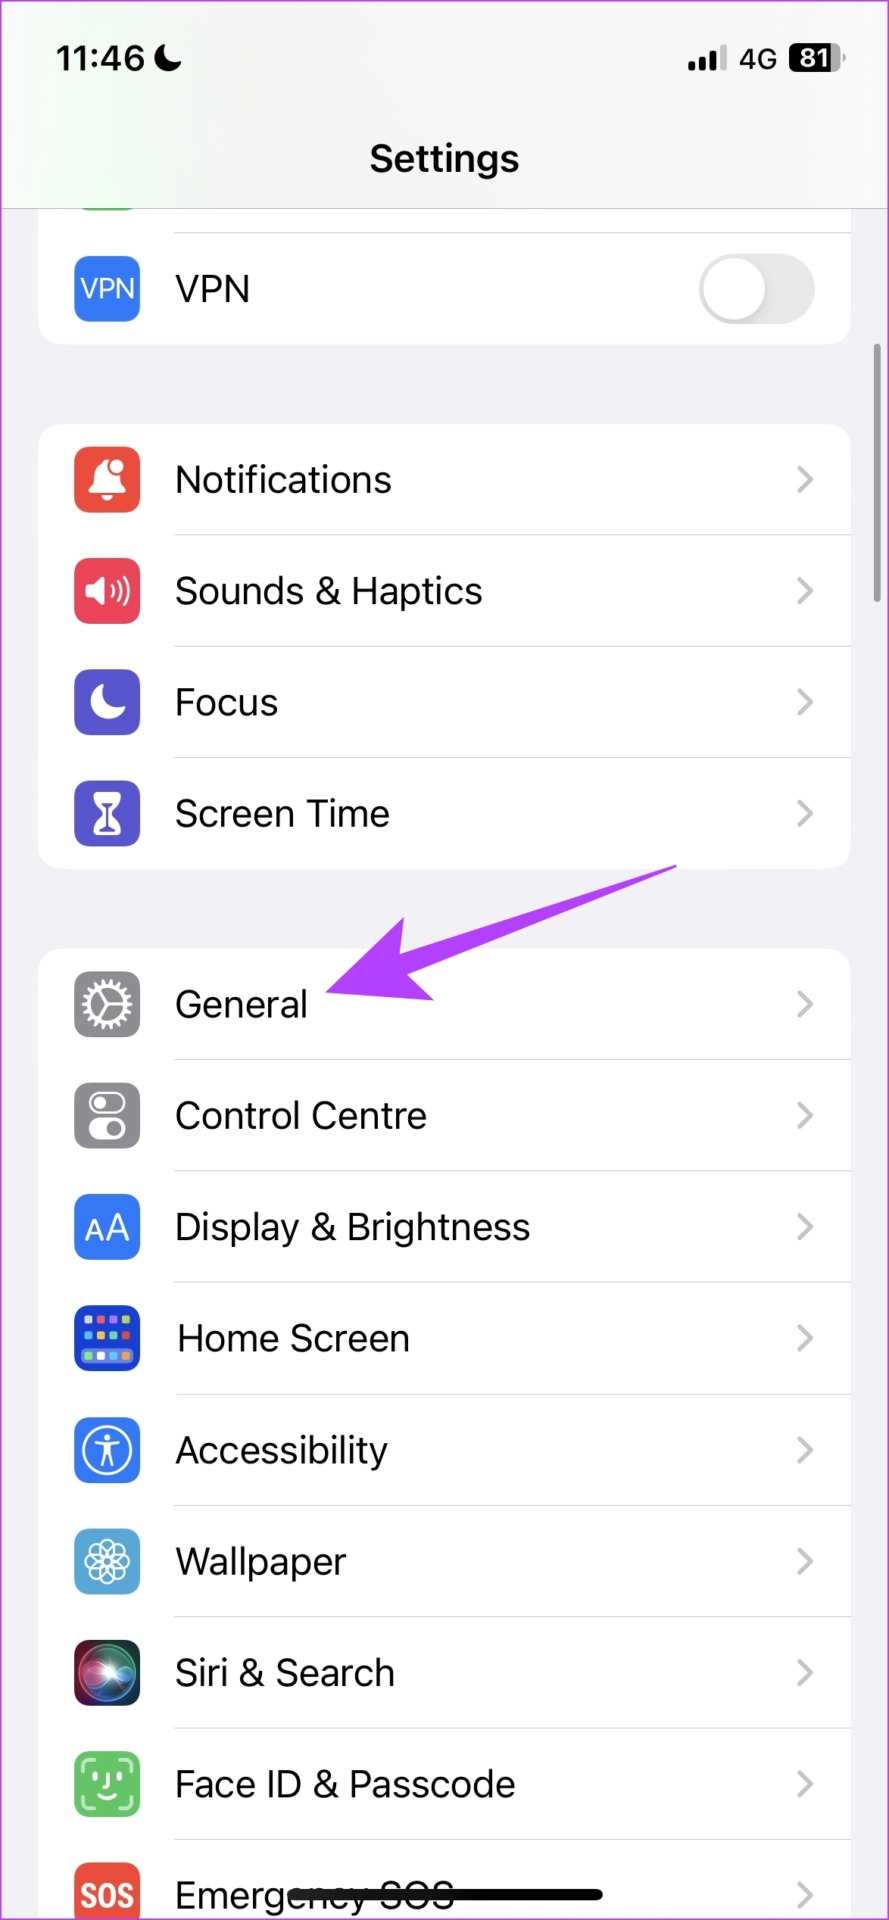
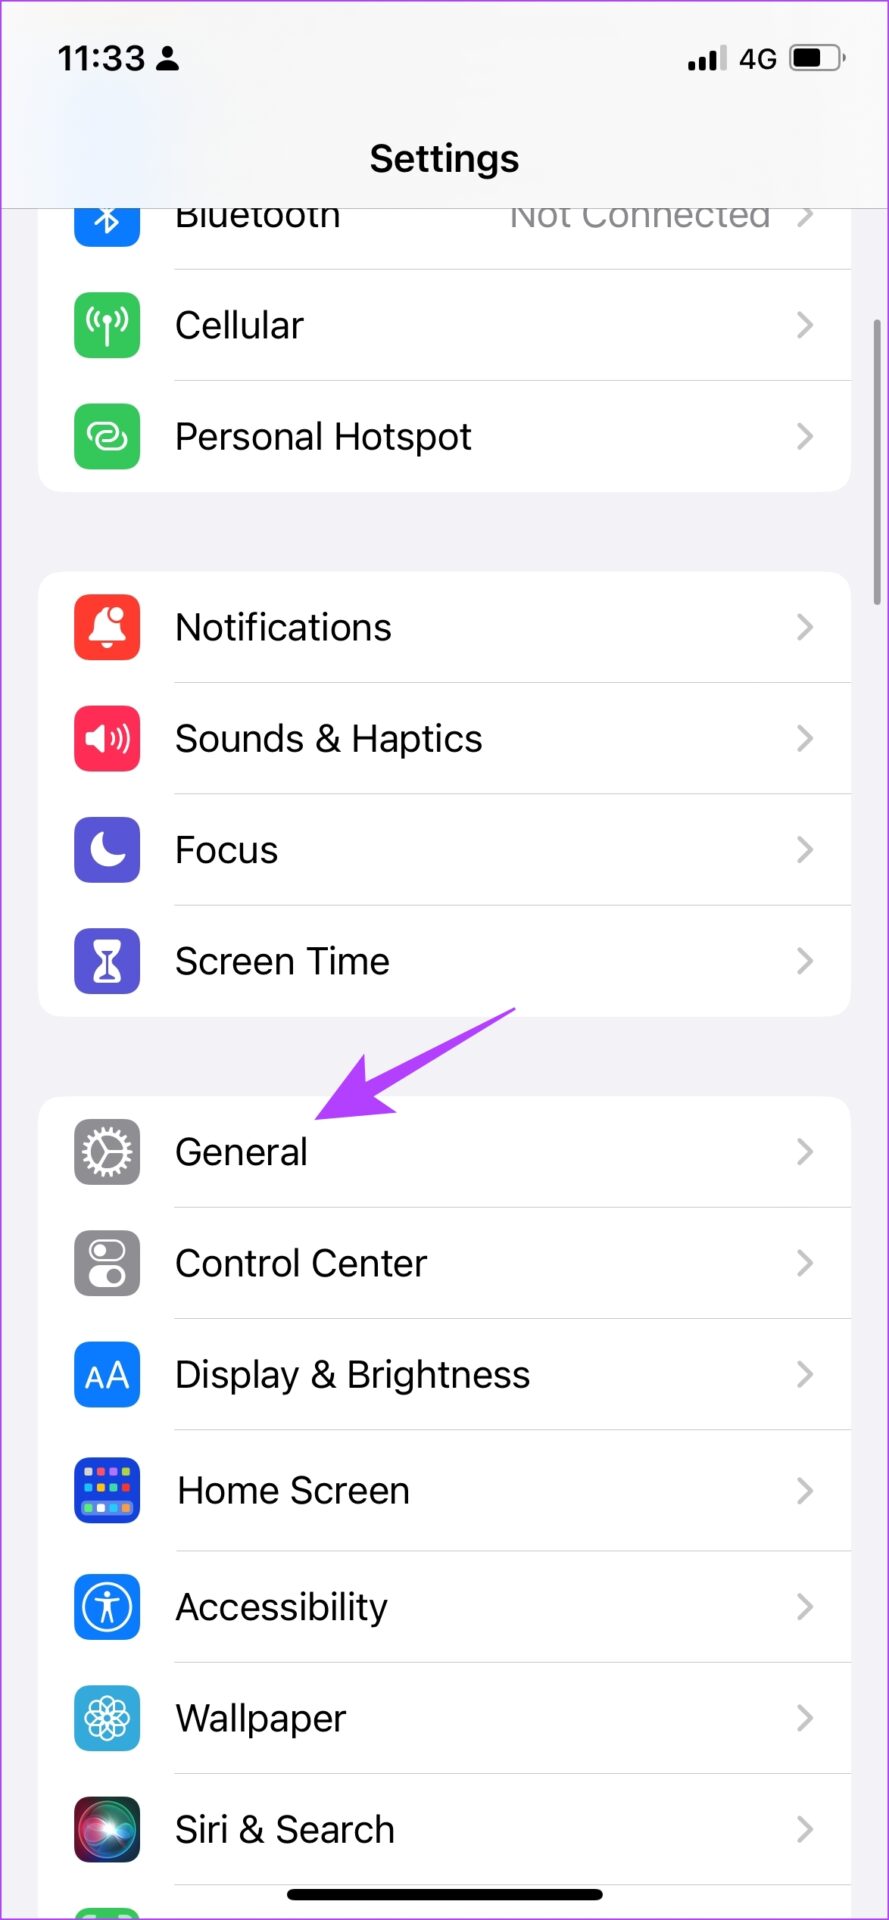
Step 1: Open the Settings app and select General.

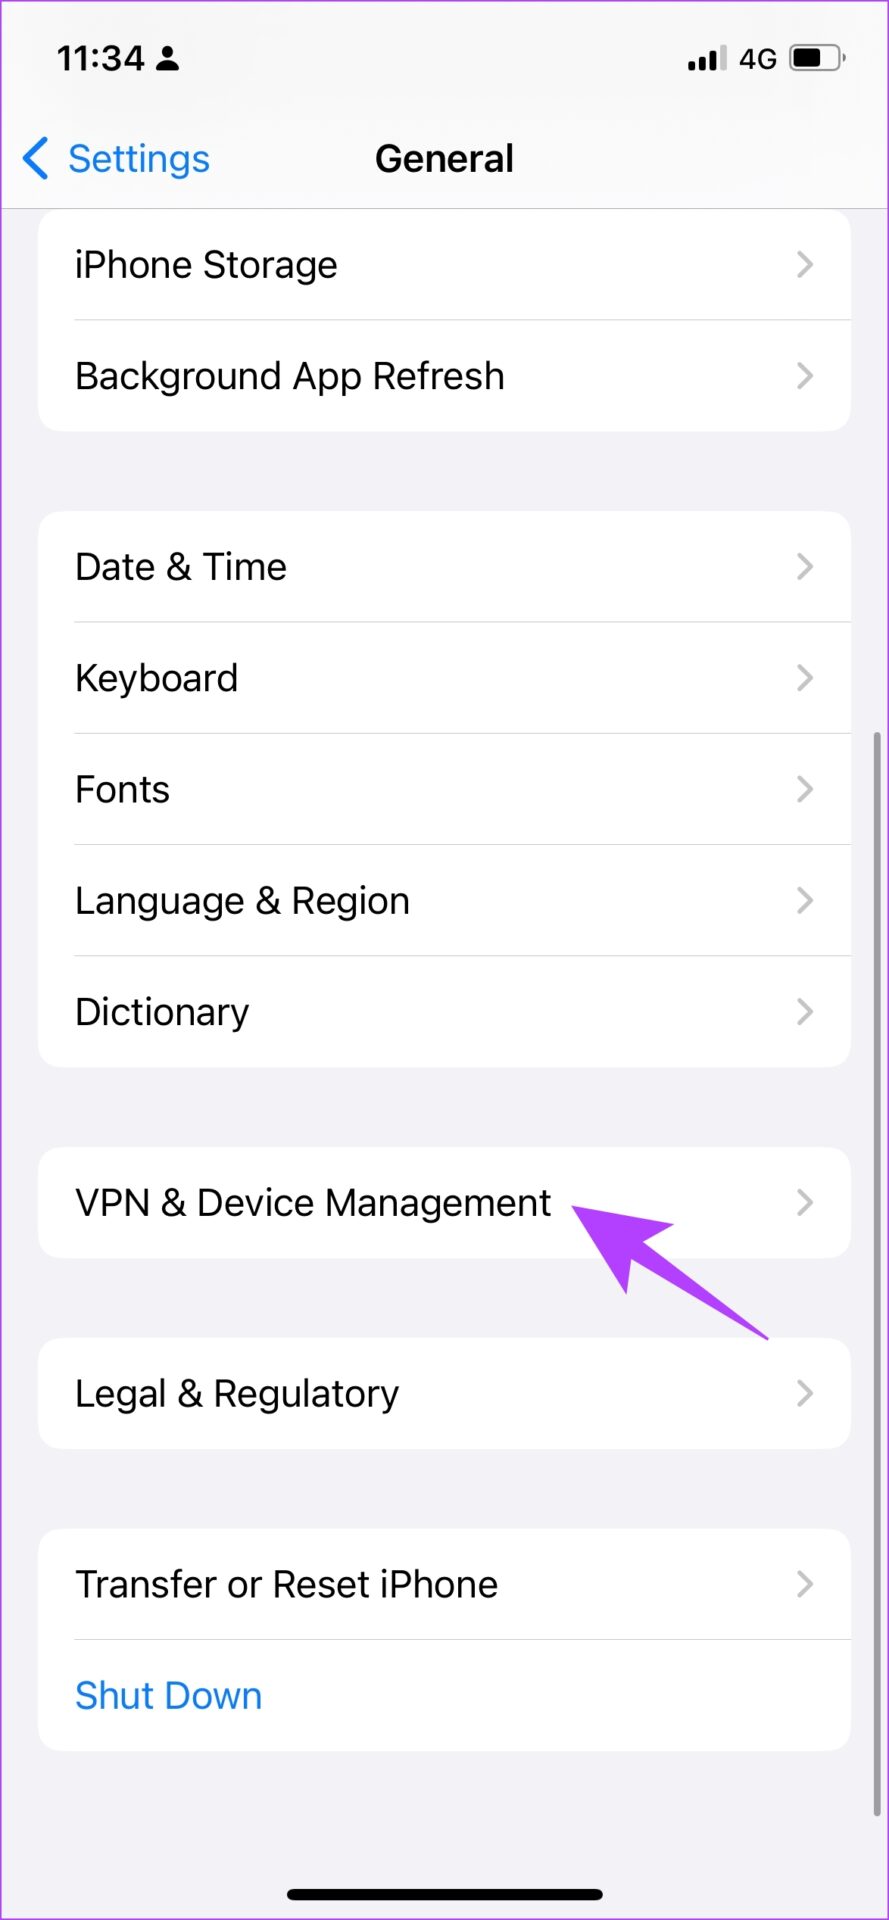
Step 2: Tap on ‘VPN & Device Management’.
Step 3: Ensure that the status says ‘Not Connected’ meaning you are not connected to a VPN service.

7. Update iPhone
If a widespread bug is affecting Apple Music, the developers will take care of it, and since it is a system app, issues will most likely be fixed in an iOS update. Therefore, keep a check on any software updates on your iPhone.
Step 1: Open the Settings app.
Step 2: Tap on General.
Step 3: Tap on Software Updates and check if an update is available. If yes, you will find the necessary options to download and install it.

8. Re-install Apple Music
Apple Music is one of those system apps that you can uninstall and reinstall from the App Store. Since it deletes the app and all its stored data and junk files, it may help you eliminate the issue. Here’s how you can reinstall Apple Music.
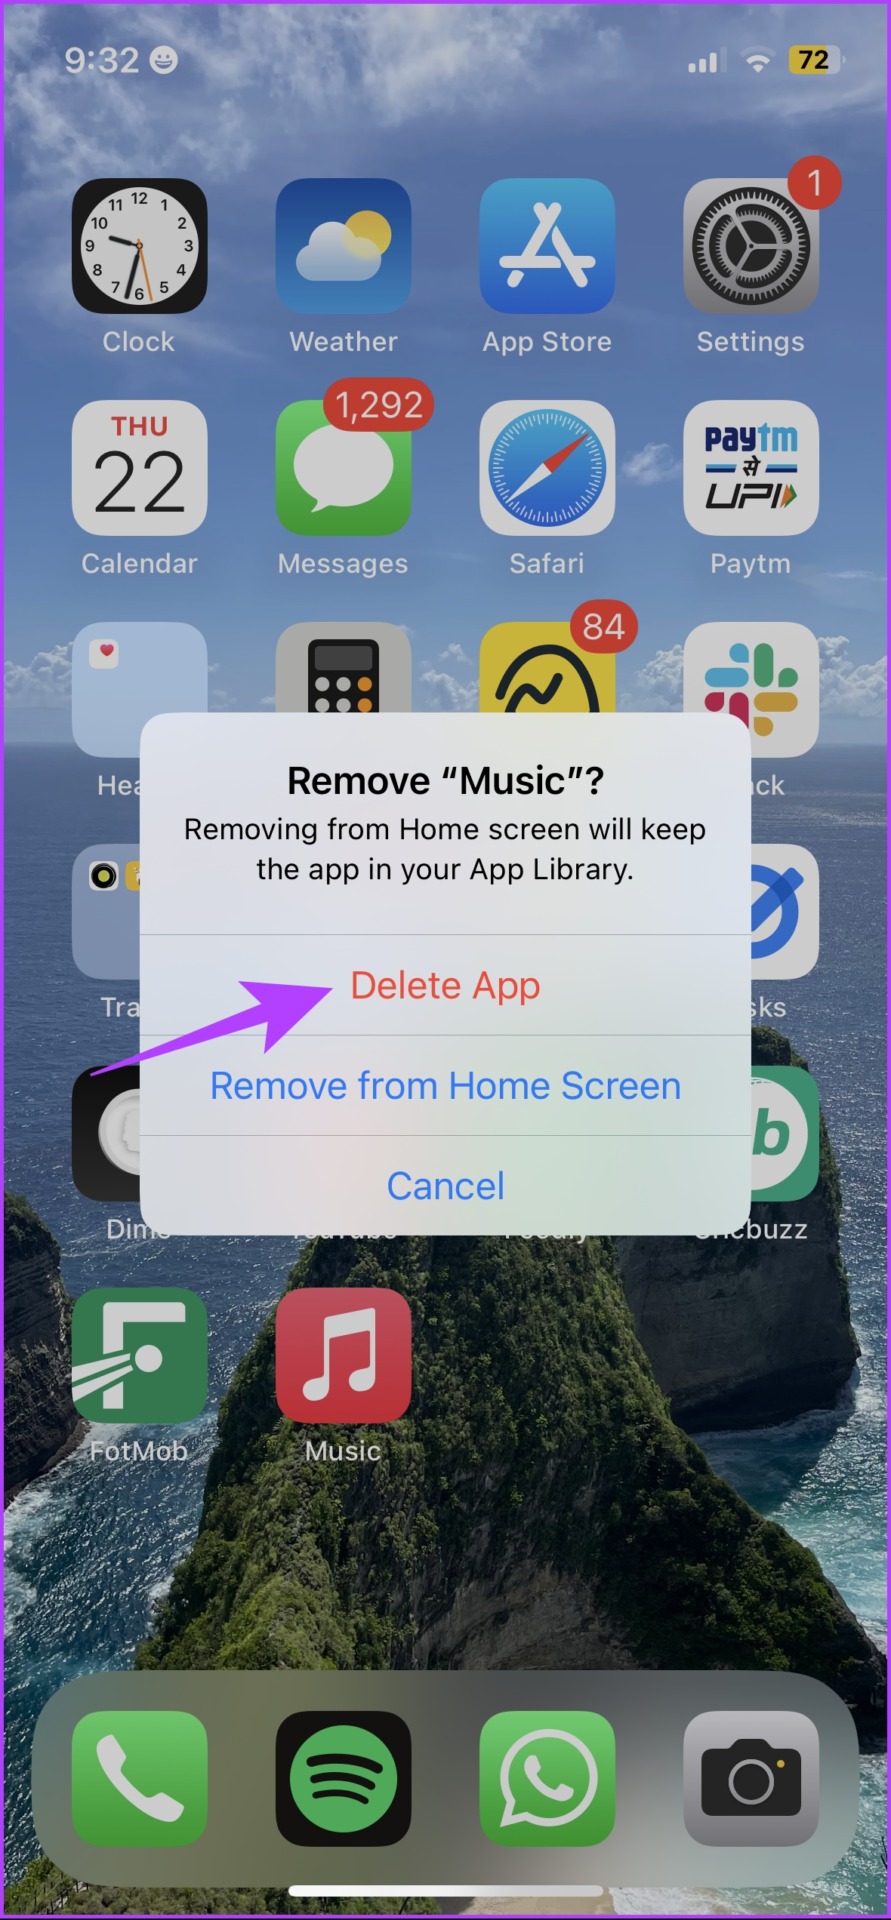
Step 1: Long-tap on the Apple Music icon.
Step 2: Tap on Remove App.
Step 3: Tap on Delete to uninstall the app.

Step 4: Use the link below to download Apple Music from the App Store on your iPhone and iPad.
9. Reset Network Settings
Resetting Network Settings will reset all the network-related configurations on your iPhone and establish a fresh connection. There is a good chance that Apple Music will work as usual after this.
Note: This option deletes the Wi-Fi passwords from your iPhone and other network configurations. So, save Wi-Fi passwords before proceeding to the steps.
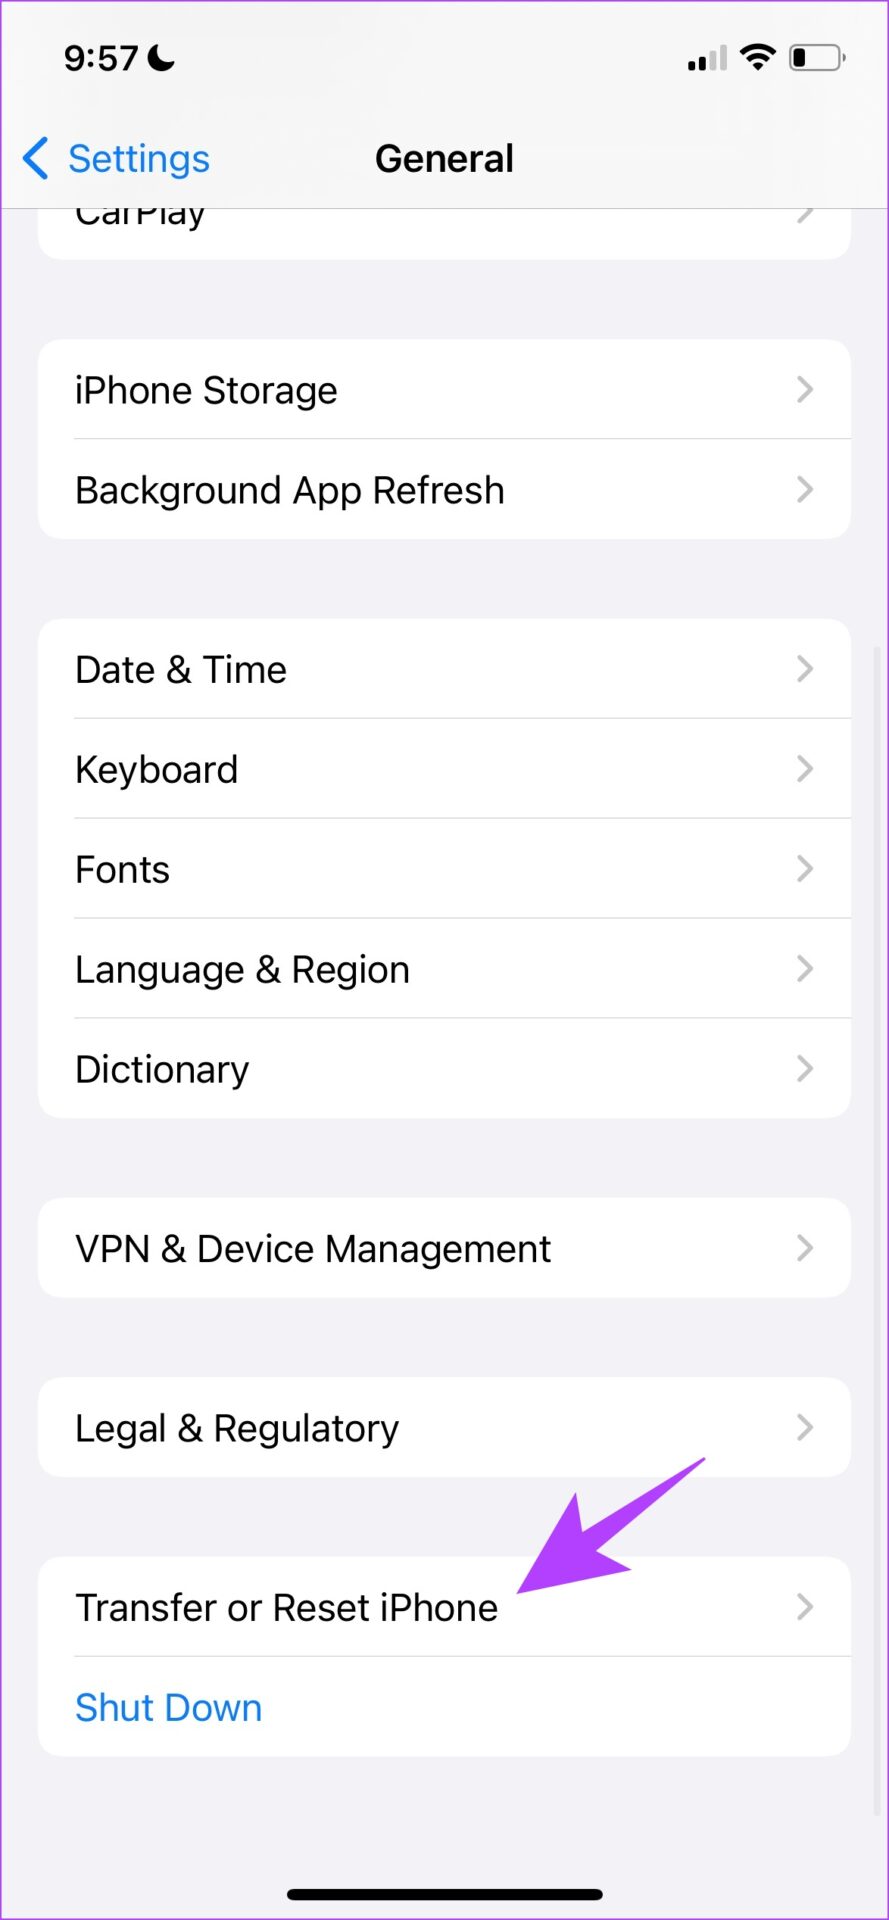
Step 1: Open the Settings app and tap on General.
Step 2: Tap on ‘Transfer and Reset’.
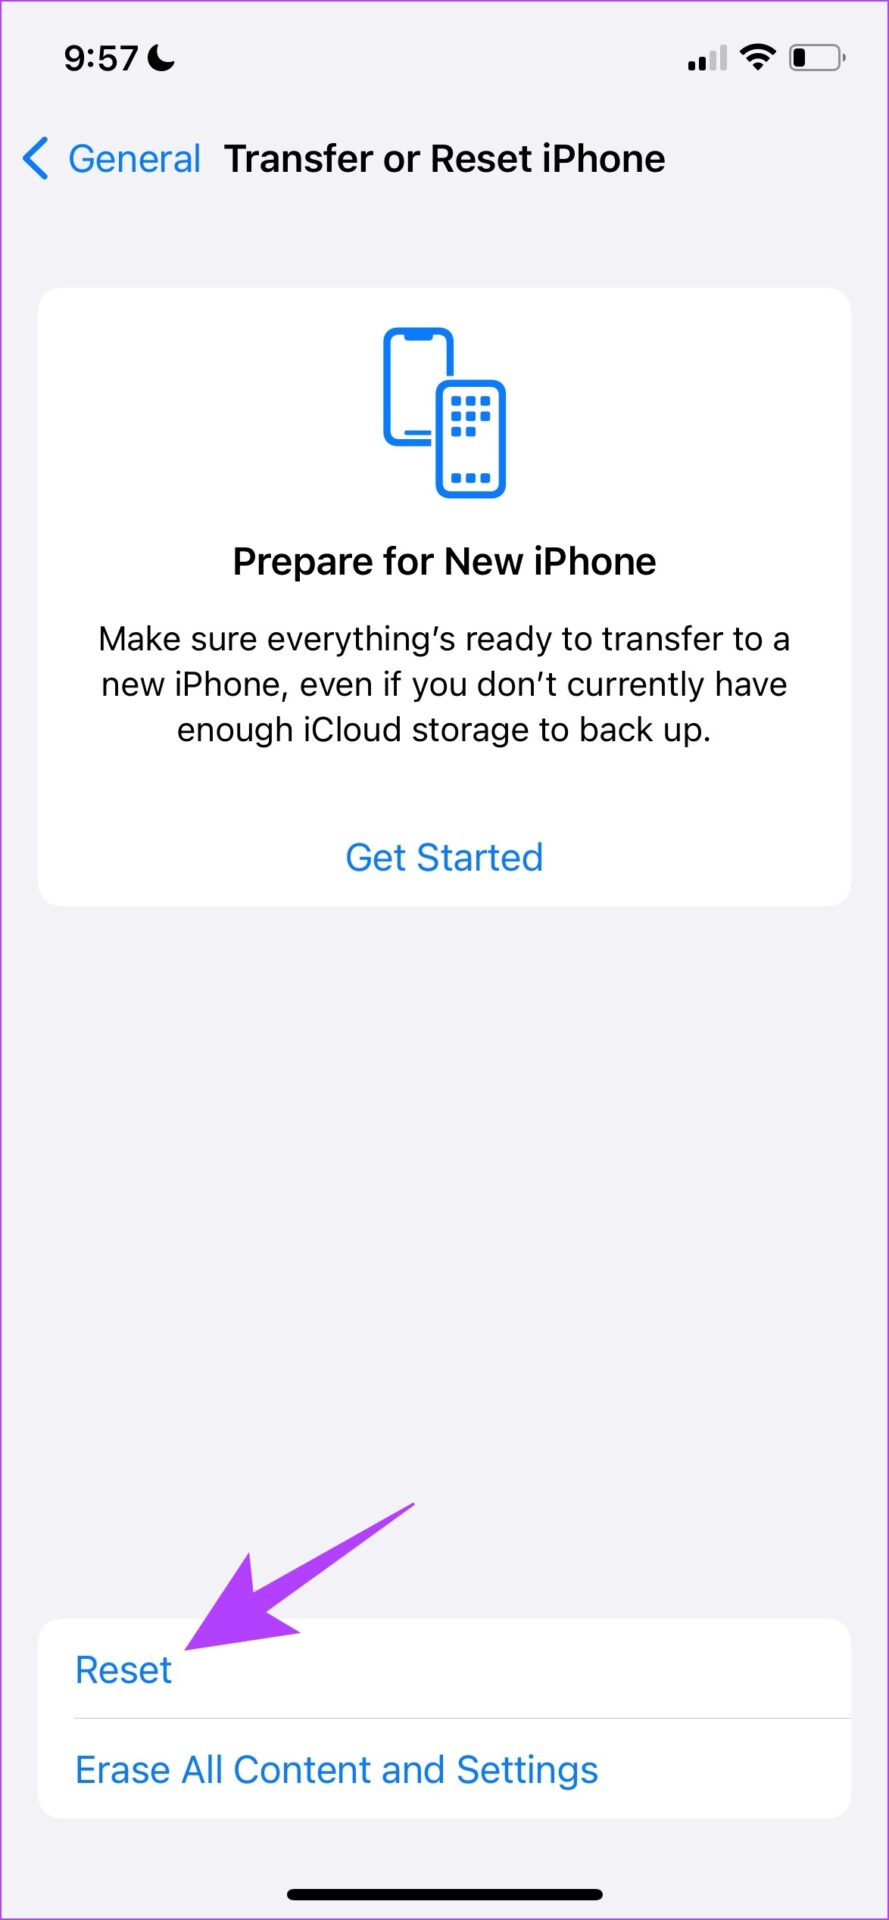
Step 3: Select Reset.
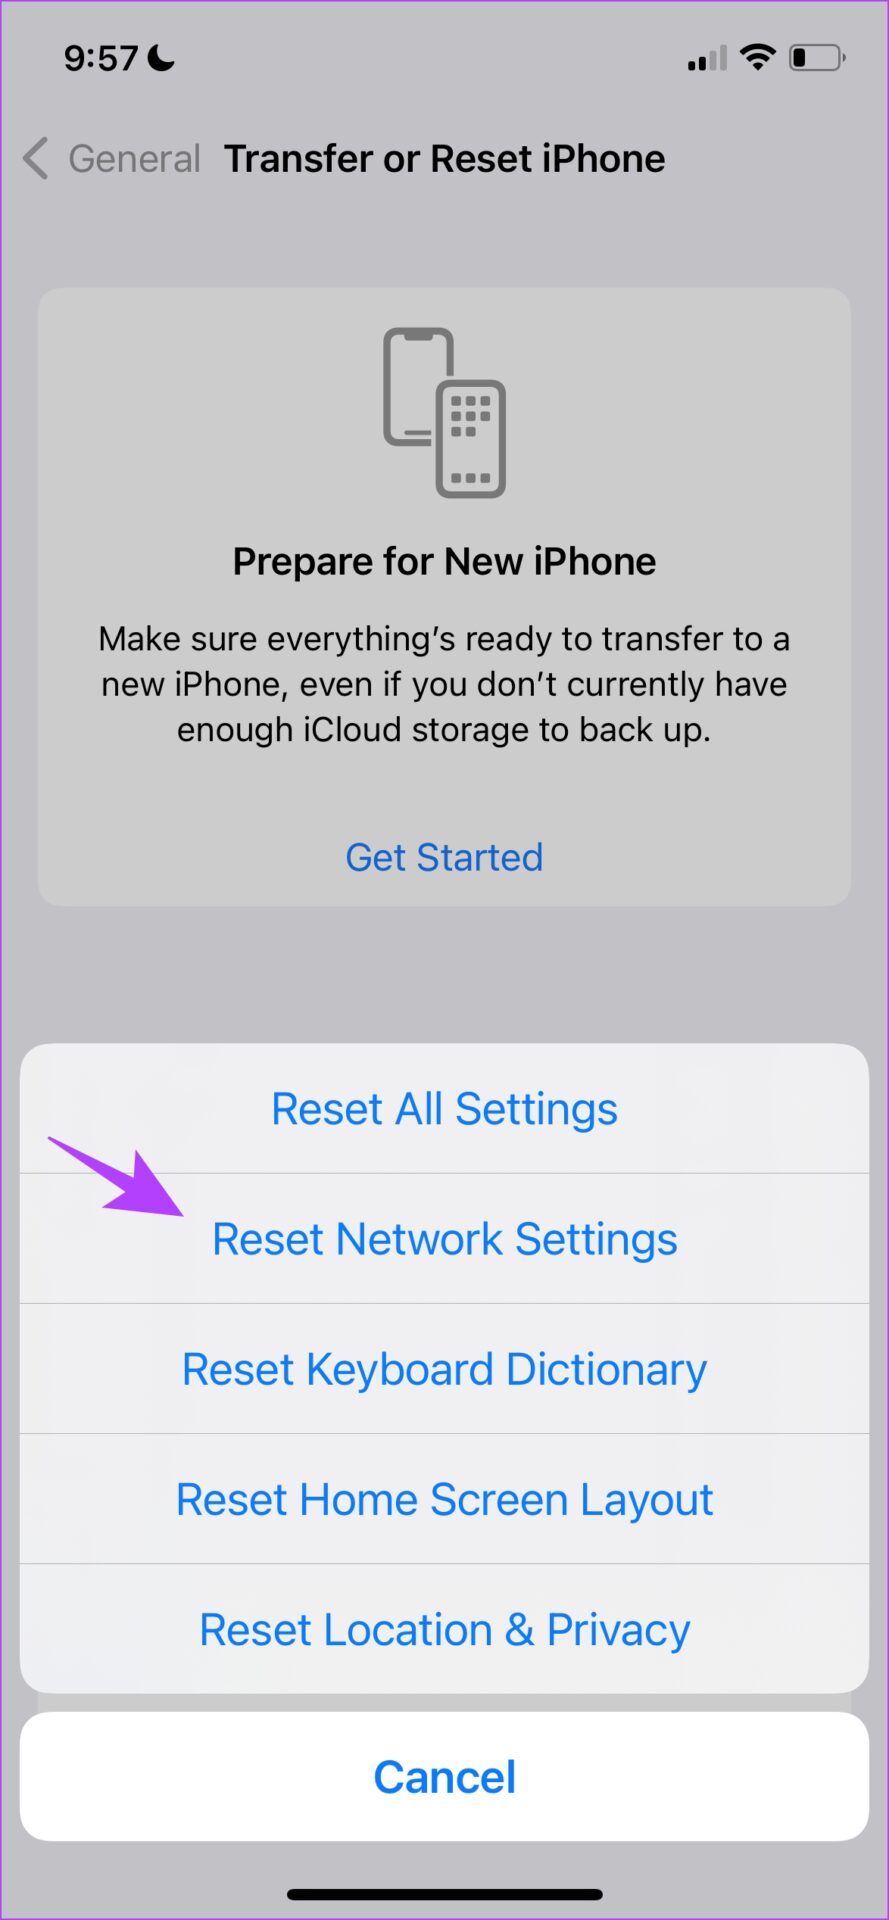
Step 4: Tap on ‘Reset Network Settings’.
Step 5: Follow the on-screen instructions to complete the process.
If you have any further questions, you can take a look at the FAQ section below.
FAQs: Apple Music ‘Request Timed Out’ Error
Yes. Apple Music is expected to work with a VPN. However, you need to make sure you are using a reliable VPN service for an error-free experience.
You can try restarting your Wi-Fi router. If the issue persists, there’s likely a restriction placed on your network for accessing Apple Music. Contact your network service provider to fix the issue.
Also Read: 8 Ways to Fix Apple Music Radio Not Working on iPhone
Listen to Your Favorite Music Without Interruptions
We hope this article helps you get rid of the ‘Request Timed Out’ error message on Apple Music. Which method from the above list helped you fix the problem? Do let us know in the comments section below!
Was this helpful?
Last updated on 12 February, 2024
Read Next
 6 Best Ways to Fix Chrome’s Request Desktop Site Not Working on iPhone
Mobile devices show the mobile versions of the websites by default.
6 Best Ways to Fix Chrome’s Request Desktop Site Not Working on iPhone
Mobile devices show the mobile versions of the websites by default.
 How to Request Desktop Site on Safari on iPhone and iPad
There can be times when you want to view a website in desktop mode on iPhone or iPad.
How to Request Desktop Site on Safari on iPhone and iPad
There can be times when you want to view a website in desktop mode on iPhone or iPad.
 9 Ways to Fix Apple Music Low Volume Issue on iPhone
With its array of custom controls, Apple Music seems to be the choice app for streaming music on iPhone.
9 Ways to Fix Apple Music Low Volume Issue on iPhone
With its array of custom controls, Apple Music seems to be the choice app for streaming music on iPhone.
 3 Ways to Fix Friend Request Not Working in Discord
Try Basic Fixes Double-check the username: This may seem obvious, but if you have made a typo while entering the username, Discord may display the "Friend Request Failed" error on
3 Ways to Fix Friend Request Not Working in Discord
Try Basic Fixes Double-check the username: This may seem obvious, but if you have made a typo while entering the username, Discord may display the "Friend Request Failed" error on
 How to Fix Apple Music This Content is Not Authorized Issue on iOS
Over the last few years, Apple Music has offered strong competition to the likes of Spotify and YouTube Music.
How to Fix Apple Music This Content is Not Authorized Issue on iOS
Over the last few years, Apple Music has offered strong competition to the likes of Spotify and YouTube Music.
 Apple Music Not Downloading Songs: How to Fix the Issue on iPhone and Android
You're about to get on a long flight, and you plan to download music offline to keep you entertained.
Apple Music Not Downloading Songs: How to Fix the Issue on iPhone and Android
You're about to get on a long flight, and you plan to download music offline to keep you entertained.
 Top 7 Ways to Fix Siri Not Playing Music from Apple Music
Siri not recognizing your voice and not playing music from Apple Music can lead to an undesirable experience.
Top 7 Ways to Fix Siri Not Playing Music from Apple Music
Siri not recognizing your voice and not playing music from Apple Music can lead to an undesirable experience.
 How to Request and Download Your WhatsApp Account Information
You may be curious to know what data WhatsApp has collected about you, especially since WhatsApp shares this information with other Meta companies.
How to Request and Download Your WhatsApp Account Information
You may be curious to know what data WhatsApp has collected about you, especially since WhatsApp shares this information with other Meta companies.
The article above may contain affiliate links which help support Guiding Tech. The content remains unbiased and authentic and will never affect our editorial integrity.