Zoom is undoubtedly one of the most popular video communication tools in recent times (and we’ve published the ULTIMATE guide on it). You can also record your meetings and sessions, and this feature makes it easy to revisit the meeting details at a later point in time. And unlike Skype, here the recordings do not disappear after the 30 days.

While Zoom also lets you save recordings of meetings and sessions in Cloud, this option is only available for Business and Education accounts. If you do not have either, these recordings will get stored in your Mac and PC’s local Drive.
Well, let’s find out how to see and edit Zoom recordings on both Mac and PC.
How to Find Zoom Recordings on Mac and PC
The good thing about Zoom is that the app interface is nearly similar for both Mac and Windows PC.
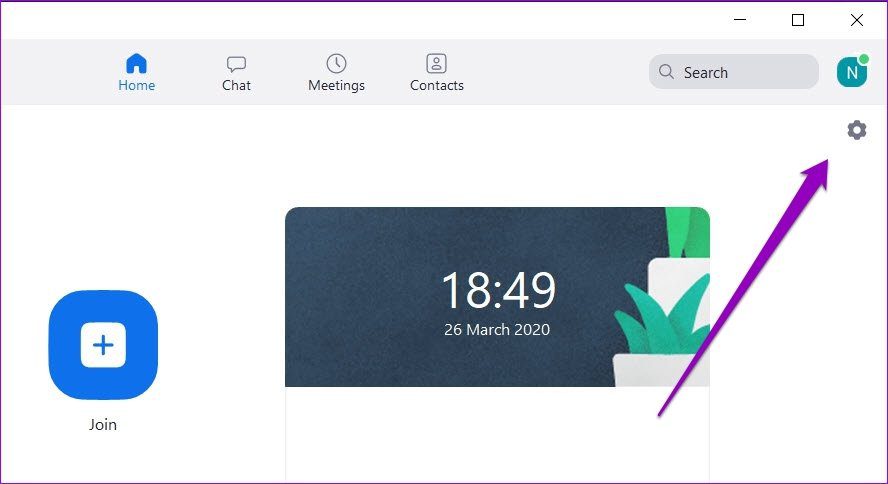
Step 1: Open Settings by tapping the Cog-icon at the upper right corner.
Click on Recording, and you will see the location for the local recording.
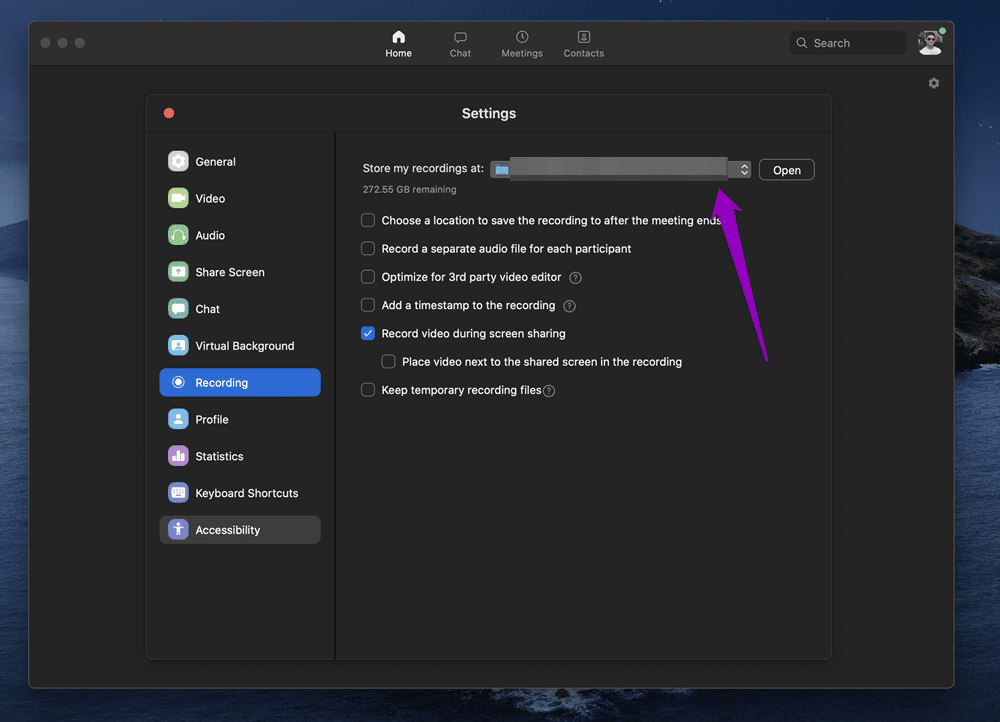
Click on Open, and the Zoom folder on your PC or Mac will open right away.
Step 2: The folder name has the date as the prefix, followed by the host’s name and the Meeting ID. Double click on the icon, and you will see the audio and video files.
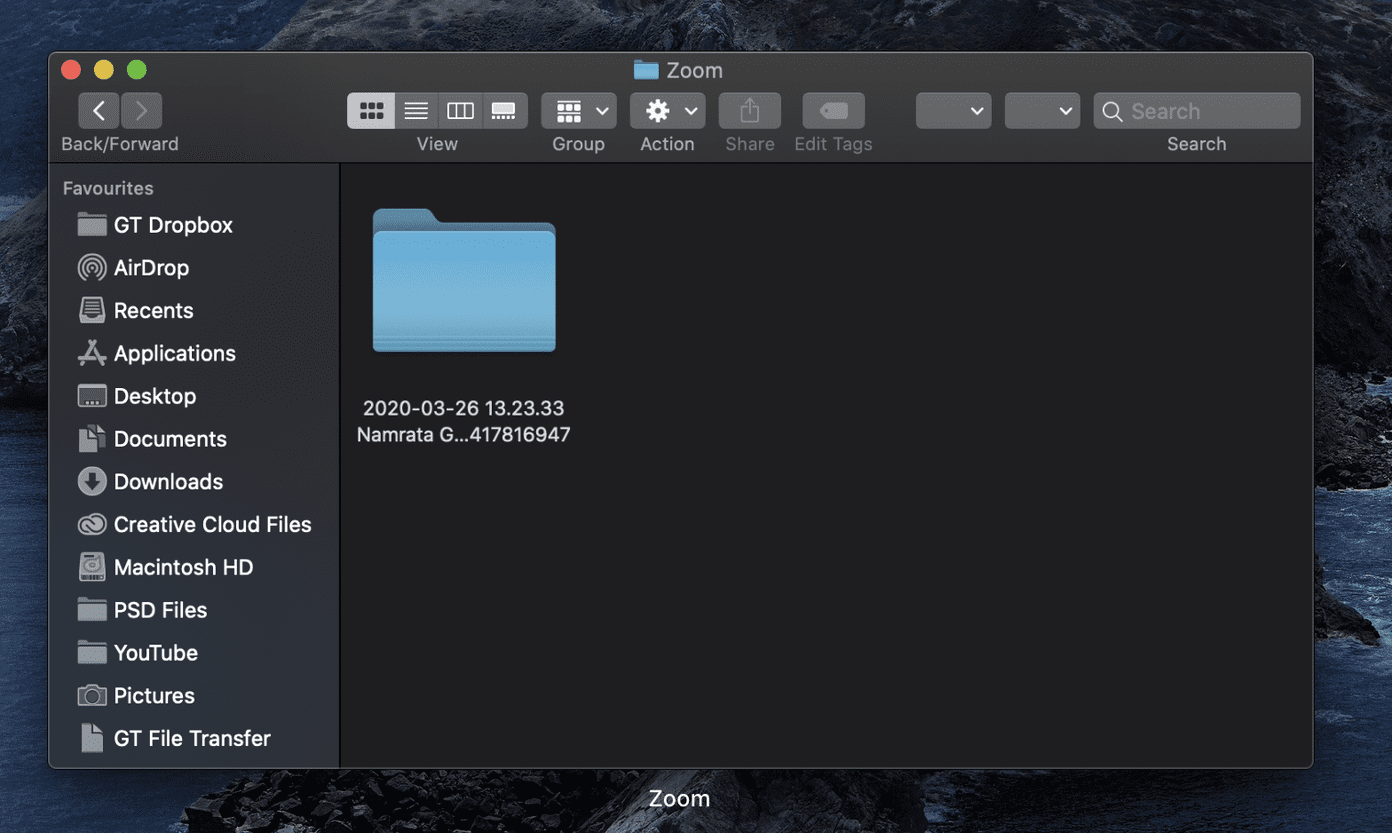
By default, the recordings are stored under the Documents folder automatically.
- Windows — C:\Users\User Name\Documents\Zoom
- macOS — /Users/User Name/Documents/Zoom
You can change that location. To do so, click on Change or the drop-down, and pick a folder from the list.
However, if you want to save the recordings on project-related folders every time you record a meeting, the best option is to enable the ‘Choose a location to …’ option.
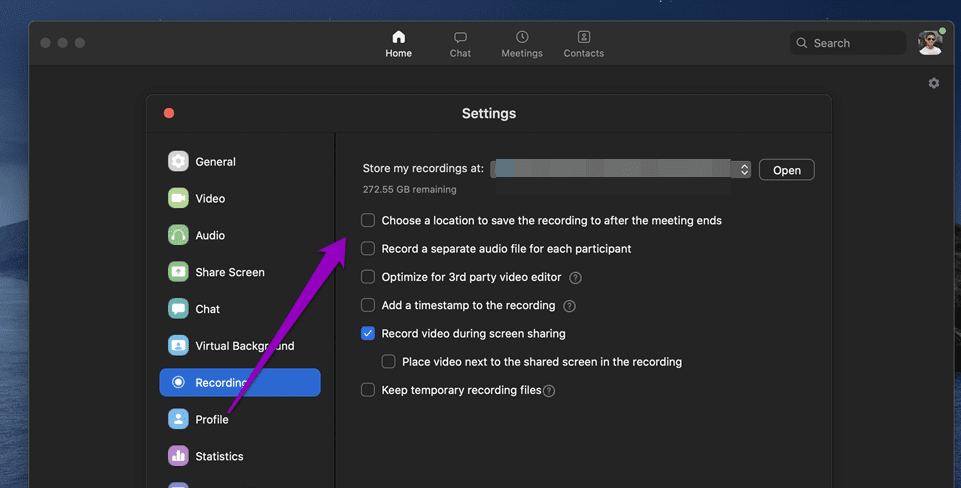
That lets you pick a different location each time you have to save a file, thus saving you time in the long run.
How to Edit Zoom Recordings on Windows 10 PC
Since we are talking about local recordings here, editing them is a child’s play. You needn’t go through the hassles of uploading these recordings on random third-party servers. Instead, they can be edited in the safe confines of your PC.
If you are looking to do something basic like trimming the start and the endpoint or splitting the clips into two, Microsoft Photos’ Video Editor lets you do them all.
Editing with it is an easy affair. What makes the deal even sweeter is the inclusion of features like Speed, Text, Filters, etc.
To edit a zoom recording, follow the below steps.
Step 1: Click on the Add icon at the top and select the recording which you want to edit. Alternatively, you can also drag and drop the videos directly. Once done, select the video and click on the three-dot button at the top.
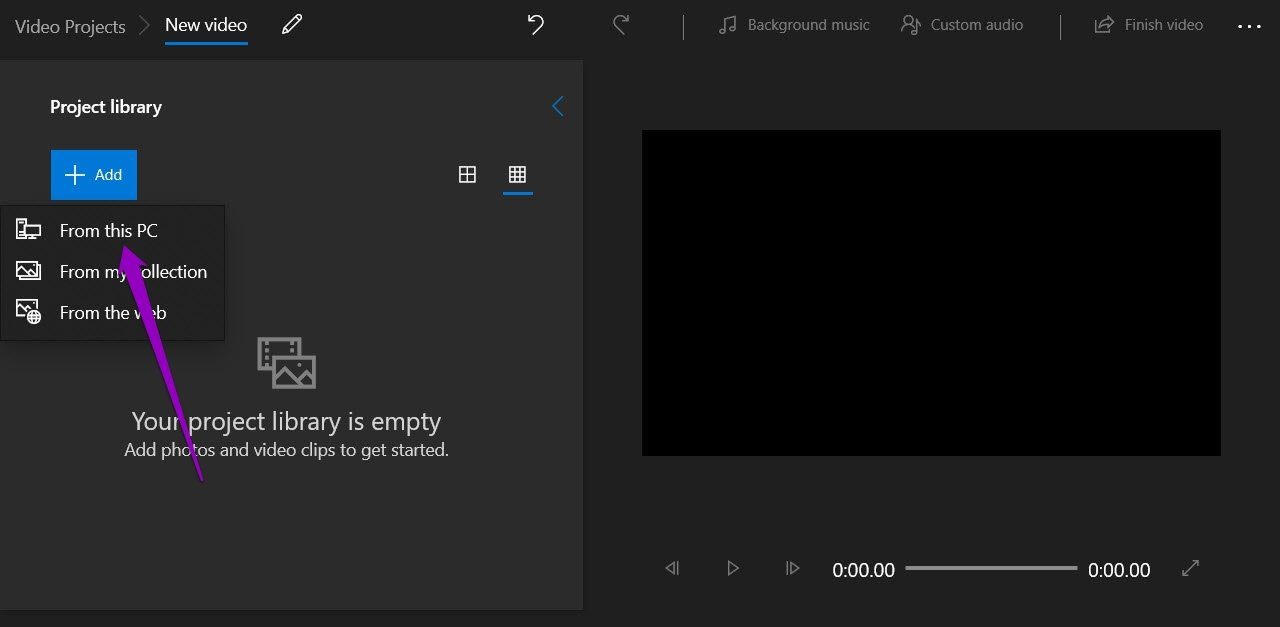
Select the Place in the storyboard option from the menu.
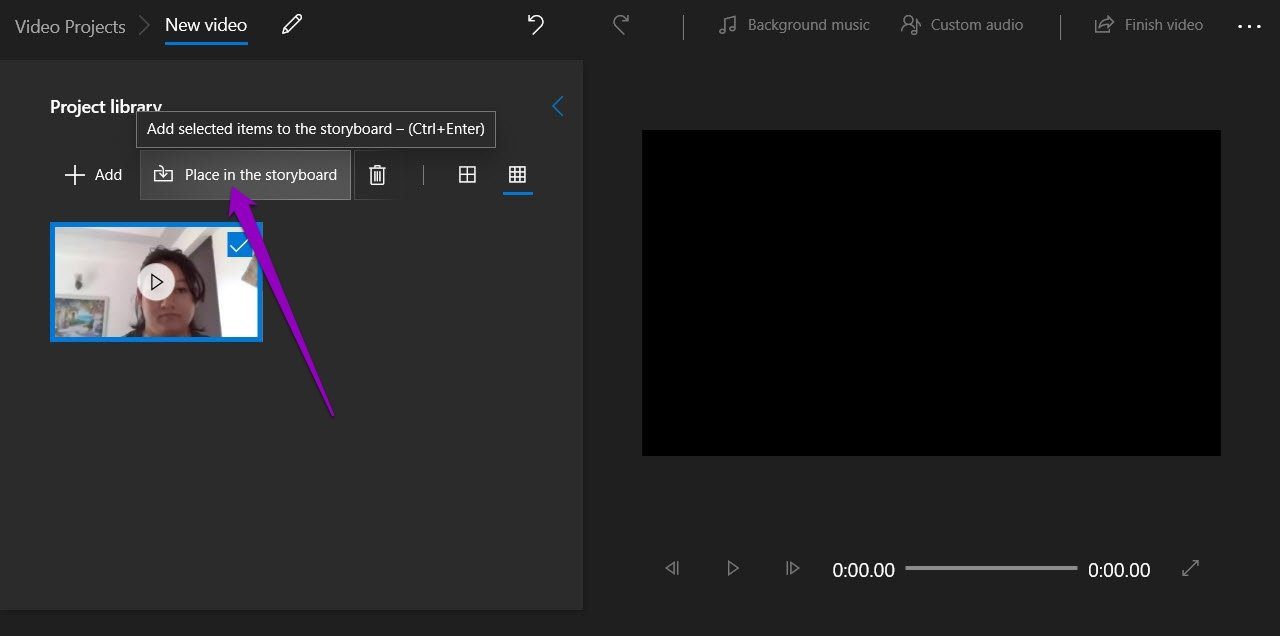
Step 2: Having done that, select the option of your choice. In my case, I chose to go ahead with Trim.
Click on Trim, and drag the Start and the End markers as per your preference. At this point, you can also add text, motion, or some quirky filters.
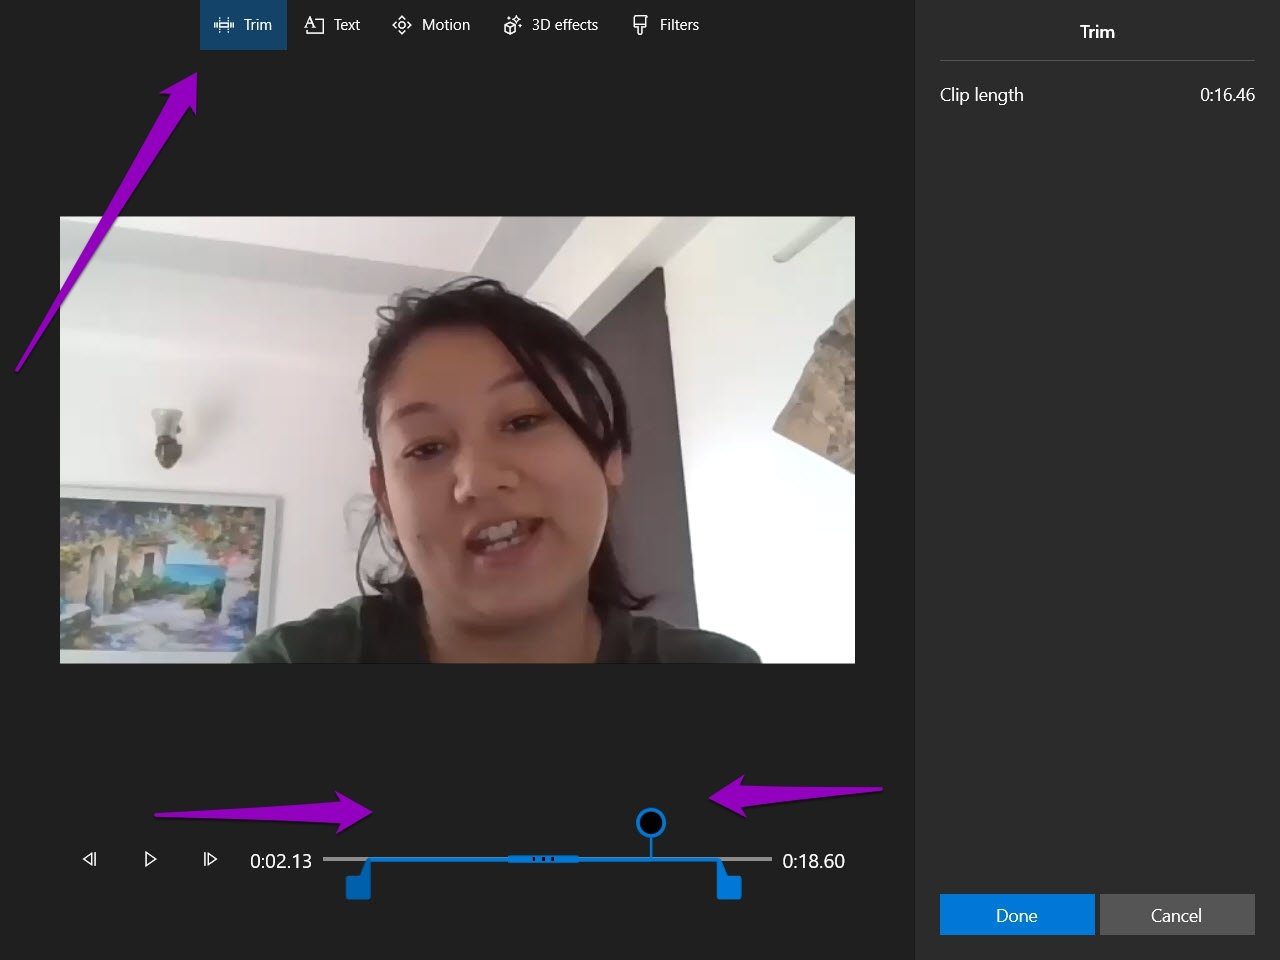
Just click on the related icons above, and you’ll see the options on the side of your screen.
For instance, if you want to add a particular text snippet to appear on a certain part of the video, add the text and then drag the markers to the point of your choice.
Once you have modified the whole video, click on Done.
Pro Tip: You can even add a Title card to the video to make it look more polished. This feature comes in handy if you are looking to share this video.
Step 3: If you’re satisfied with the overall look and feel of the video, click on Finish Video button at the far right corner, give a name to it, and that’s about it.
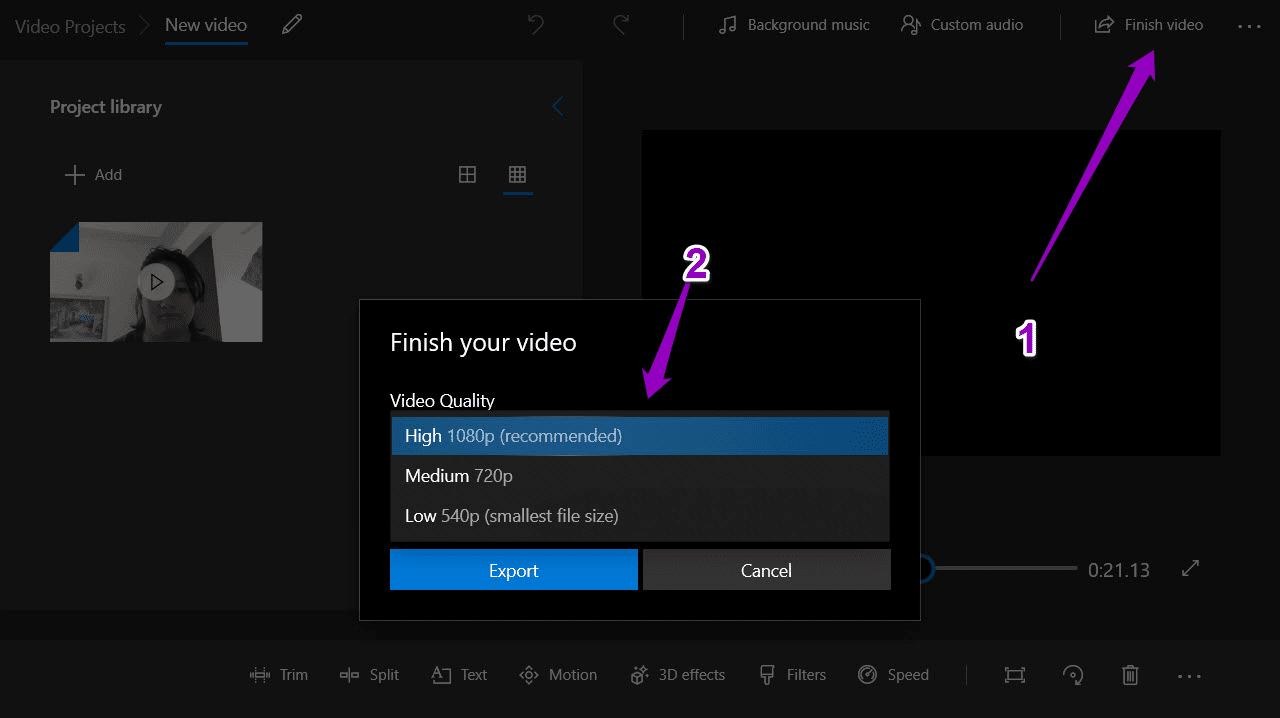
And yeah, you can also choose the final video quality. For now, Microsoft Video Editor lets you pick between High (1080p), Medium (720p), and Low (540p).
It’s worth noting that the original video will not be altered.
Other than Microsoft’s Video Editor, there are other apps like Shotcut and Blender, which you can check out.
How to Edit Zoom Recordings on Mac
Similarly, on Mac, you wouldn’t need any professional-grade video editor for the job. Instead, simple apps like iMovie will do the task just fine. Unlike the Windows tool, iMovie has a polished and simple interface.
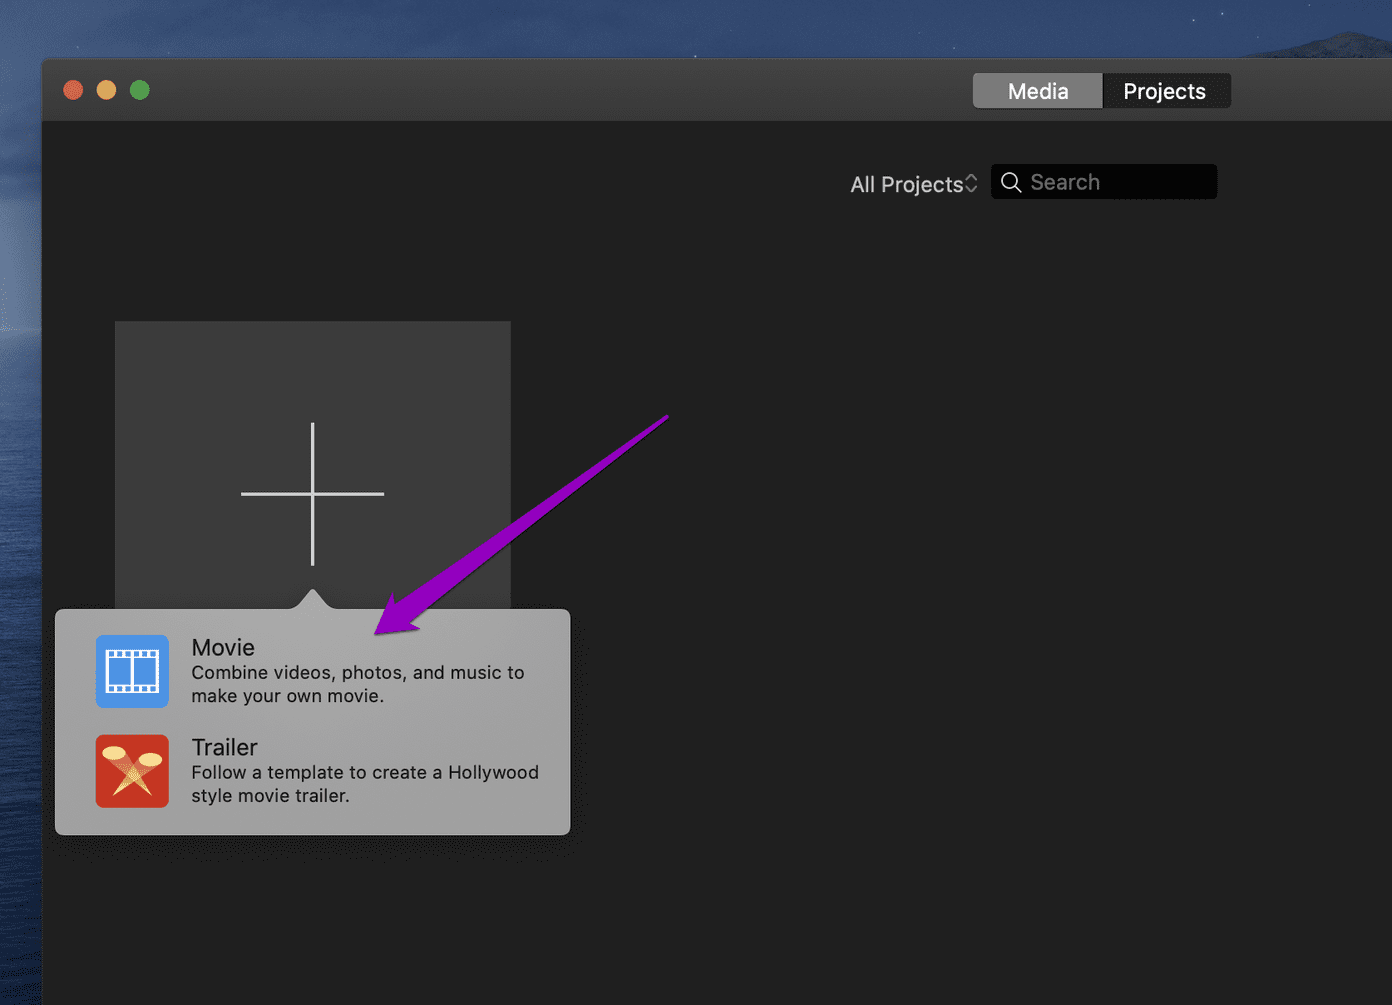
Step 1: Once you have launched iMovie, tap on the Plus icon at the top to create a new project.
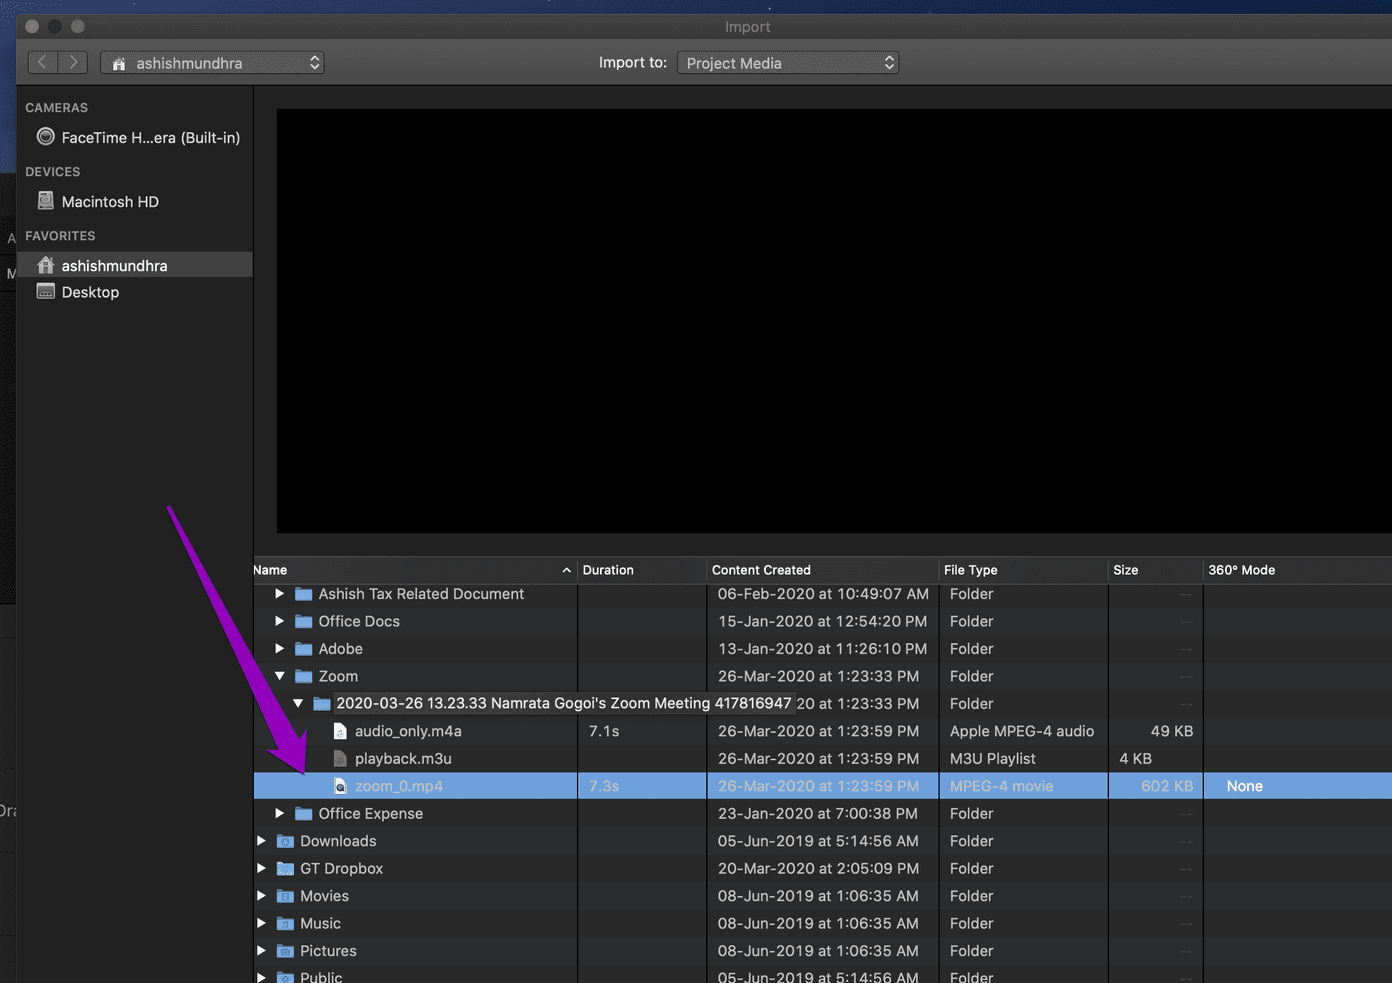
Step 2: To access the Zoom recordings, you’d have to import them manually. Plus, you will also need to give folder permissions.
To do so, navigate over to the folder where the recordings are saved.
Step 3: After importing the video, you will see all the options like Transition, Background, and Audio in the menu at the top.
To cut a movie, drag the handles and trim off the part you do not need.

Similarly, to add titles and text, click on the option above, and pick a style of your choice. Once done, place it in the timeline and tweak as needed.

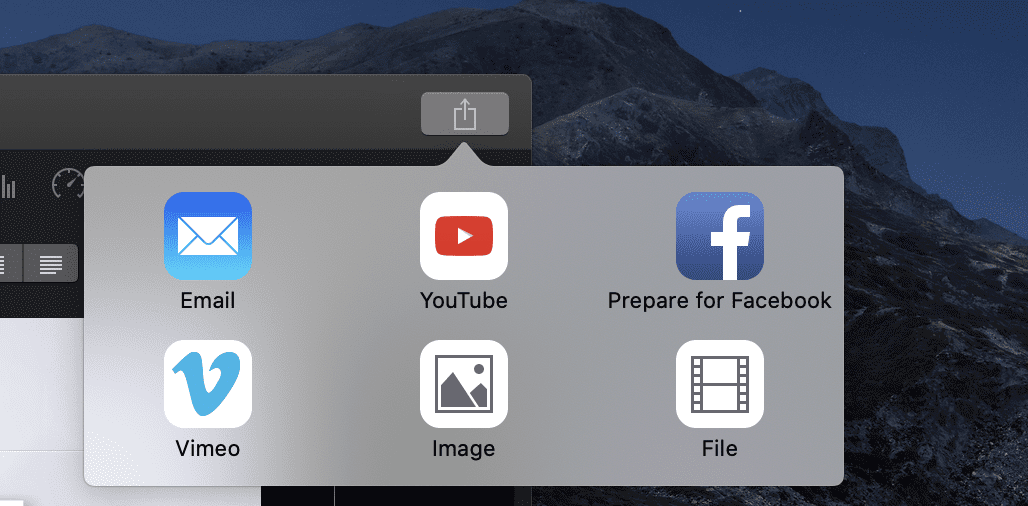
The good thing about iMovie is that you needn’t manually save the movie/video recording. To render the file, click on the Export button at the top and choose the required option.
Pro Tip: Use the space bar to play and pause the video as you edit.
Zoooom all the Way
That’s how you could find and edit Zoom recordings on your PC and Mac. If you have to edit and share recordings frequently, the best option would be to enable the ‘Optimize for 3rd party ..’ option under recordings, as shown in the screenshot below. With this, it makes a tad easier for altering the recordings.
Next up: Google Duo and Zoom are two popular video calling apps. Read our comparison to figure out which video calling tool suits your needs.
Was this helpful?
Last updated on 07 February, 2022
Read Next
 How to Record and Delete Call Recordings on Android
Let's say you are attending an important call on your Android and you need access to a notepad.
How to Record and Delete Call Recordings on Android
Let's say you are attending an important call on your Android and you need access to a notepad.
 How to Find Where Are Teams Recordings Stored
Microsoft Teams is an essential platform for virtual meetings, webinars, and collaborative work.
How to Find Where Are Teams Recordings Stored
Microsoft Teams is an essential platform for virtual meetings, webinars, and collaborative work.
 5 Ways to Convert Voice Recordings to Text on Android
Tired of manually typing lengthy voice notes or audio recordings?
5 Ways to Convert Voice Recordings to Text on Android
Tired of manually typing lengthy voice notes or audio recordings?
 How to Add Zoom Meetings to Outlook Calendar and Google Calendar
Both Google Calendar and Outlook Calendar are solid apps and are a great addition to both Outlook email app and Gmail, respectively.
How to Add Zoom Meetings to Outlook Calendar and Google Calendar
Both Google Calendar and Outlook Calendar are solid apps and are a great addition to both Outlook email app and Gmail, respectively.
 How to Fix EpocCam Not Working on Zoom, Microsoft Teams, or Google Meet
IT companies and organizations around the world are allowing employees to work from home infinitely or till 2021.
How to Fix EpocCam Not Working on Zoom, Microsoft Teams, or Google Meet
IT companies and organizations around the world are allowing employees to work from home infinitely or till 2021.
 How to Record Your Screen with Zoom on Windows 10 and macOS
Whatever your reasons for wanting to record your screen with Zoom on your computer, the tool is much better than its competitors.
How to Record Your Screen with Zoom on Windows 10 and macOS
Whatever your reasons for wanting to record your screen with Zoom on your computer, the tool is much better than its competitors.
 8 Best Ways to Fix Scaling and Zoom Issues in Google Chrome
You are up for a below-average web-browsing experience when Google Chrome loads the content in an inconvenient resolution.
8 Best Ways to Fix Scaling and Zoom Issues in Google Chrome
You are up for a below-average web-browsing experience when Google Chrome loads the content in an inconvenient resolution.
 How to Reduce Zoom CPU Usage in Windows 11
Zoom is the go-to application for attending online classes or meetings.
How to Reduce Zoom CPU Usage in Windows 11
Zoom is the go-to application for attending online classes or meetings.
The article above may contain affiliate links which help support Guiding Tech. The content remains unbiased and authentic and will never affect our editorial integrity.
