FEATURED
-

How To Remove Someone From a Slack Channel
A Slack Channel creates organized communication among your teammates. But when required, here’s how to remove someone from a Slack Channel.
-

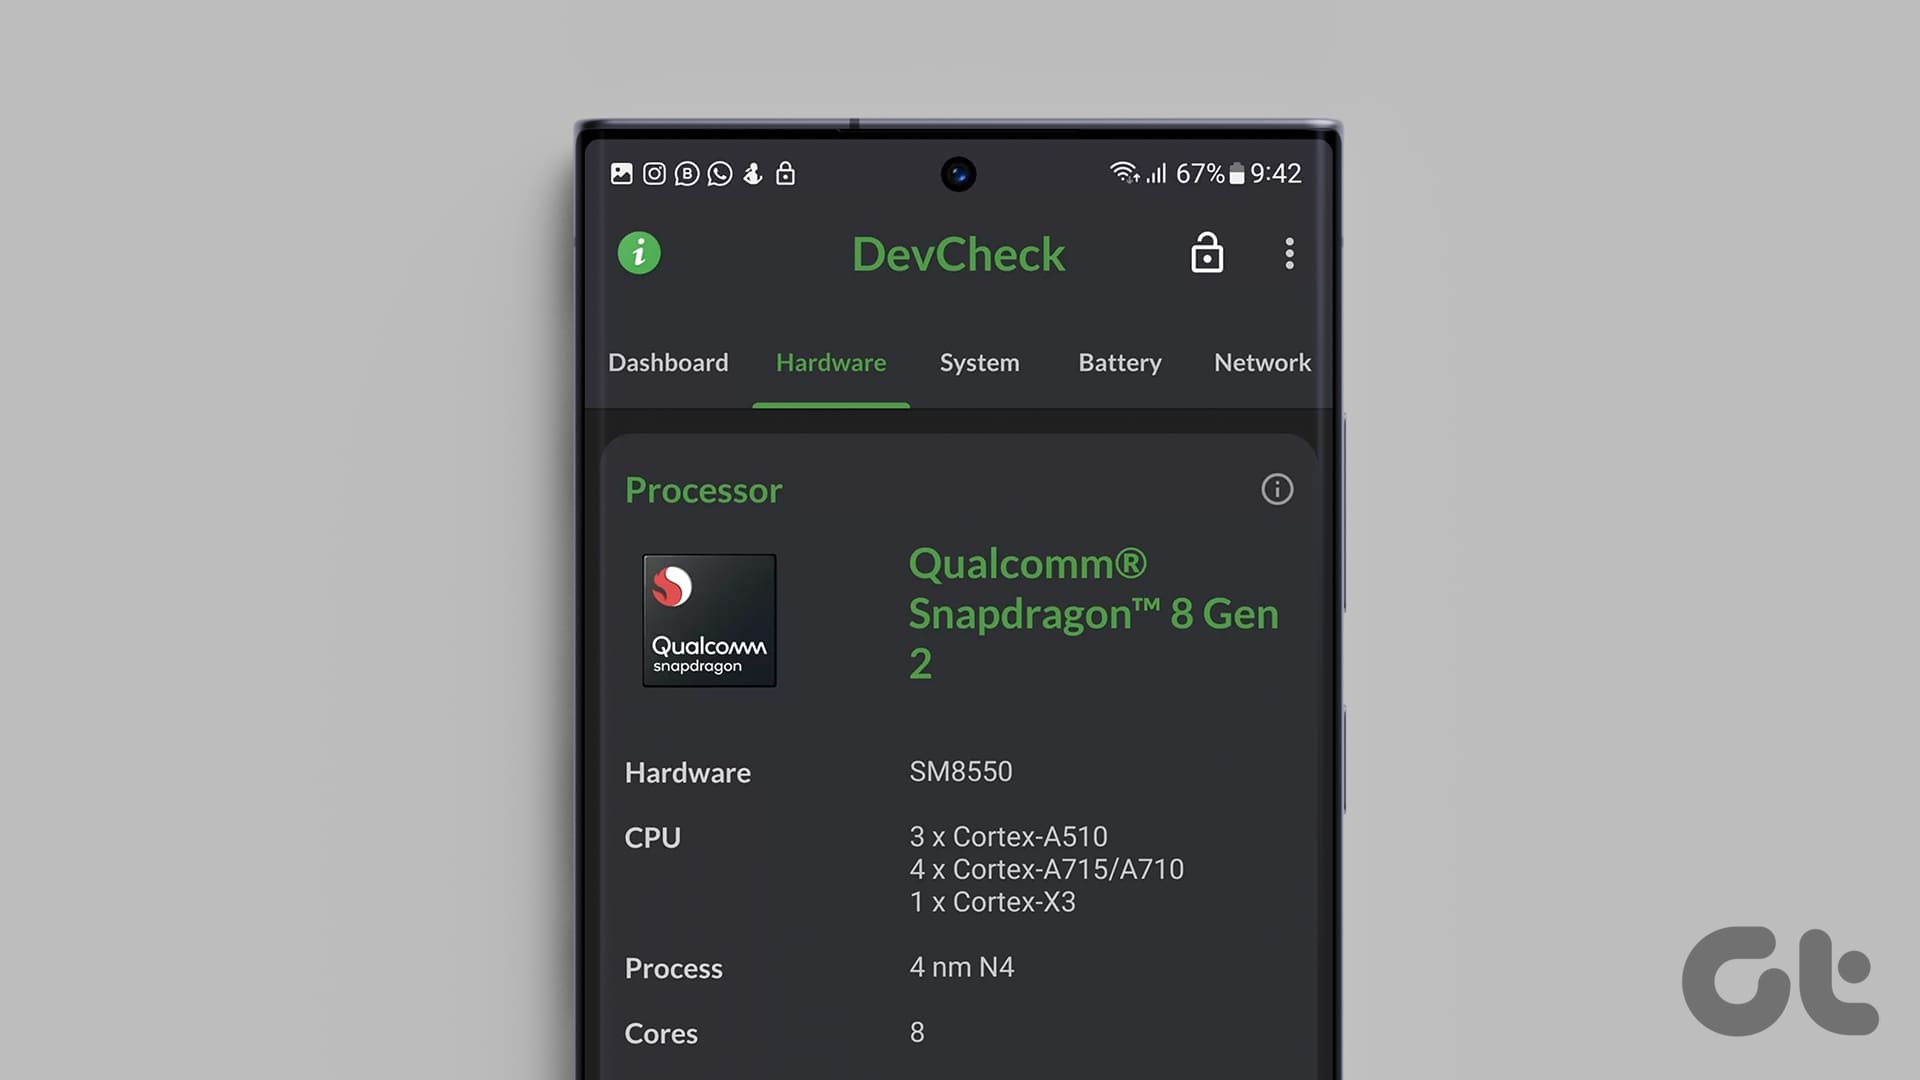
How to Check Processor on Your Android Phone (Including Samsung)
Unsure what processor your device currently has? Here are 4 ways you can use to check the processor on your Android phone.
-
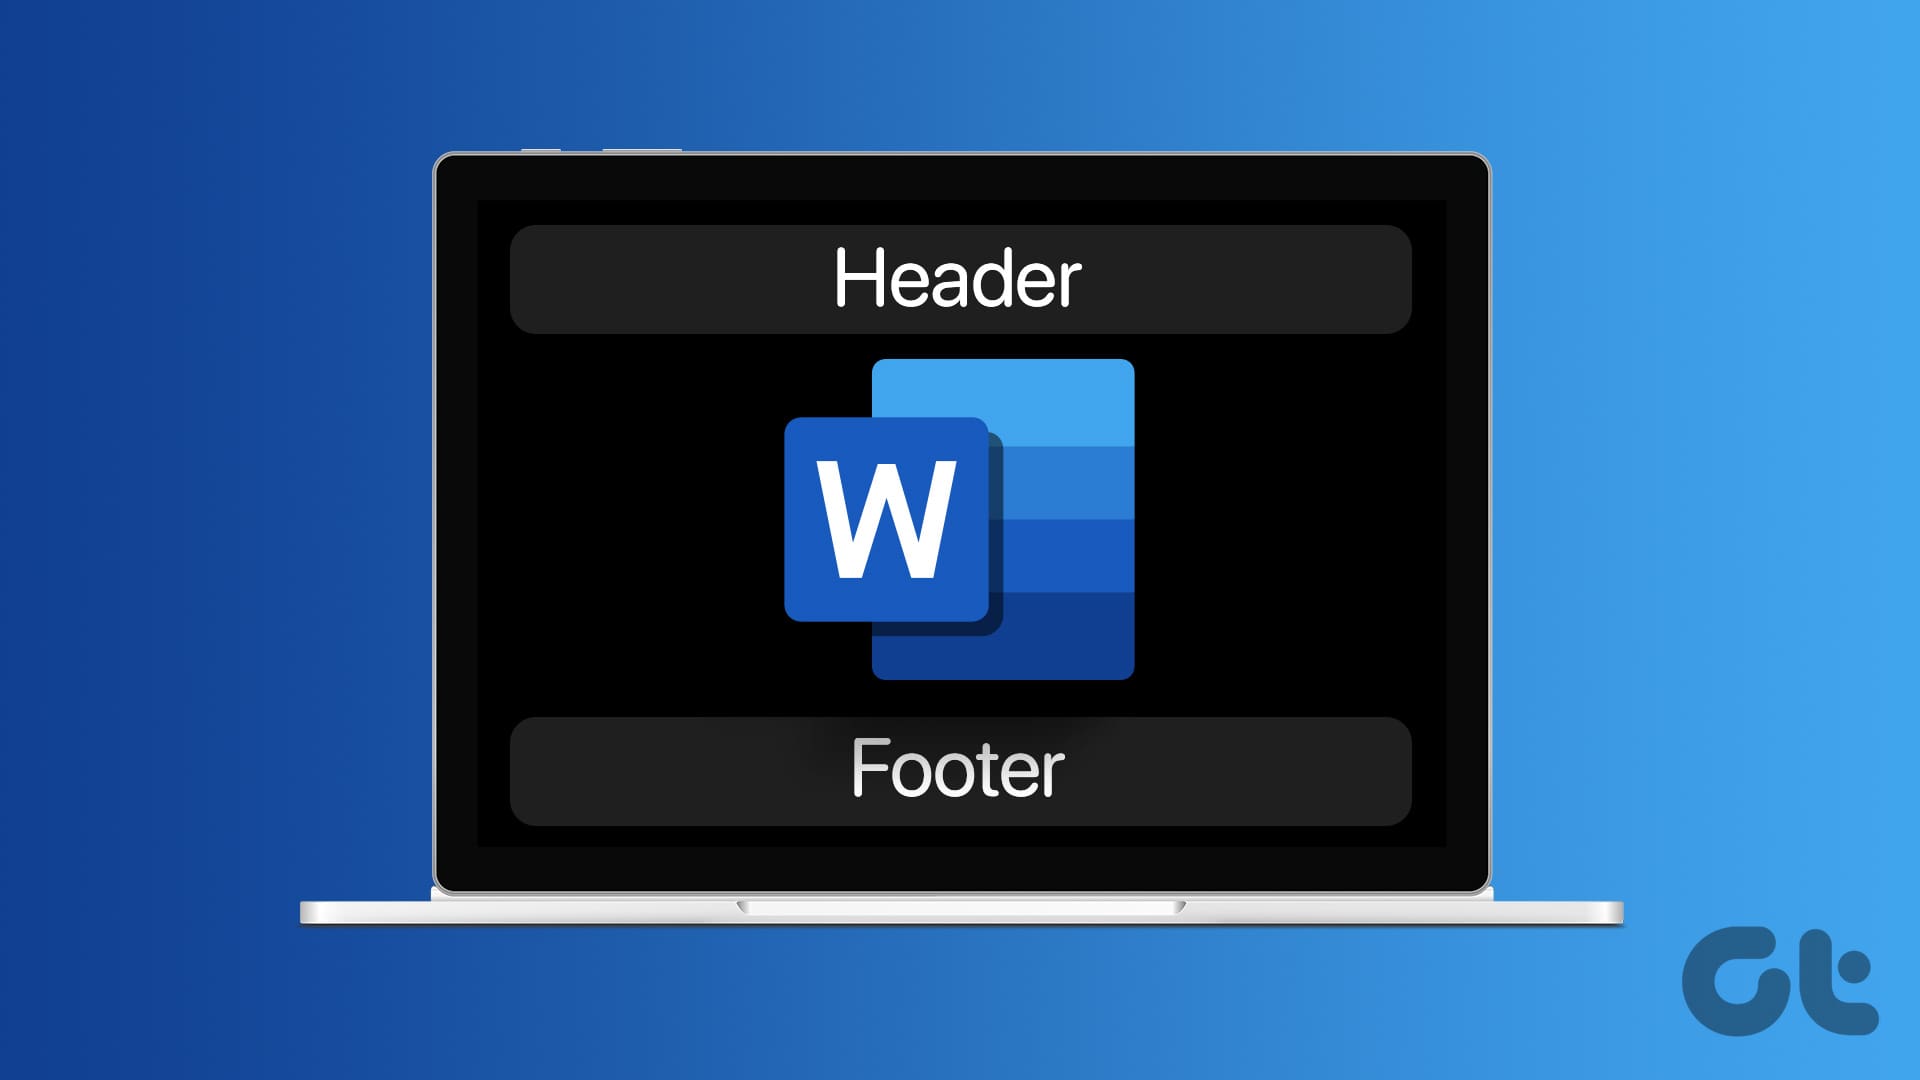
How to Put Different Headers and Footers on Different Pages in Word
Easily customize your document layout by learning how to put different headers and footers on different pages in Word.
Recommended
-
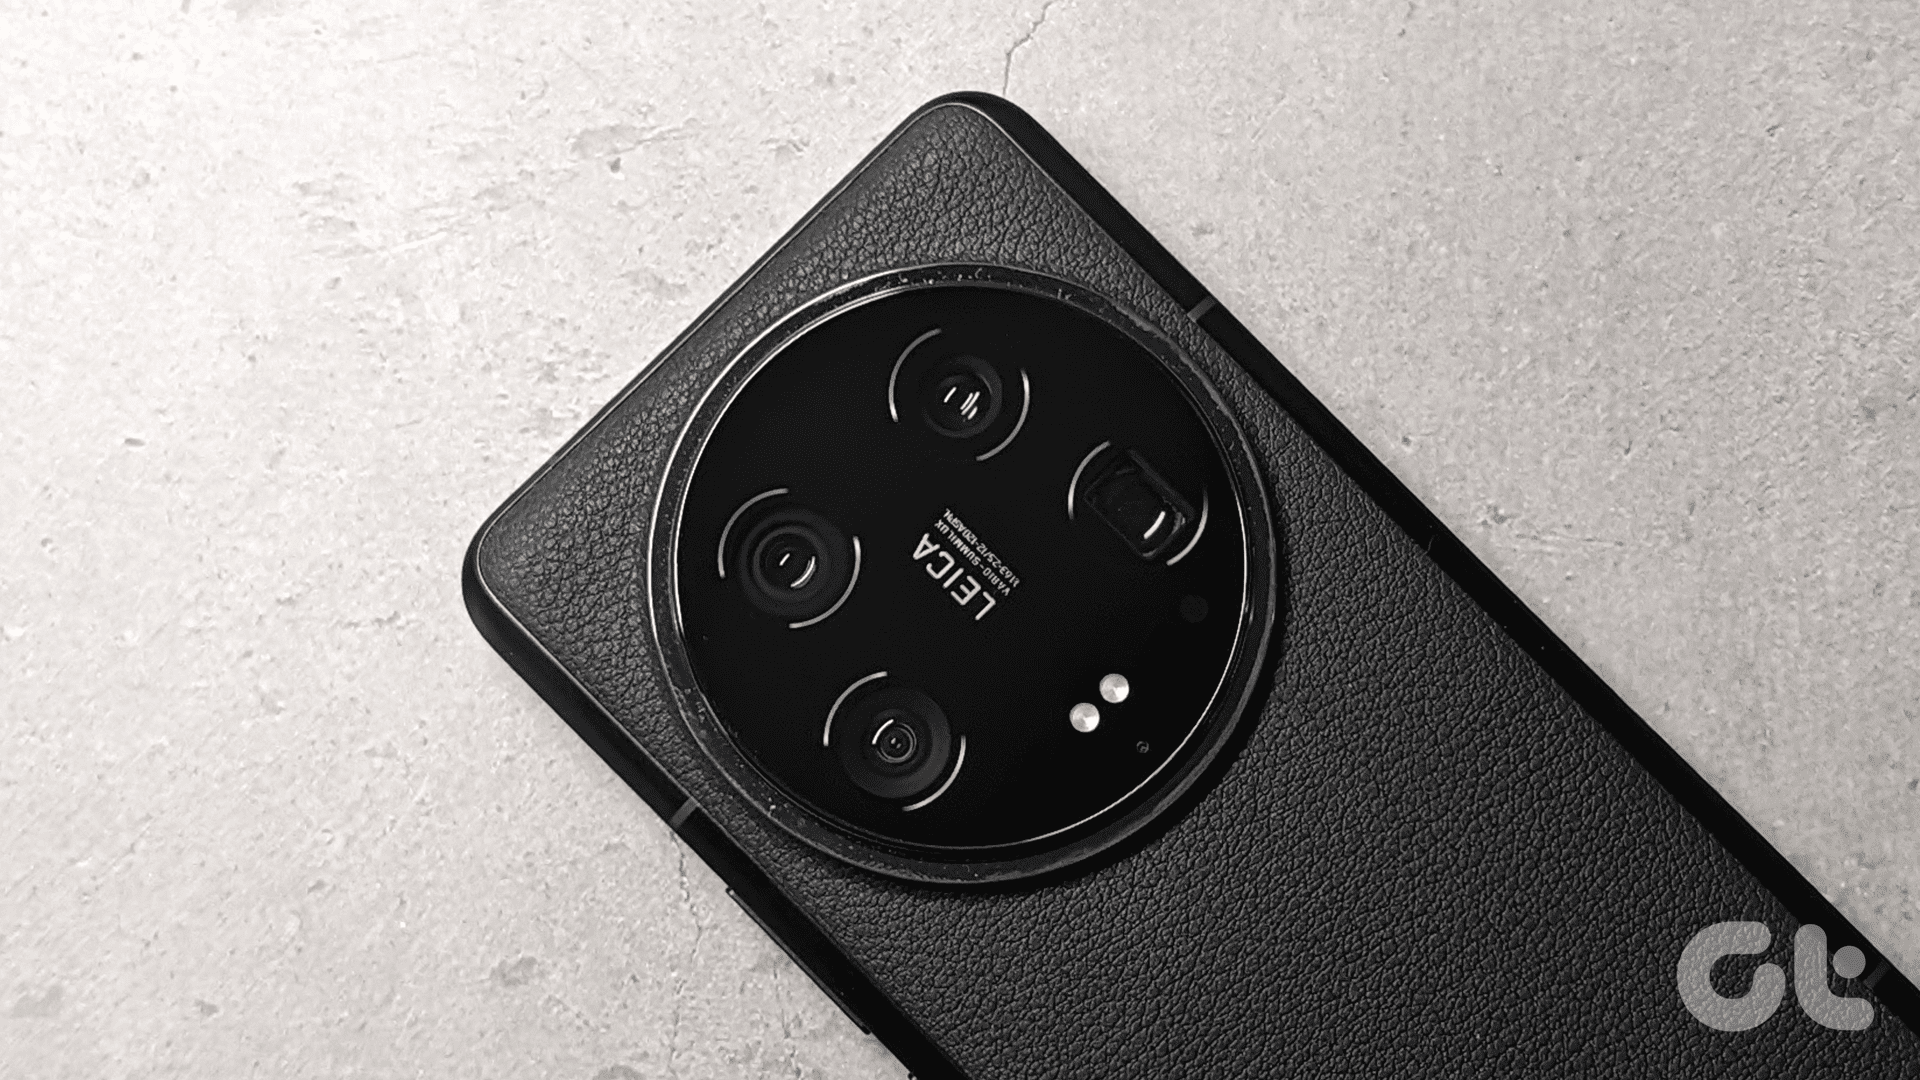
Xiaomi 14 Ultra Review: The Ultimate Photography Smartphone
Are you a camera enthusiast looking for a new smartphone? Check out our Xiaomi 14 Ultra Review, which is the best camera phone right now.
-

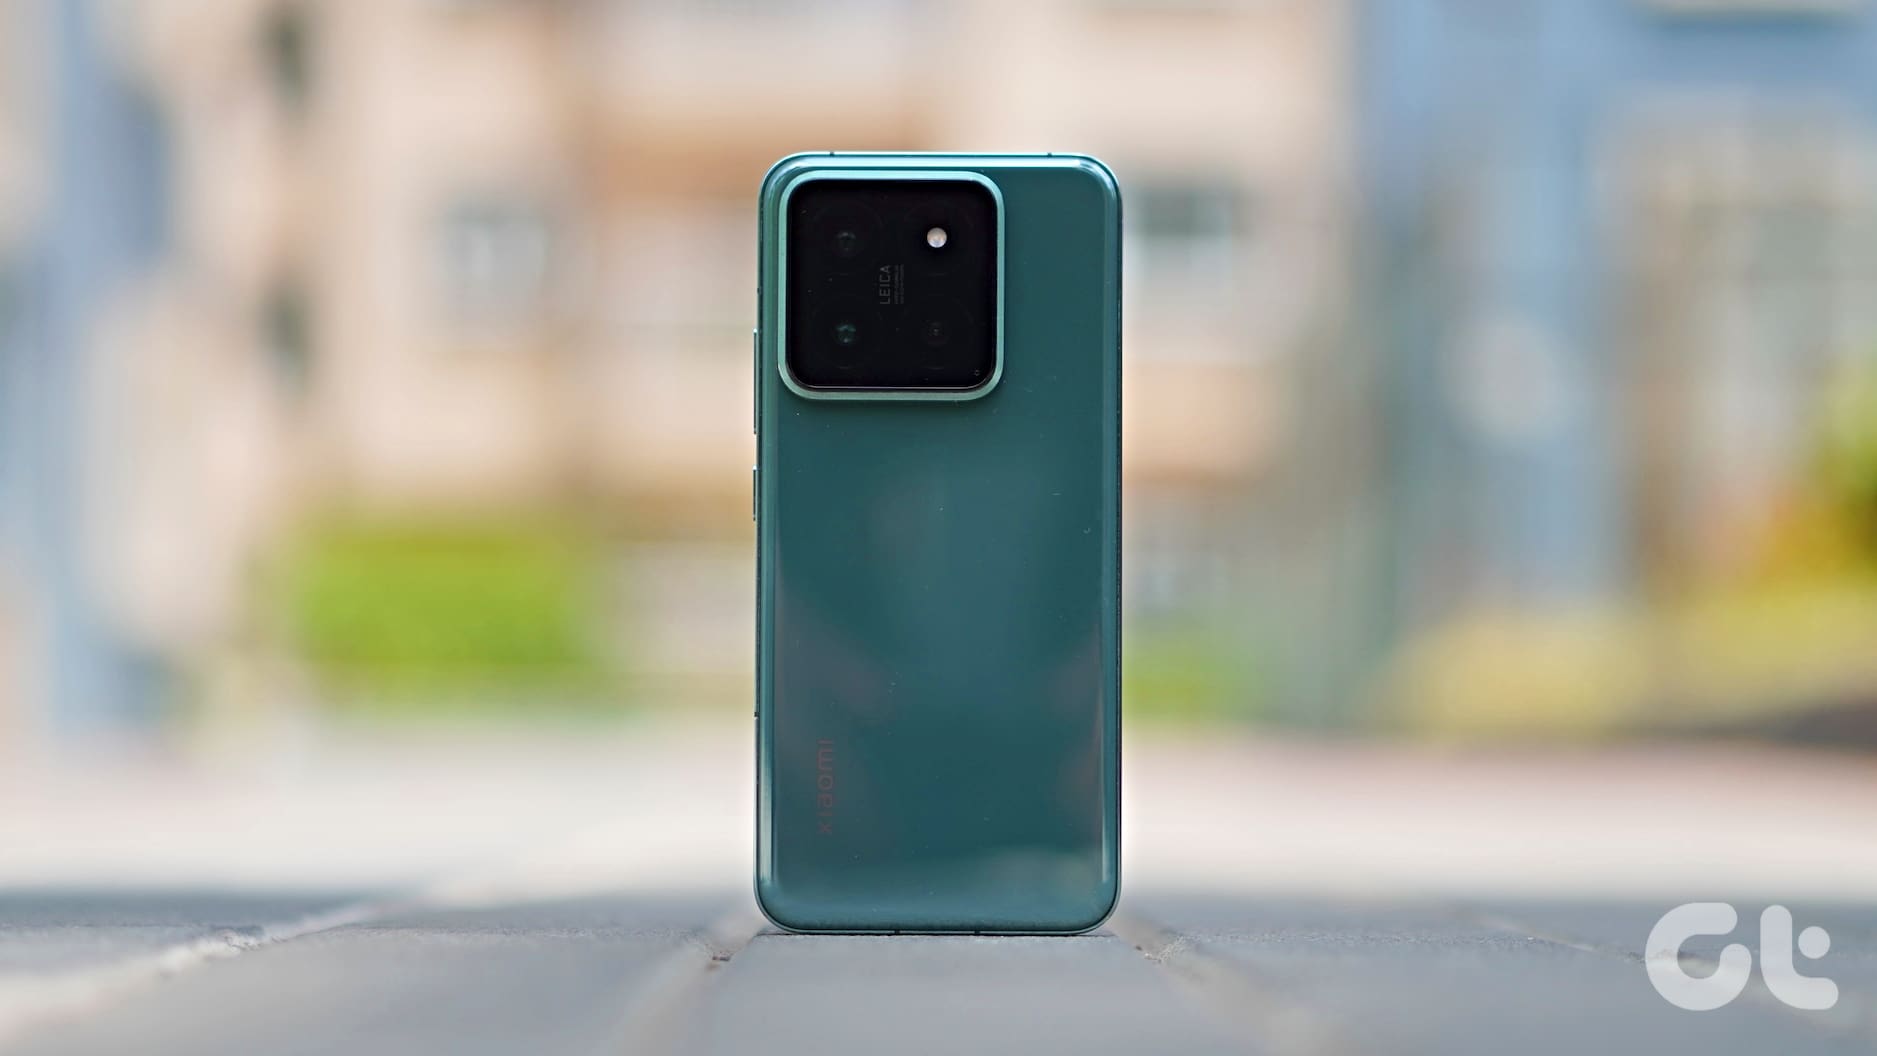
Xiaomi 14 Review: Almost Leica DSLR in Your Pocket
Looking to get yourself the shiny new camera flagship from Xiaomi? Here's our detailed Xiaomi 14 review to help you decide.
-
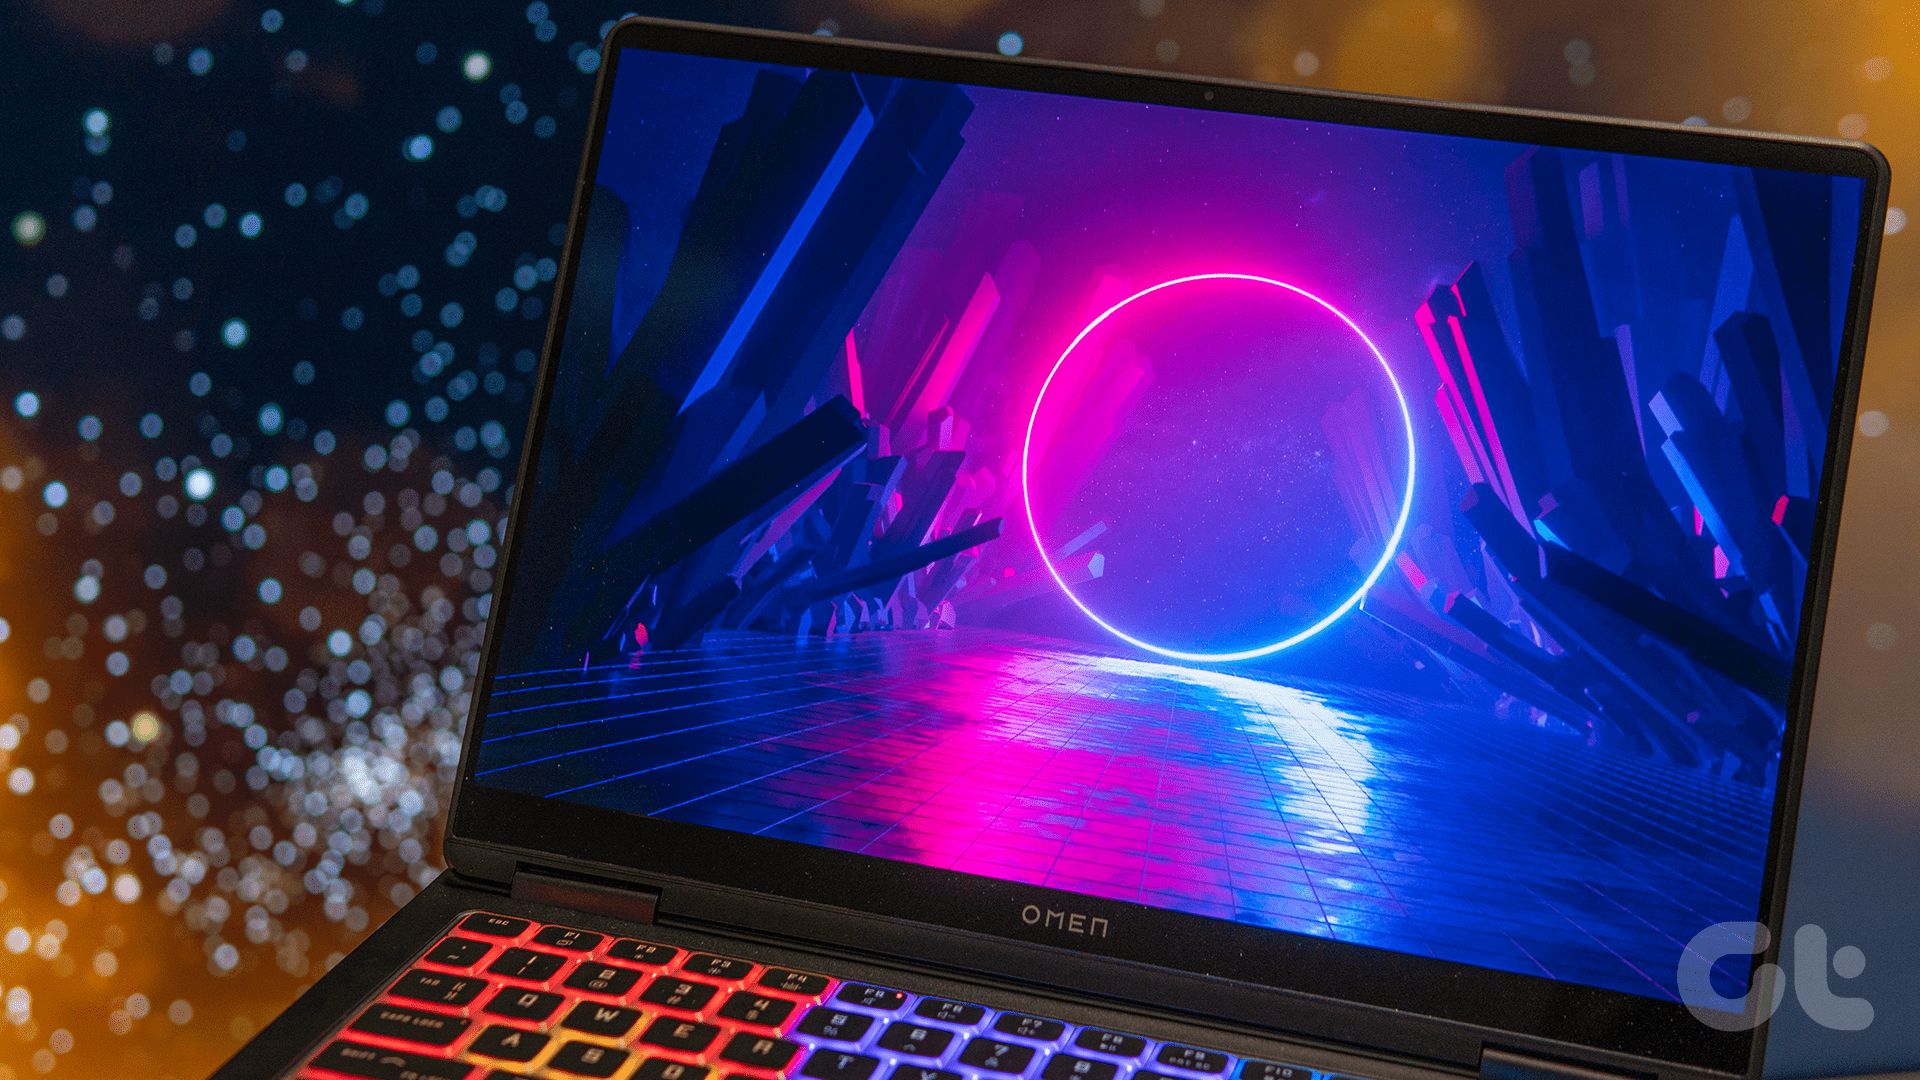
HP Omen Transcend 14 Review: Almost Perfect!
Looking for a new portable gaming laptop? Check out our review of the HP Omen Transcend 14, powered by the latest Intel Core Ultra processors.
latest
-
How to Play Music on Twitch Without Infringing Copyright
Want to improve your Twitch stream? Learn how to play music on Twitch without any copyright hurdles and improve your stream.
-
How to Use Voice Typing on Google Docs on Mobile and Desktop
Here’s how you can enable and use Voice Typing in Google Docs on your mobile and desktop to jot down your ideas quicker.
-
How to Find IMEI Number on Android (With/Without Phone)
Let us look at 7 ways you can use to find the IMEI number of your Android phone, regardless of whether you have the device or not.


More Latest Articles
-
6 Best Ways to Fix Apple TV Stuck on Apple Logo
Apple TV getting stuck at the Apple logo can spoil your ideal streaming setup. Check the top ways to troubleshoot the problem.
-
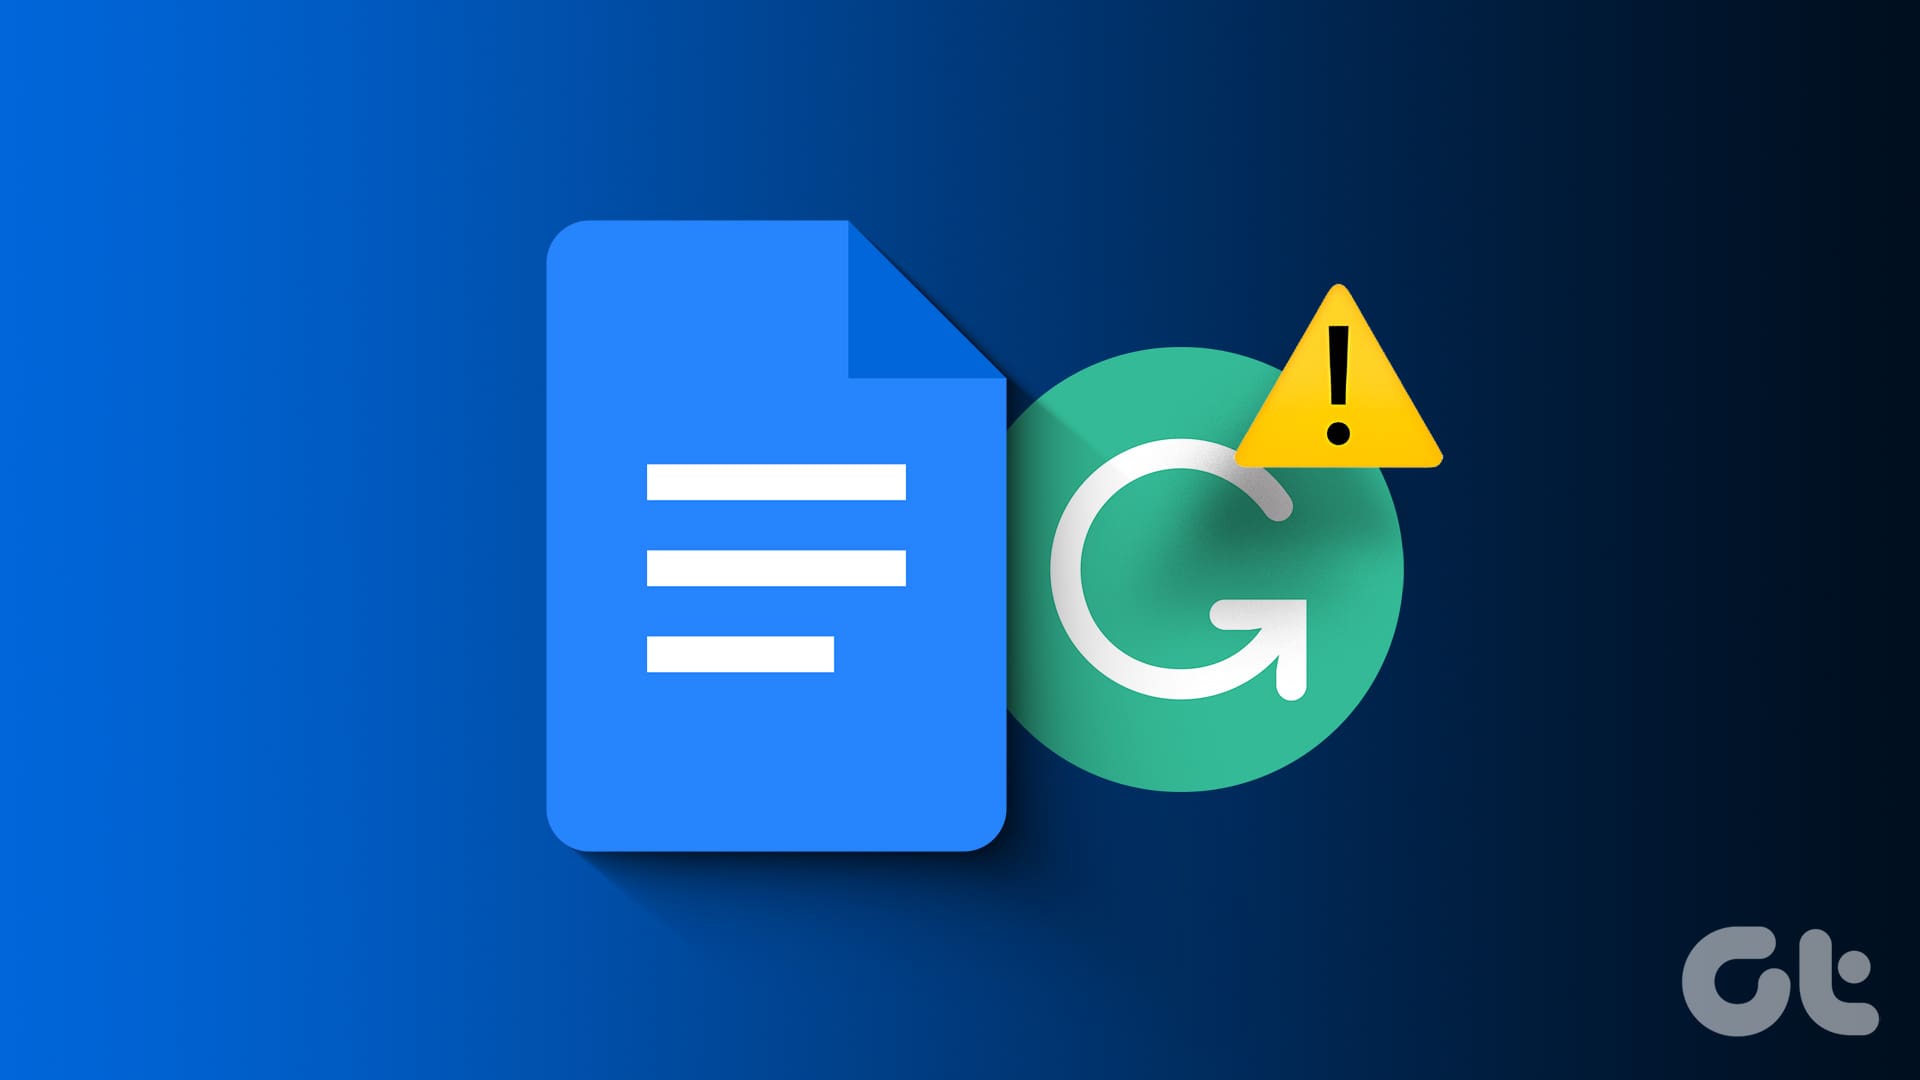
Top 7 Fixes for Grammarly Not Working in Google Docs
If Grammarly is not showing writing suggestions in Google Docs, here are some tips to get it working again in Chrome, Edge, Firefox, or Safari.
-
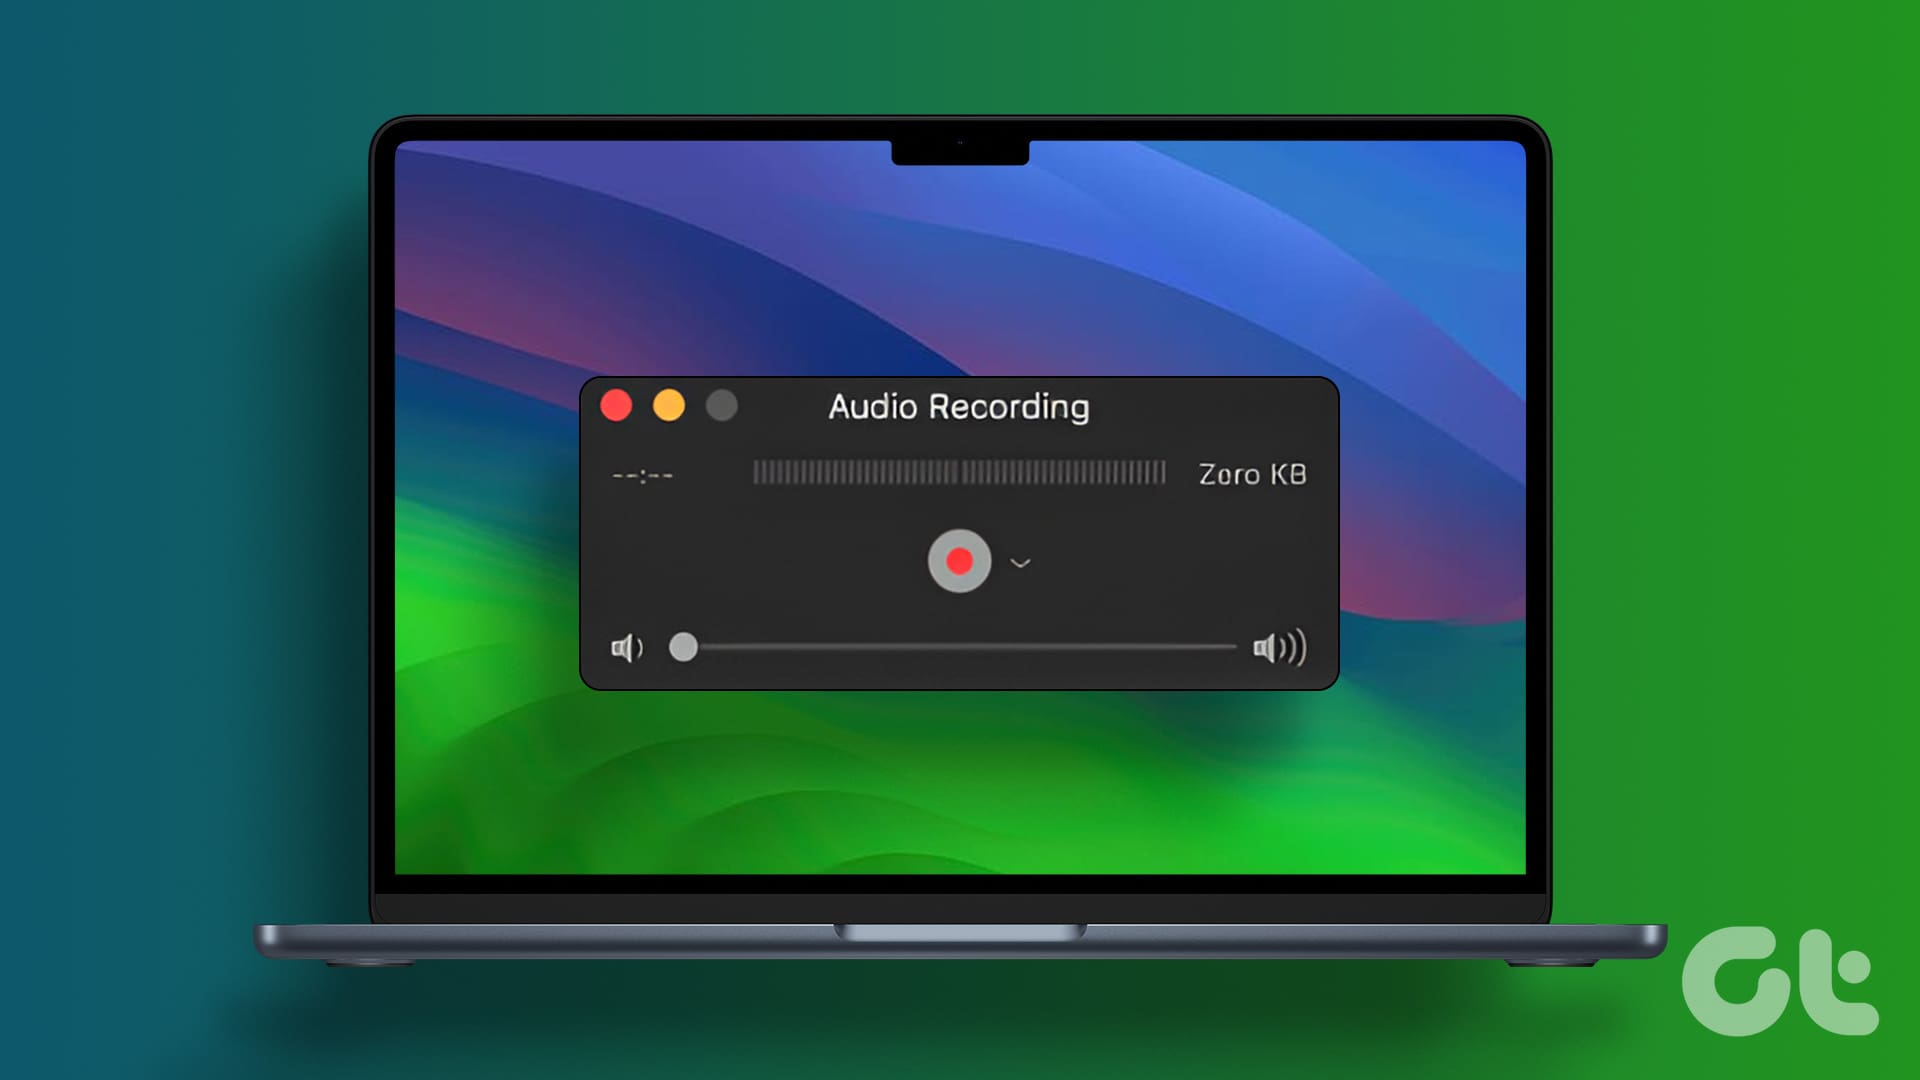
3 Best Ways to Record Audio on Mac
Here’s how you can record audio on your Mac using built-in tools. We will also share the steps to record your Mac screen with audio.
-
How to Add Friends on Steam Without Paying
Tired of playing alone on Steam? Learn how to add your friends on Steam, share your stats, and compete with them.
-
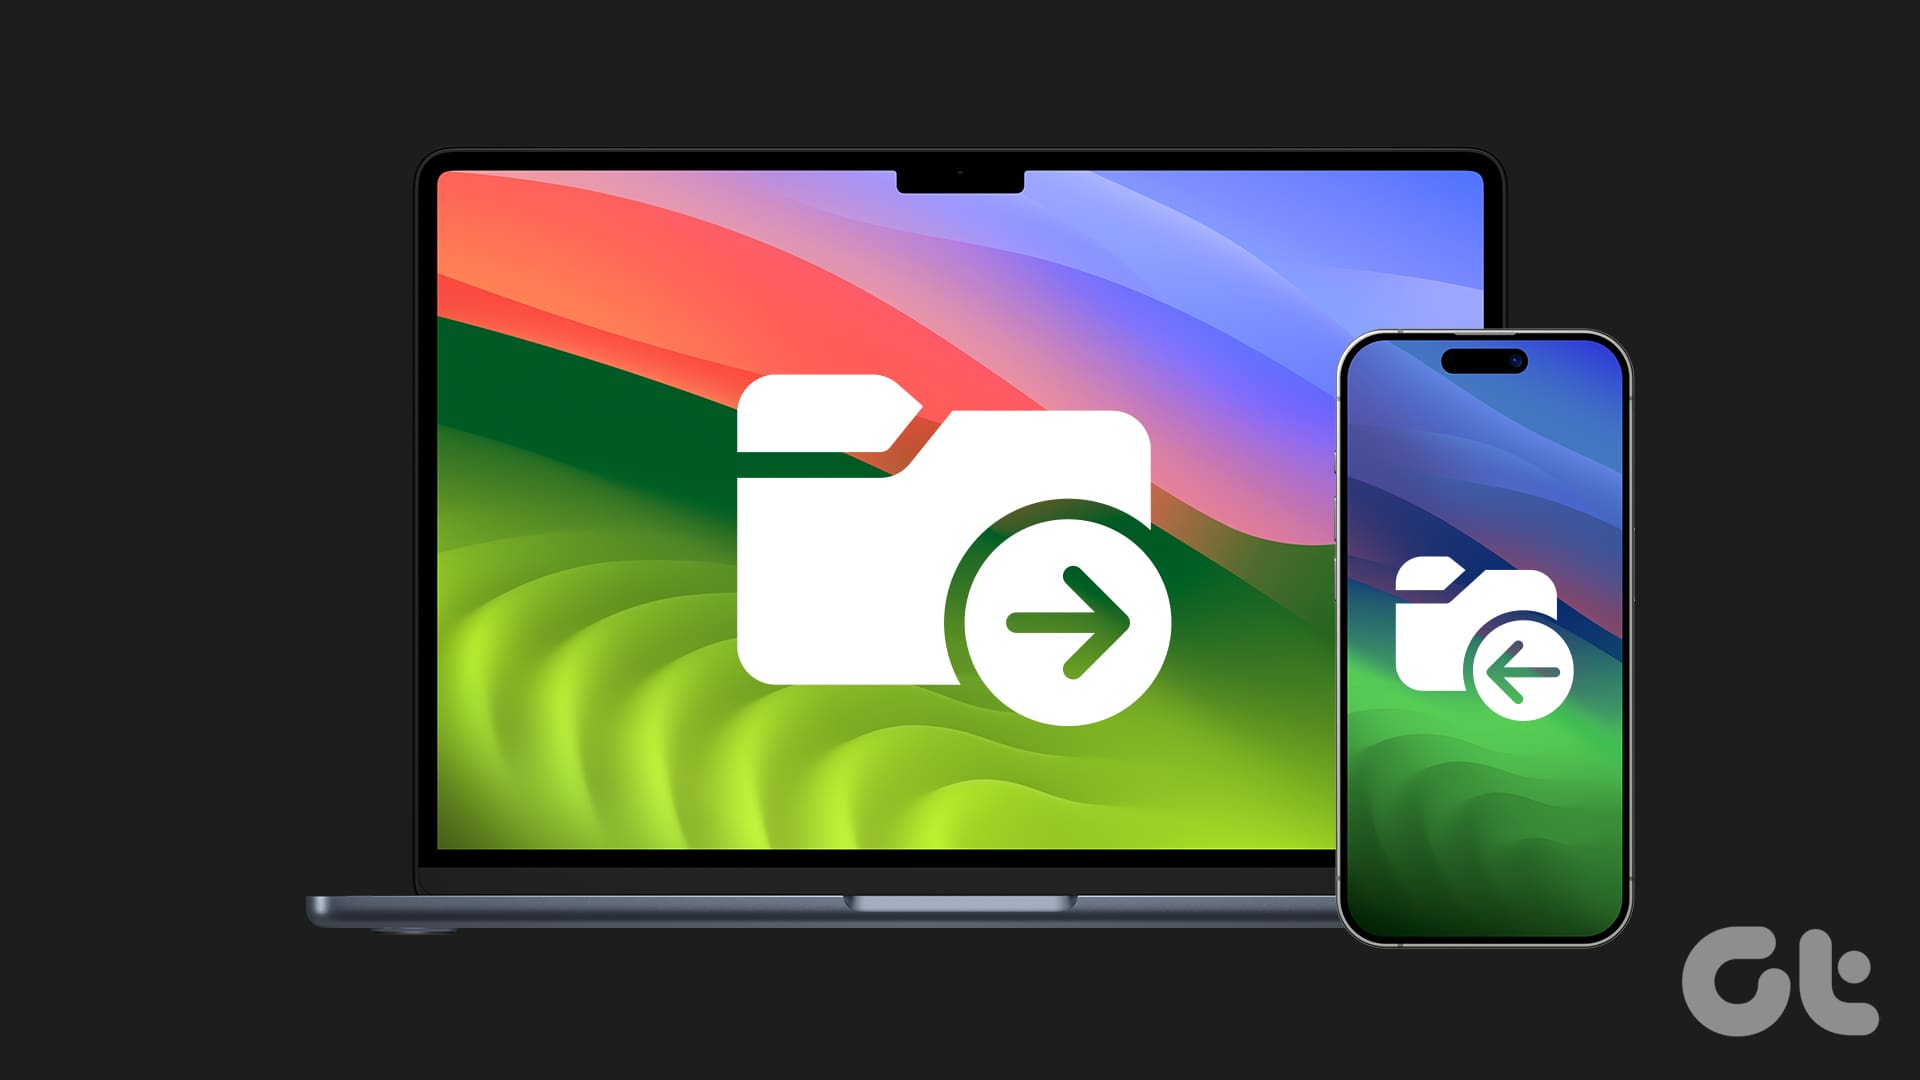
5 Easiest Ways to Transfer Files From iPhone to Mac
Need to transfer files, photos, or videos from your iPhone? Explore these five easiest ways to transfer files from your iPhone to a Mac.
-
What Is Hourglass on Snapchat and How Long Does It Last
Why are you seeing an hourglass icon on Snapchat? And can you remove it? To know that and more, keep reading.