Microsoft continues to pump Windows 10 with exciting new features and elements with each new update. From dark mode to the dynamic lock of Windows, the list is pretty long. However, one feature that stands out and yet remains underrated is Task View. This simple feature aids you in being more productive and helps you to work more efficiently and save time.
Bumping up your productivity should be one of your aims in 2020. If you are searching for the ultimate Windows 10 Task View settings and tips to help you with that, we’ve compiled some of the best ones.
Let’s begin.
Task View: What Is It and How It Works
Task View is a simple Windows 10 tool that allows you to access a bunch of virtual desktop spaces.
But why would anyone need a set of virtual desktops? Well, for starters, these desktops allow you to separate the different projects that you can work on simultaneously.
For instance, if you have to work solely on spreadsheets for one project without the distraction of Slack and Twitter, you can undertake the same with Task View. You have to create a virtual desktop and open the specific apps on it.

In short, it lets you separate spaces for work and play. Thereby, it aims at making you more efficient by letting you focus on your work or one particular aspect of your work at a time.
And when you want to take a look at your other projects or browse the internet a little, you have to switch between the desktops. Quite convenient.
1. Using and Accessing Virtual Desktops and Timelines
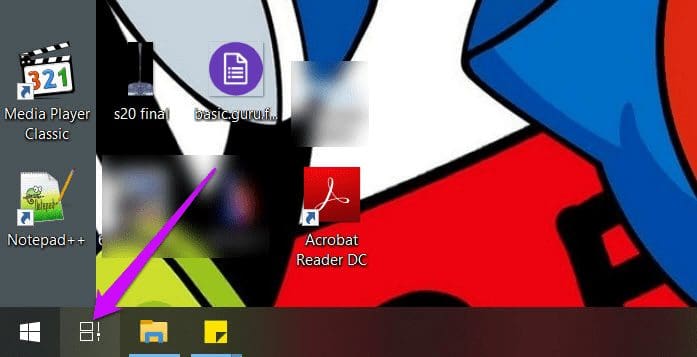
Accessing Task View is a simple affair in Windows 10. Just press the Windows + Tab keys together, and Windows will show the desktops at the top. Or you can click on the Task View button (next to the Start button) on the taskbar.
Once you open it, you will be able to see all the apps and tools that are open on your system, with the focus being on the current app. All you need to do is click on the Plus button to add a new virtual desktop space. Yes, as simple as that.
Again, if you are on a multi-monitor setup, the running apps won’t be displayed on a single monitor. Instead, they will be displayed across the monitors, depending on which apps you have kept open on a specific display.
While it may somewhat defeat the purpose of the virtual desktop, the good thing is that it removes all the distractions and lets you access only the essential apps.
2. What Is Timeline
Task View bundles another cool feature aptly called Timeline that lets you resume tasks on old projects. For instance, if you had worked on designing a cool poster in Adobe Photoshop last week, you can retrieve it quickly and continue to work on it.
To access Timeline, open Task View and scroll down and you will be able to see all your activities grouped by date and the app. If you want to resume your work, click on an app tab and that’s about it.

However, if you do not want your Windows PC to track your activities, you can disable that as well.
To do that, head over to Settings > Privacy Settings > Activity History.
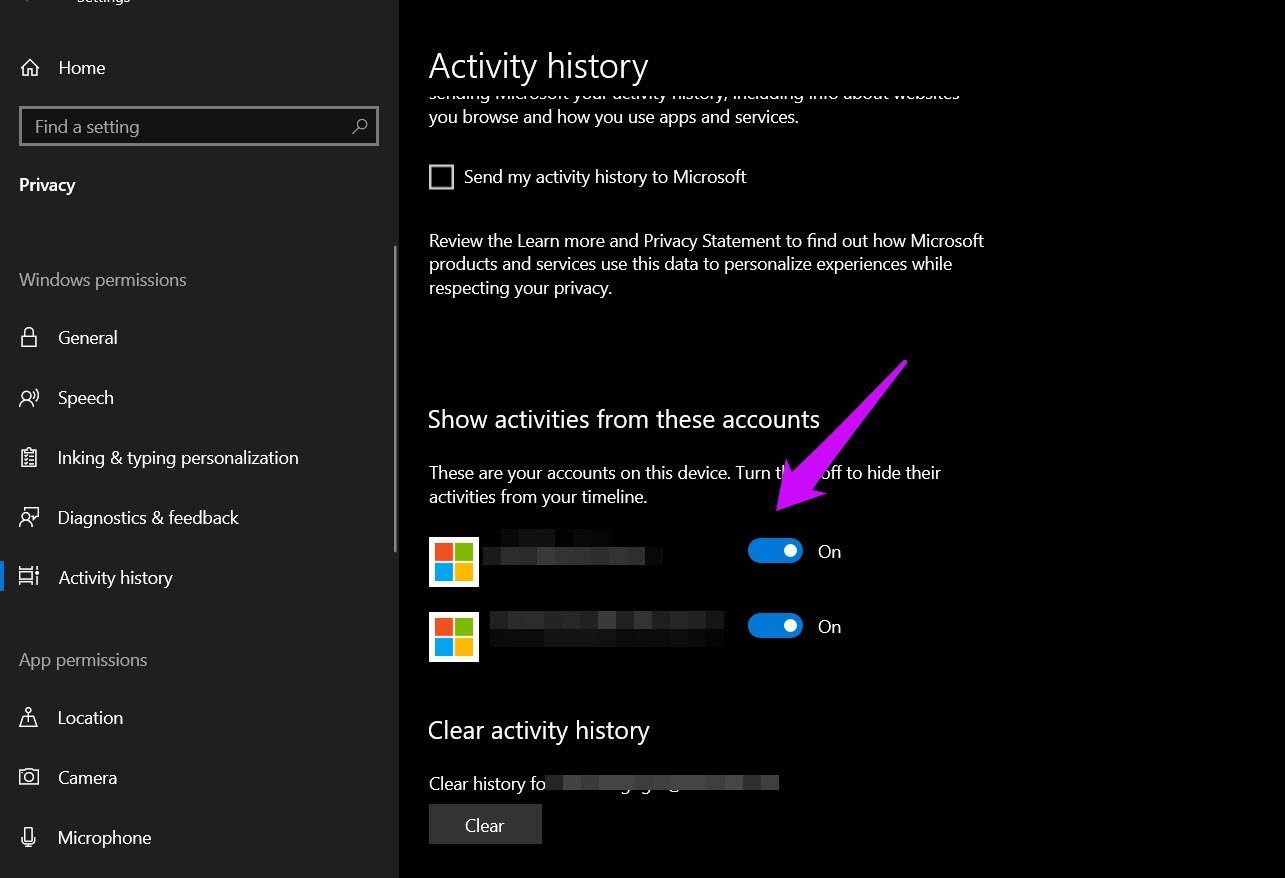
Here, uncheck the option for Show Activity.
3. Moving Items From One Desktop to the Other
When we say that Task View helps you create multiple virtual desktops to focus on your work, it doesn’t mean that it’s a tight sandbox. This module gives you the independence of moving your apps around the many desktops.
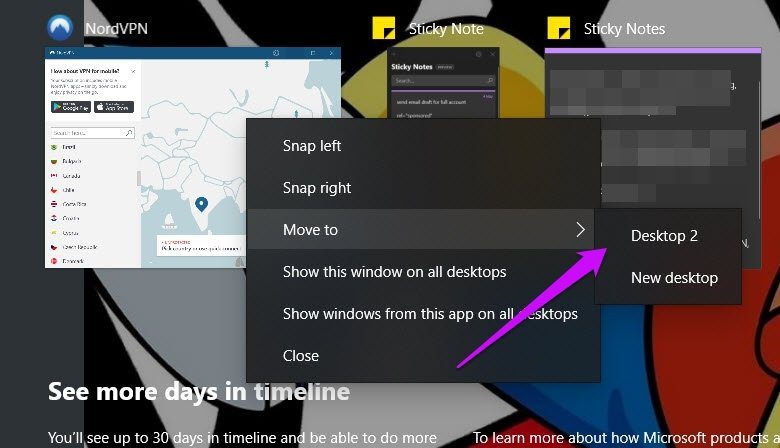
To move an app from one desktop to the other, right-click on the app and select Move to [Desktop name].
At the same time, you can have a common app open across all the desktops.
For that, follow the same routine of opening the Task View. Having done that, click on the app and select ‘Show this window on all desktops’ option. Cool, right?
4. Using Snap
Another fascinating feature for someone who loves to multitask is Snap. With it, you can easily manage all the open apps at once. As its name implies, it snaps an open app window to the side of the display. That way, you can have two (or more) windows open side by side.
To snap a window, open Task View and right-click on a window. Next, select Snap Right and Snap Left, and see the magic unfold.

Alternatively, you can also use keyboard shortcuts. Open the app which you want to snap and then press Win + Right/Left to determine the direction. Next, select the app window which you want to open side-by-side, and you will be sorted.
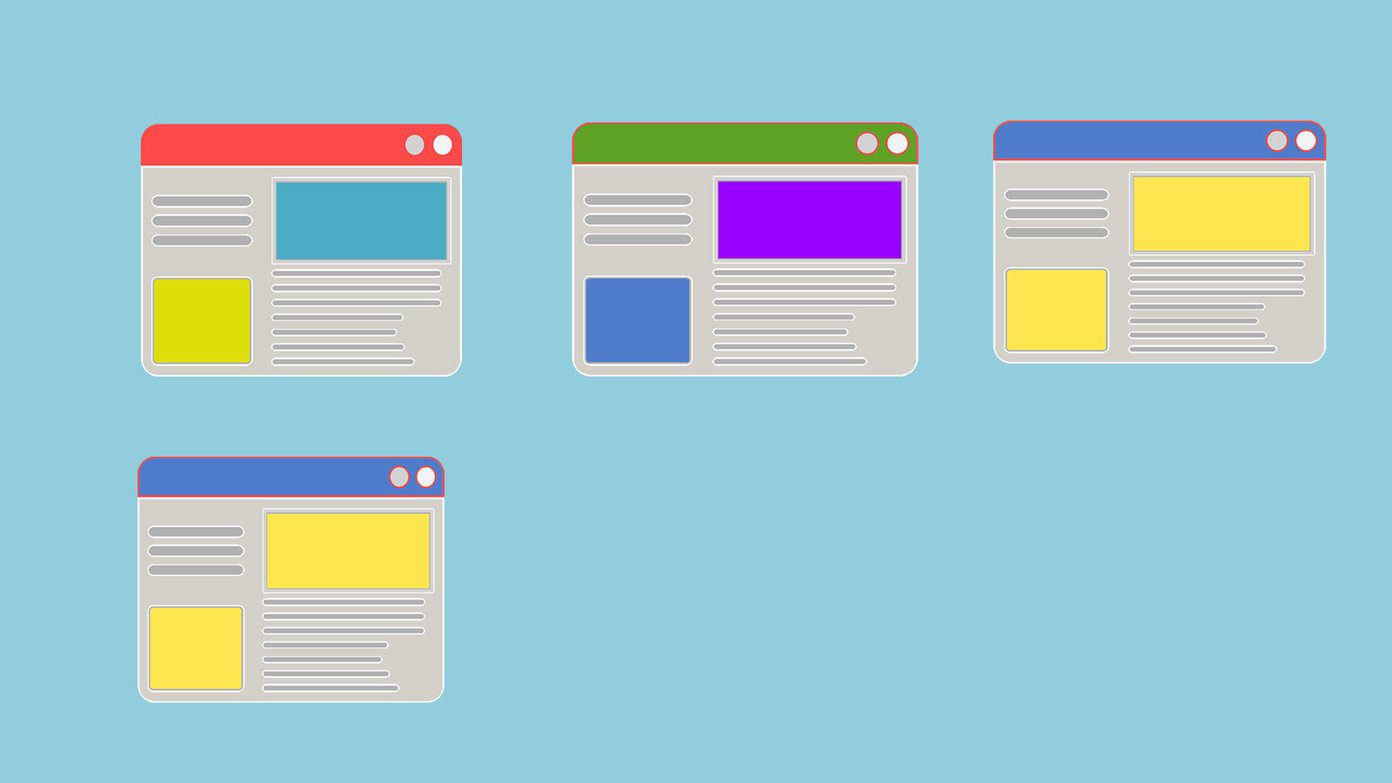
The best part is that Windows Snap works on more than two windows at a time. Say hello to Quadrants.
This neat little feature lets you have app windows open on a four-rectangle grid such as the one displayed below.
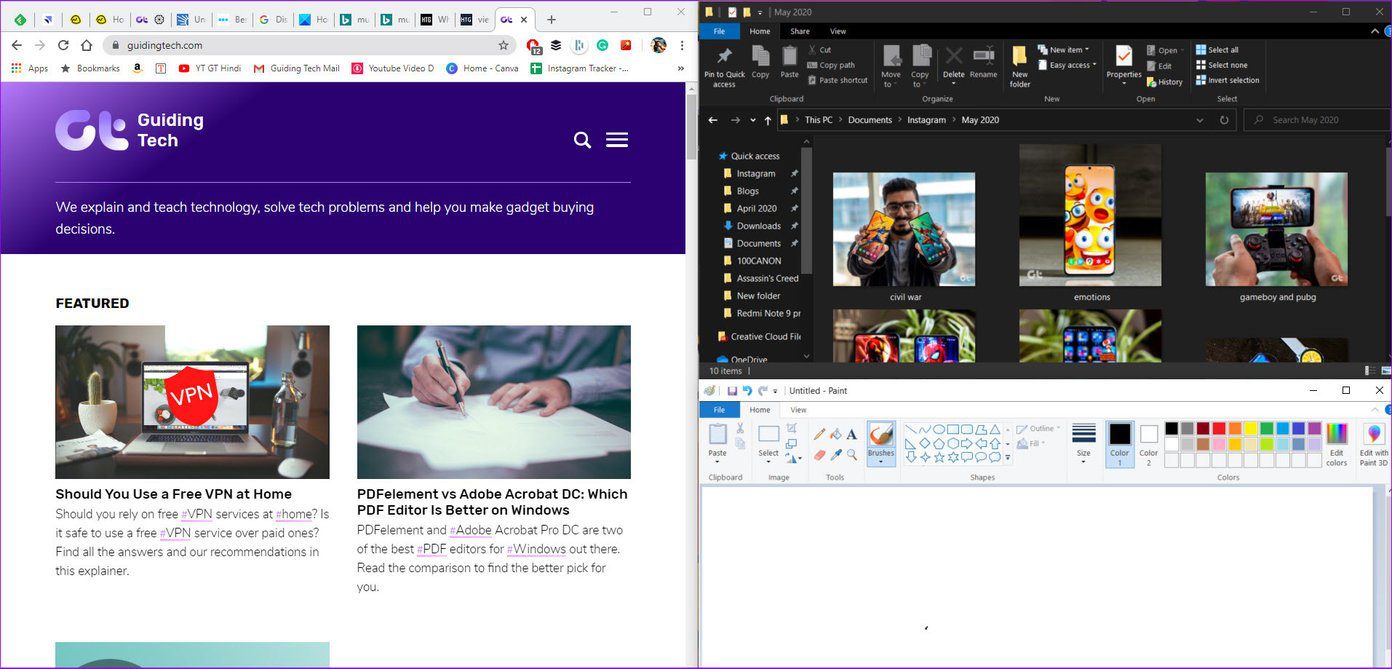
So if you have the resources for it (such as an ultrawide monitor), hit Windows along with right/left keys to snap the first window.
Once you have opened both the app windows, select the next one, and press the Windows + left buttons, and hit the Up arrow immediately. That will activate Quadrants and will snap the window to the top quarter of the screen. Amazing, right?
5. Tweak the Snap Settings
Again, there are a handful of customizations that you can do for Snap. For now, Windows 10 gives you three options, as shown in the screenshot below. And based on your preference, you can choose to turn them off.
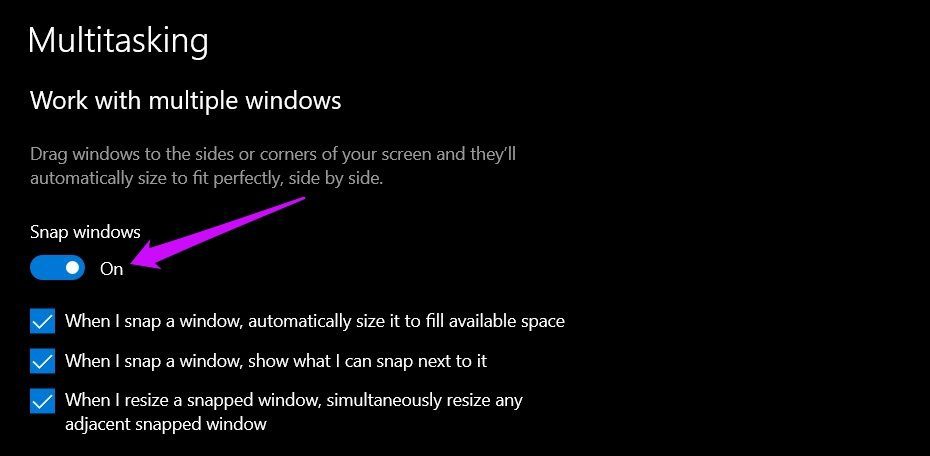
Head over to Settings > System > Multitasking, and disable the ones you do not like.
6. Keyboard Shortcuts
As you may have already guessed by now, there are dozens of keyboard shortcuts for Windows Task View and Timeline. They save your time and give you a quick view of open apps or desktops.
Here are some of the keyboard shortcuts for Windows Task View:
- Access Task View: Windows + Tab.
- Create a new desktop: Windows + Ctrl + D
- Move between virtual desktops: Windows + Ctrl + Left / Right Arrow
Cool Tip: To see all the windows open, right-click on the taskbar, and select Show All Windows side by side.
7. Disabling Task View
If you have no use of the Task View and don’t want to crowd your taskbar, you can always disable it.
To do so, right-click on the taskbar, and uncheck the option for Show Task View button from the context menu.

Be the Multitasking Pro
So, these were some of the tips and tricks using which you can master Task View in Windows 10. Did we miss to include your favorite solution? Share it with us in the comments below.
Next up: Is the language bar missing on your Windows 10 system? Refer to the next article for the solutions on how to bring back that language bar.
Was this helpful?
Last updated on 13 July, 2021
Read Next
 How to Disable Task View in Windows 10 Completely
The Task View feature in Windows 10 is a boon for power users.
How to Disable Task View in Windows 10 Completely
The Task View feature in Windows 10 is a boon for power users.
 9 Ways to Open Task Manager on Windows 10 and Windows 11
Task Manager is one of the most commonly used programs on Windows, regardless of its version.
9 Ways to Open Task Manager on Windows 10 and Windows 11
Task Manager is one of the most commonly used programs on Windows, regardless of its version.
 12 Ways to Open Task Scheduler in Windows 11 and Windows 10
Task Scheduler is a powerful tool in Windows that allows you to schedule or automate various tasks and improve your workflow.
12 Ways to Open Task Scheduler in Windows 11 and Windows 10
Task Scheduler is a powerful tool in Windows that allows you to schedule or automate various tasks and improve your workflow.
 Top 10 Ways to Fix Task Manager Not Working on Windows 11
Task Manager is a useful utility that lets you monitor your PC’s memory consumption, background processes, startup programs, and more.
Top 10 Ways to Fix Task Manager Not Working on Windows 11
Task Manager is a useful utility that lets you monitor your PC’s memory consumption, background processes, startup programs, and more.
 3 Ways to Disable Task Manager for Specific Users in Windows
The Task Manager is a useful program that lets you see what programs are running on your computer and lets you end the ones that are giving you trouble.
3 Ways to Disable Task Manager for Specific Users in Windows
The Task Manager is a useful program that lets you see what programs are running on your computer and lets you end the ones that are giving you trouble.
 11 Ways to Fix Task Scheduler Not Working on Windows
Task Scheduler is the behind-the-scenes hero on your Windows computer.
11 Ways to Fix Task Scheduler Not Working on Windows
Task Scheduler is the behind-the-scenes hero on your Windows computer.
 How to Get Live View on Google Maps and Other Cool Tips
After months of testing the Google Maps AR Live View feature with Local Guides level 5 and above, Google has now started rolling it out to the beta version of
How to Get Live View on Google Maps and Other Cool Tips
After months of testing the Google Maps AR Live View feature with Local Guides level 5 and above, Google has now started rolling it out to the beta version of
 Top 6 Ways to View Wi-Fi Signal Strength in Windows 11
The strength of the Wi-Fi signal has a direct impact on the performance of your Wi-Fi connection.
Top 6 Ways to View Wi-Fi Signal Strength in Windows 11
The strength of the Wi-Fi signal has a direct impact on the performance of your Wi-Fi connection.
The article above may contain affiliate links which help support Guiding Tech. The content remains unbiased and authentic and will never affect our editorial integrity.