The Netflix Premium plan lets you stream content in Dolby Vision and Dolby Atmos. These audio and video formats will provide the best Netflix viewing experience on your streaming setup. But sometimes Dolby Atmos fails to work properly in Netflix on Android TVs.

The absence of Dolby Atmos surely deprives you of a great audio experience. However, you’ll need to remember that you can only enjoy Dolby Atmos audio at best with the supporting sound setup – speakers, headphones, and Audio Video Receivers. We’ve listed some useful fixes for Dolby Atmos not working in Netflix on Android TV.
1. Check if Dolby Atmos Is Enabled on Your Android TV
The first you must check whether you did enable Dolby Atmos on your Android TV. Many smart TVs running Android TV operating system come with this feature and you may have disabled it while tweaking the settings. So you might have to check and manually enable it to enjoy your Netflix binges. Follow these steps.
Step 1: Go to the Settings icon on your Android TV home screen.

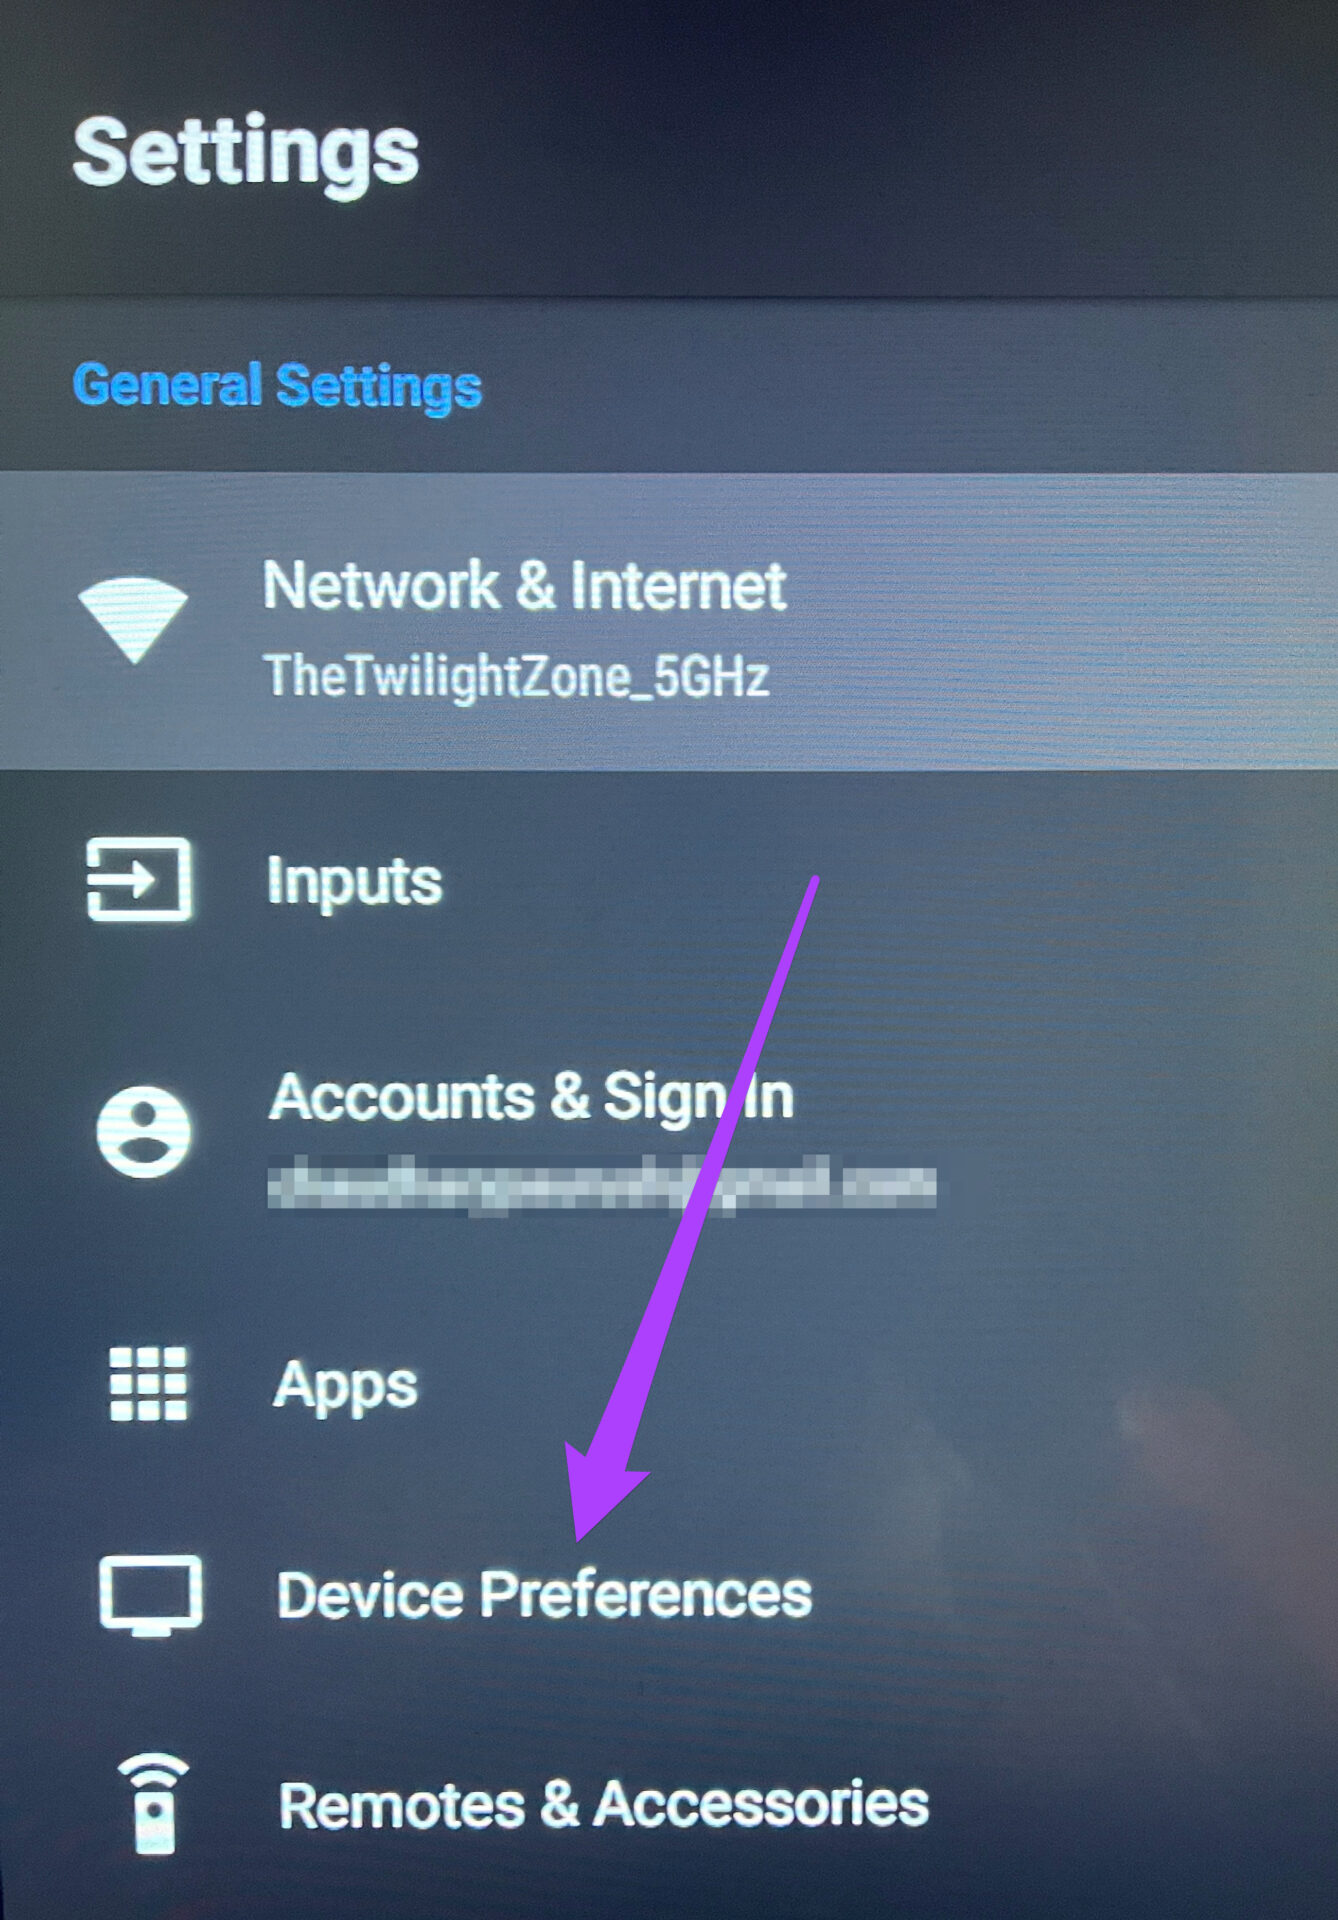
Step 2: Select Device Preferences.
Step 3: Go to Sound.

Step 4: Go to the Select formats option.

Step 5: Select Manual to show different audio formats.

Step 6: Check if Dolby Atmos has been selected.
Alternatively, you can use the following method to check the same.
Step 1: Open TV Settings by pressing the Menu button on your remote. If your remote has a dedicated Menu button to open settings, use that.
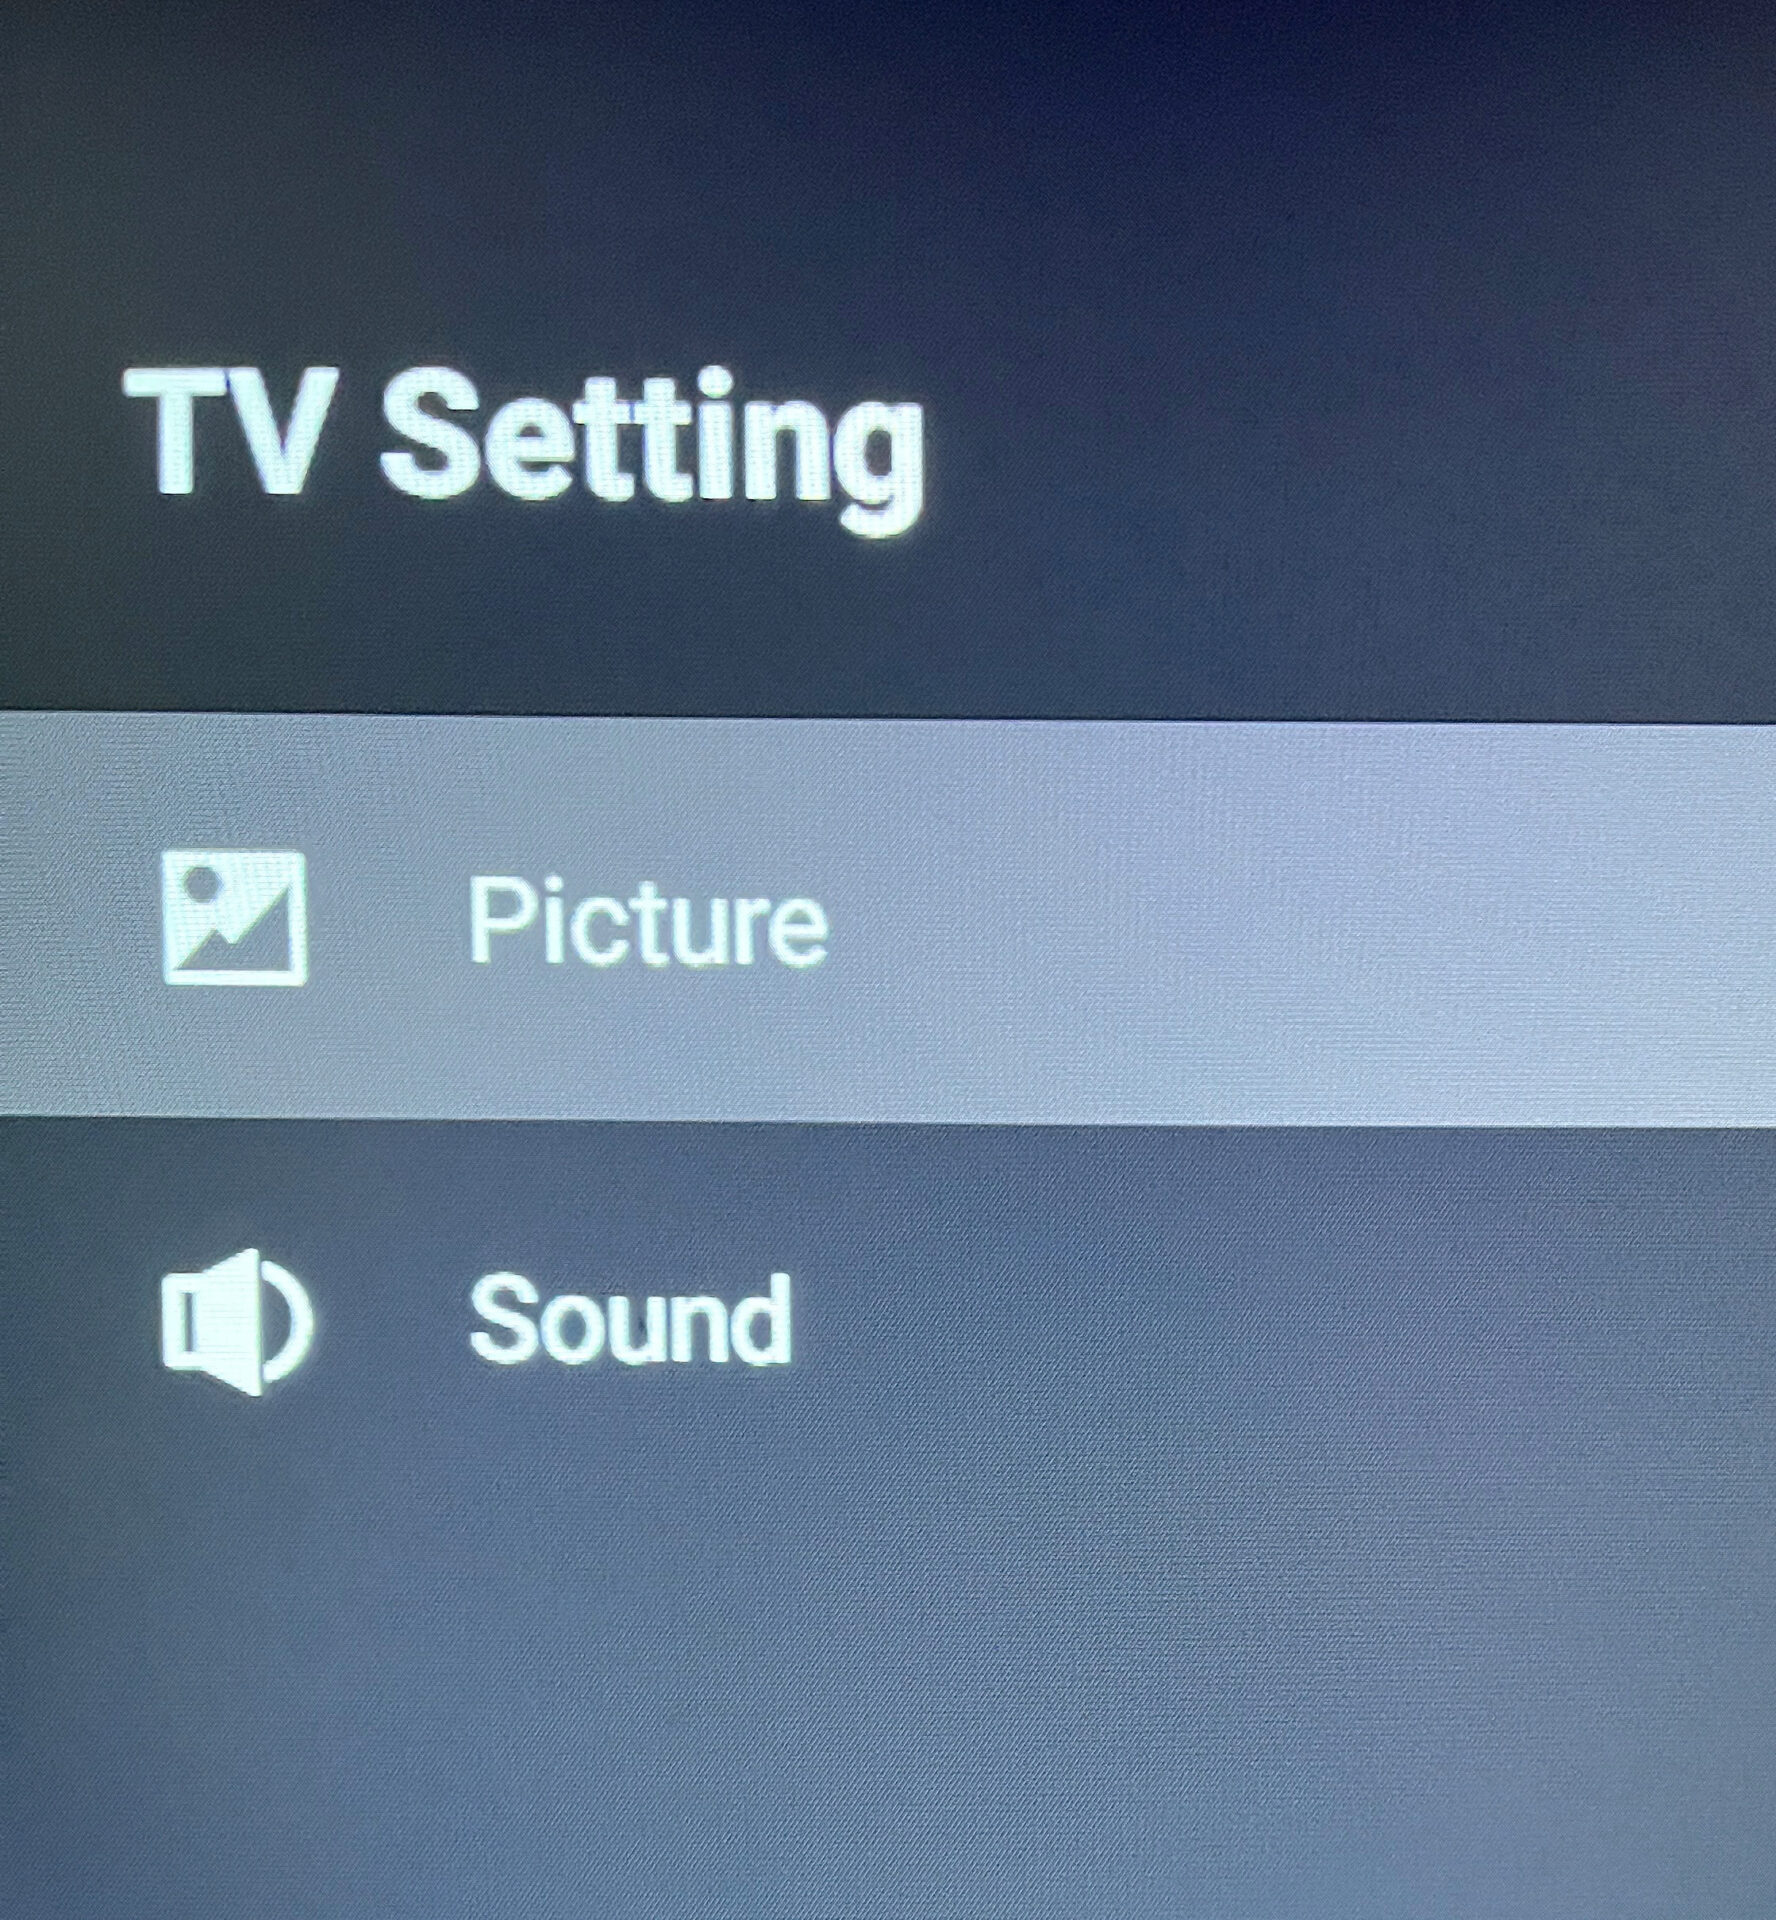
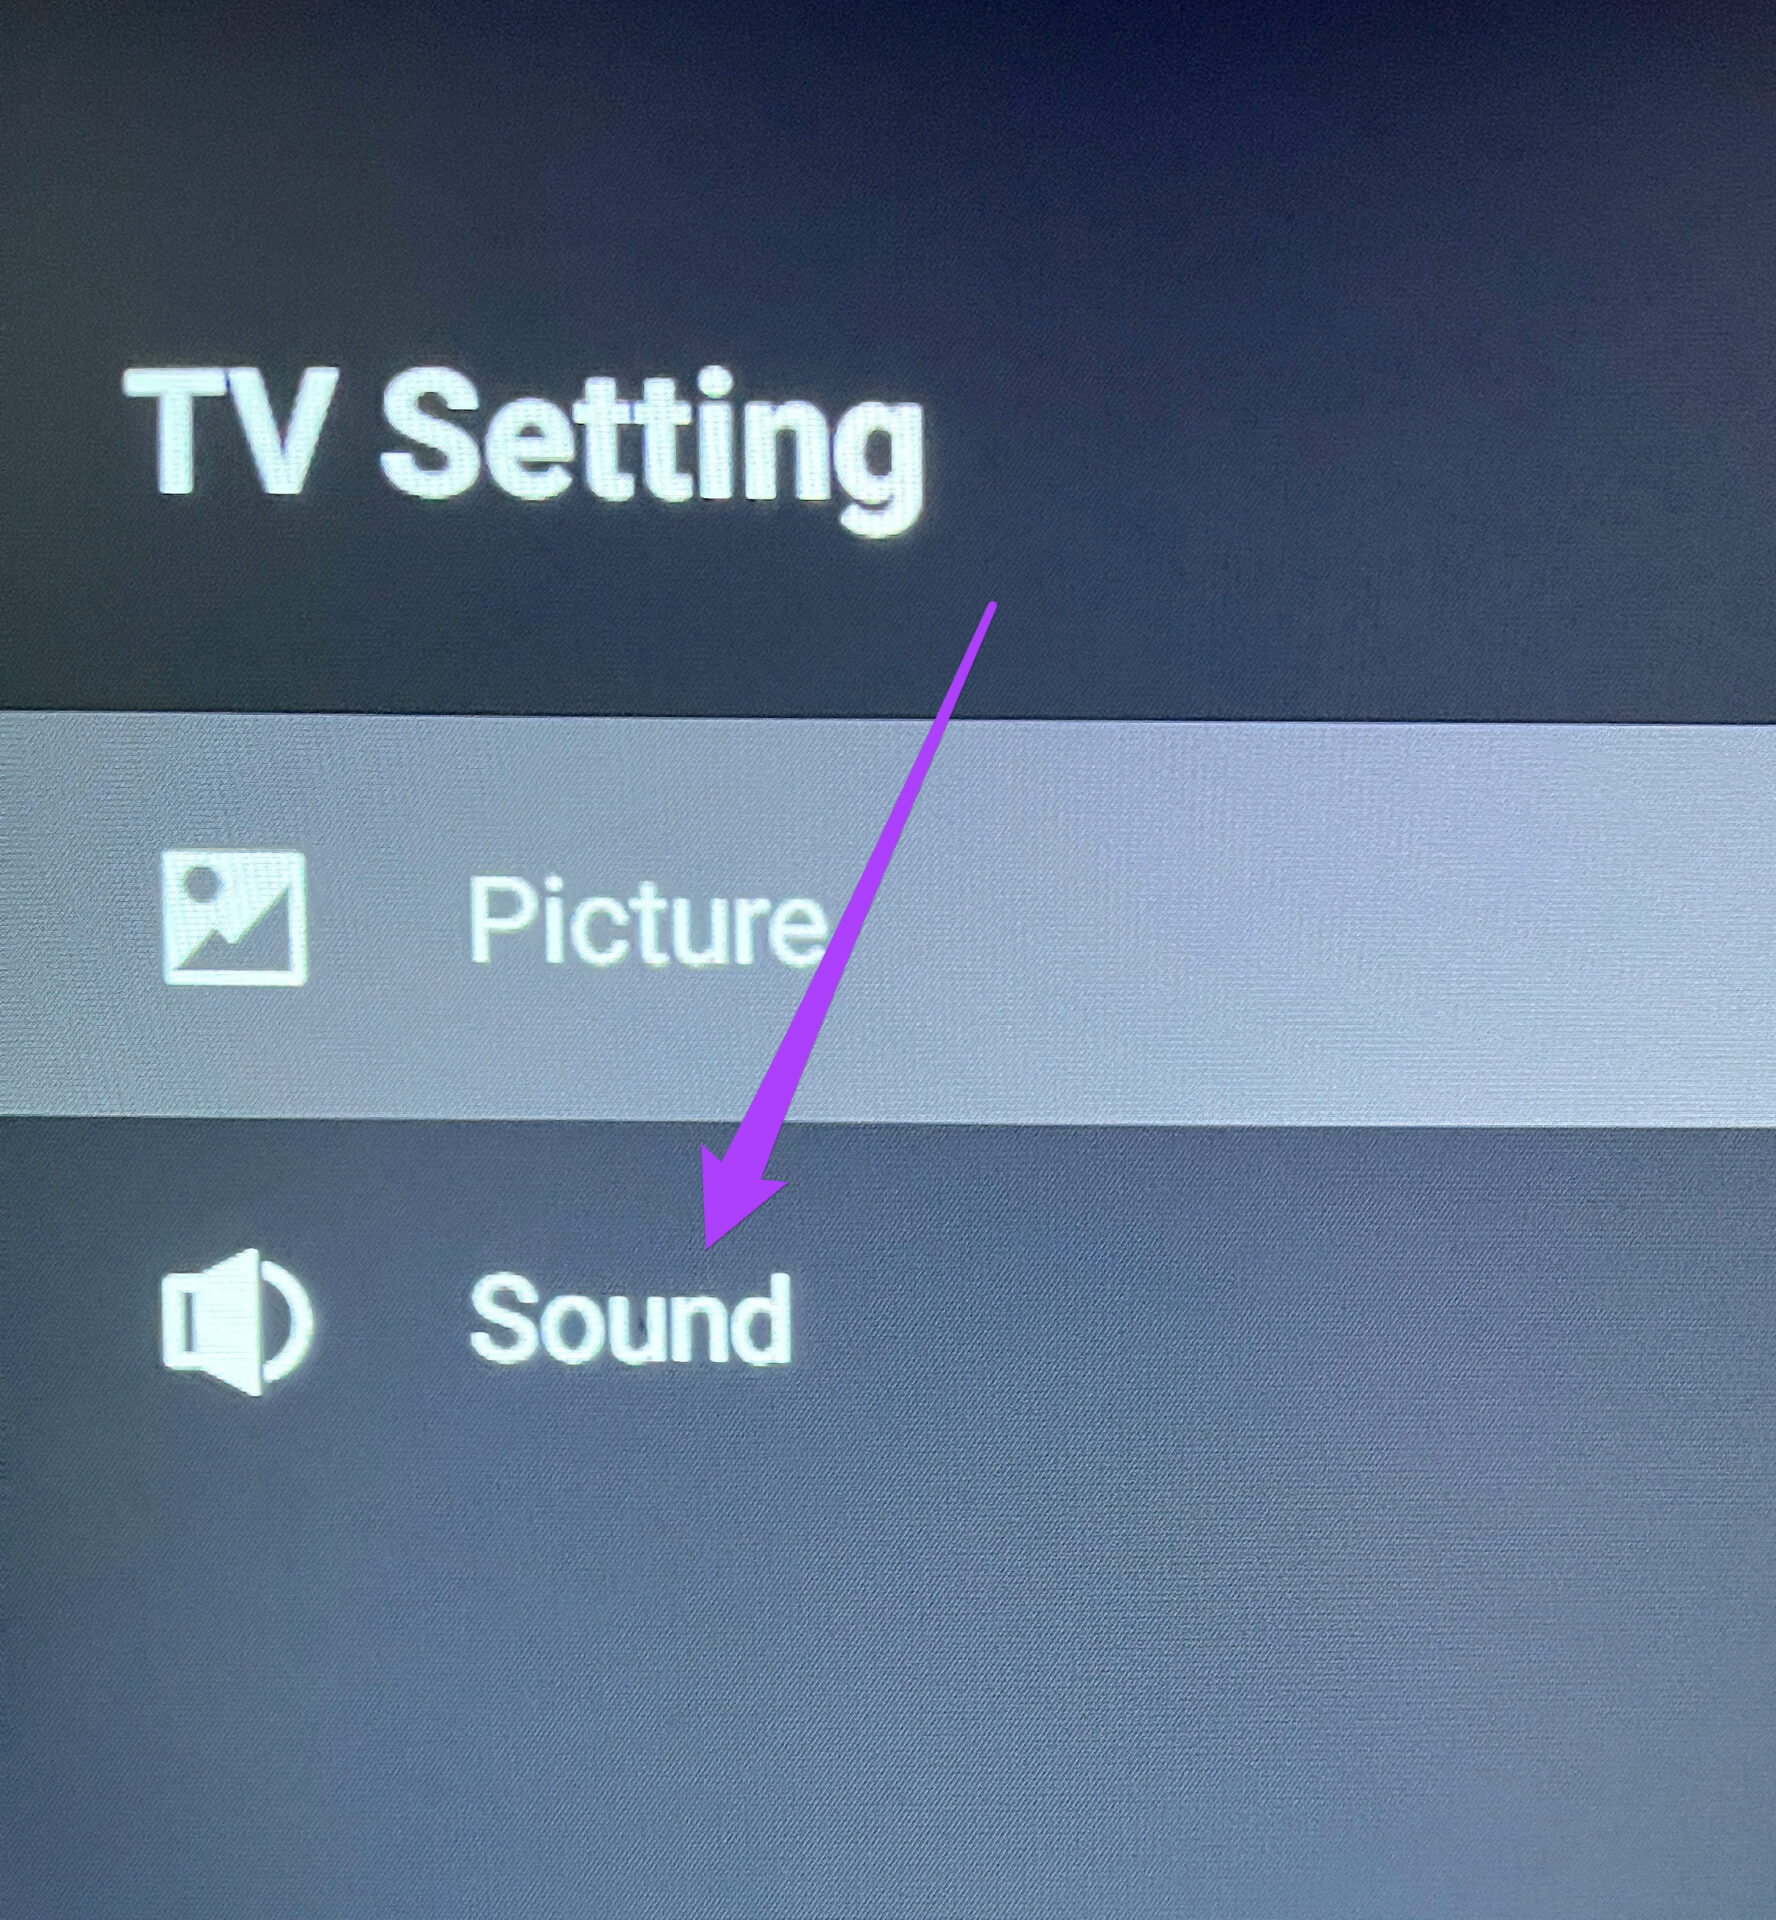
Step 2: Select Sound.
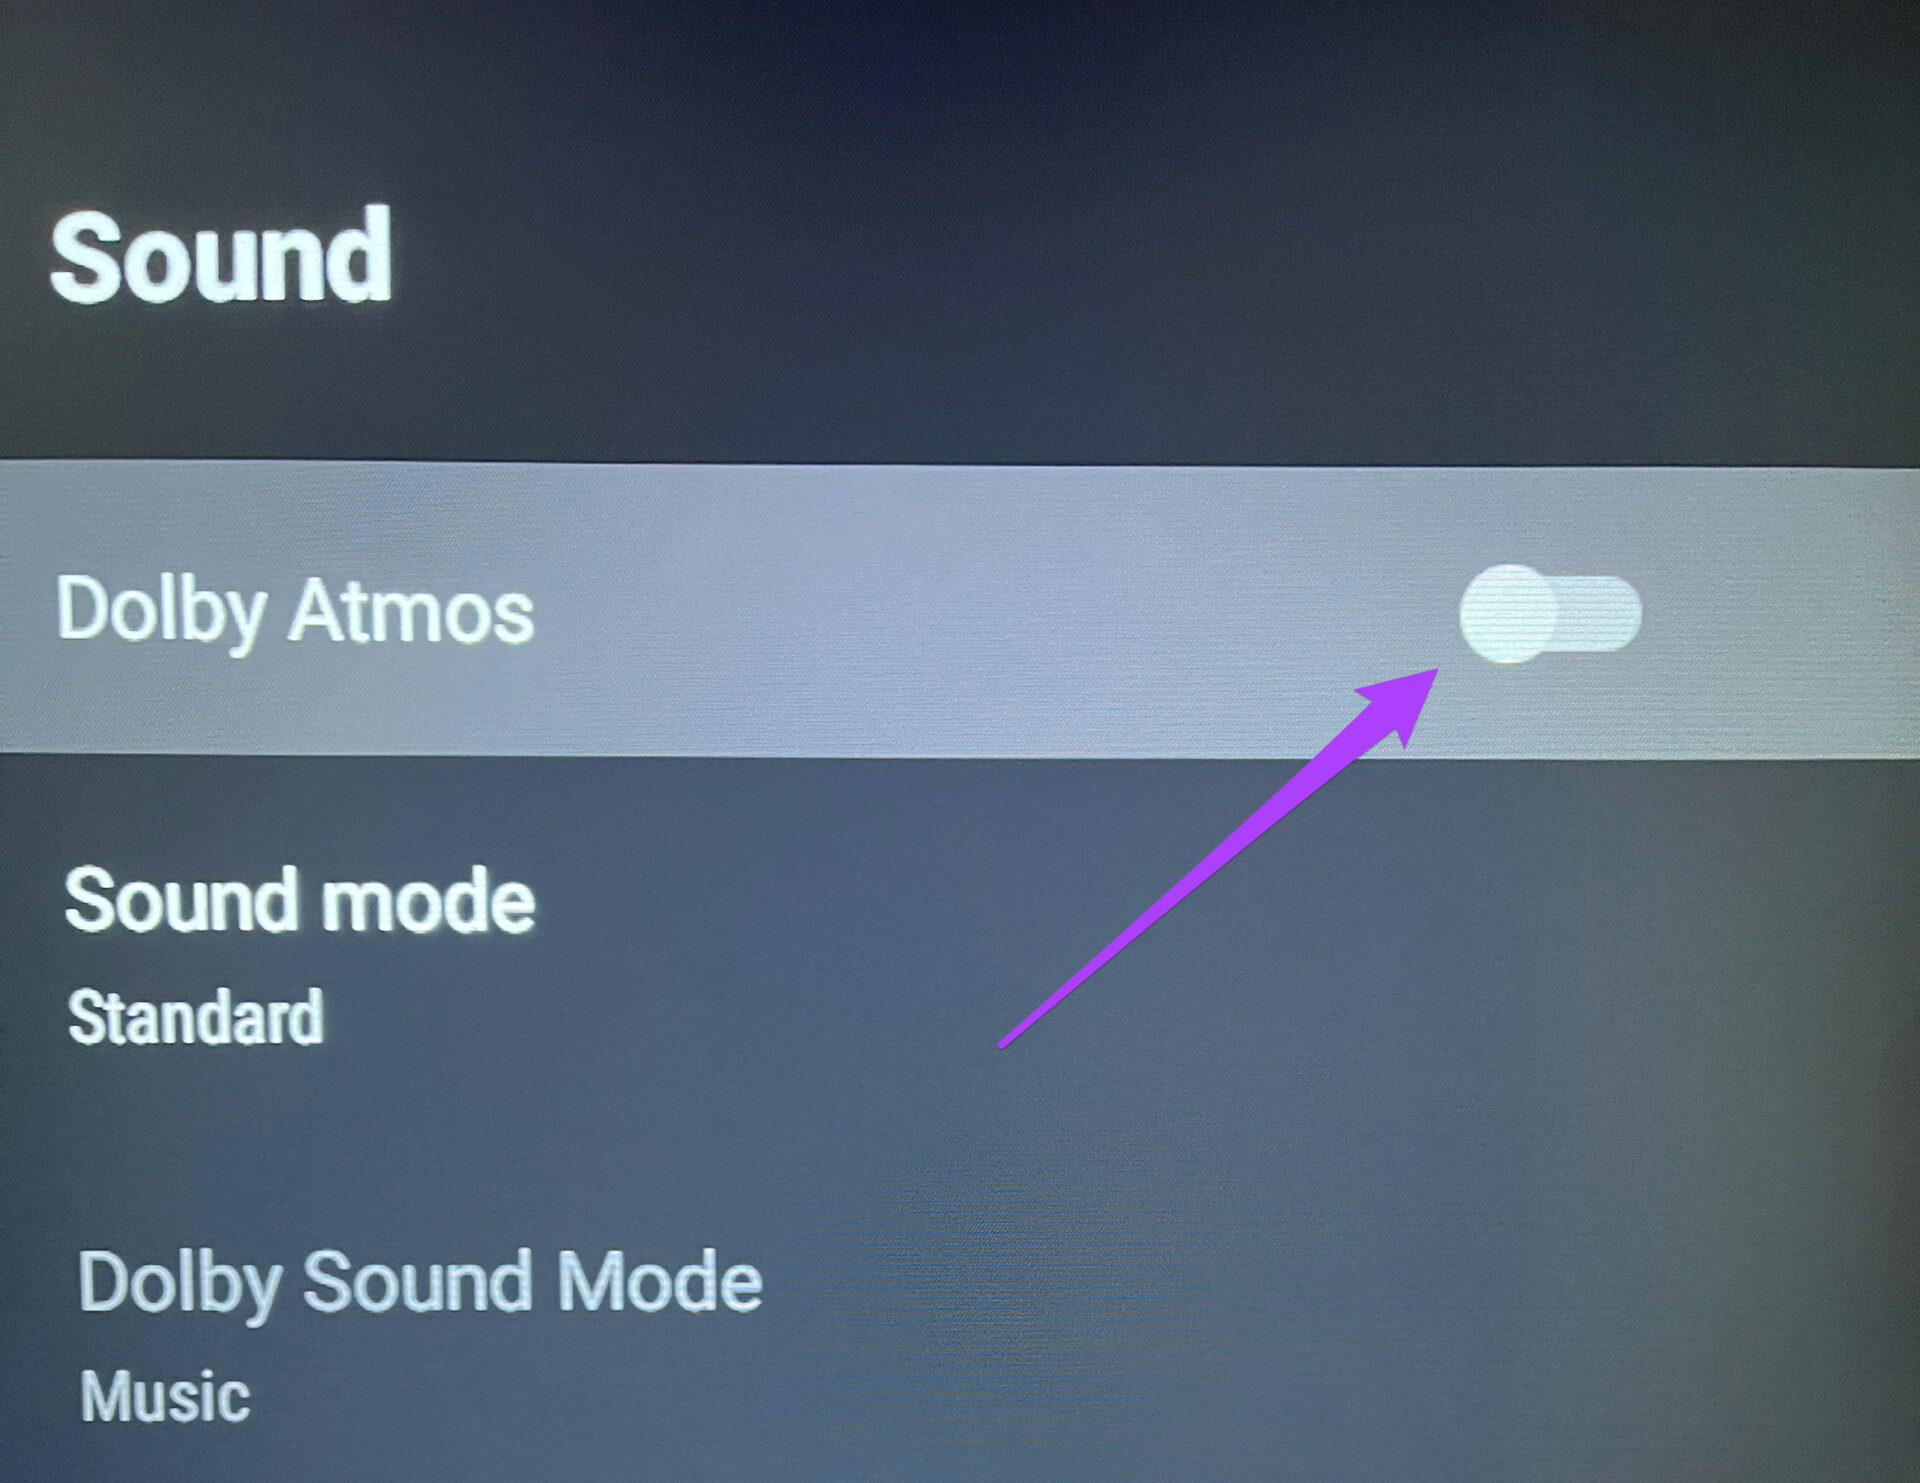
Step 3: Check if Dolby Atmos has been enabled. If not, press the toggle to enable it.
After this, switch off your Android TV and turn it back on again to check if you see the Dolby Vision and Dolby Atmos logos under a movie or TV show on Netflix.
2. Check Your Netflix Data Plan
Netflix users can opt for the Premium plan to enjoy Dolby Atmos and Dolby Vision. However, if you don’t know which plan you’re on, you can always check it from your Netflix account. You can use your computer for that.
Follow these steps.
Step 1: Open Netflix website in a browser.

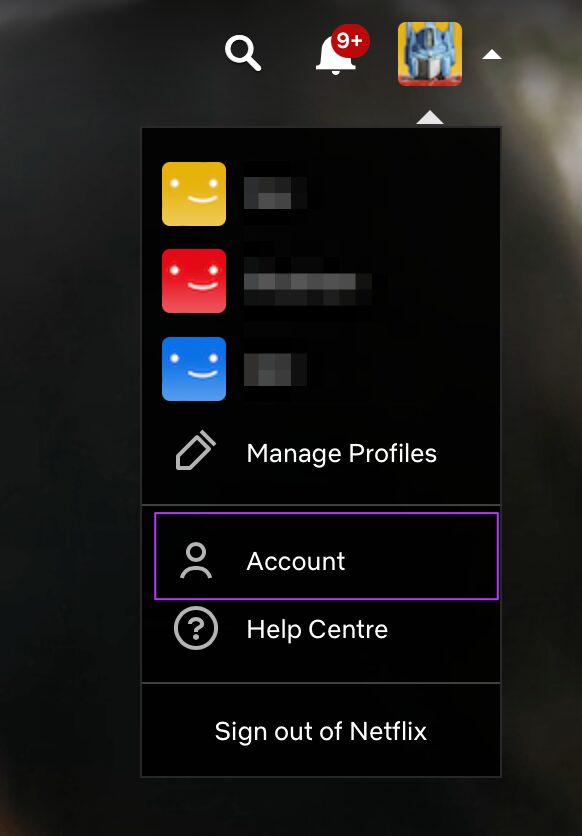
Step 2: Sign in to you account and click on your profile icon at the top right corner.
![]()
Step 4: Click on Account from the drop-down menu.
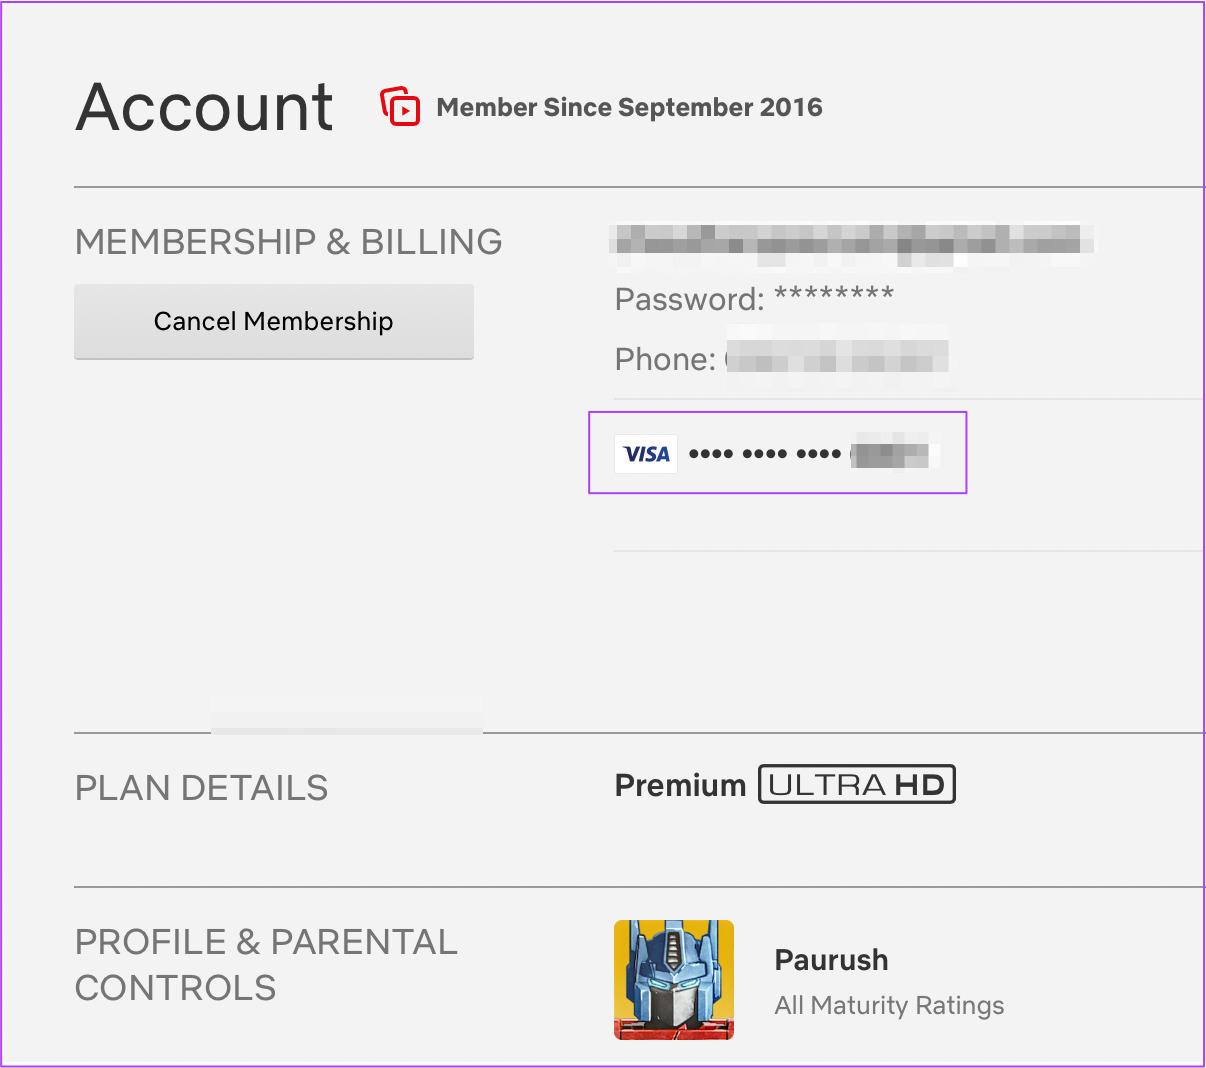
Step 5: On the Account settings page, look for Plan Details.

If you see Premium Ultra HD next to plan details, that means Dolby Atmos support is available for your subscription.
3. Check Billing Details for Your Netflix Account
There is a chance that Netflix couldn’t process the monthly subscription fee from your bank account. We recommend you check your billing information from your Netflix account details. Follow these steps.
Step 1: Open Netflix in a browser and Sign In to your account.
Step 2: Go to Account settings.
Step 3: In the Membership and Billing section, look for your card number.
Step 4: Click on Billing Details alongside your card number.

You will now see a list of all the previous transactions from your account. In case you see an unprocessed payment, it is recommended to check your preferred payment method. Follow these steps.
Step 1: Go back to the Account page.
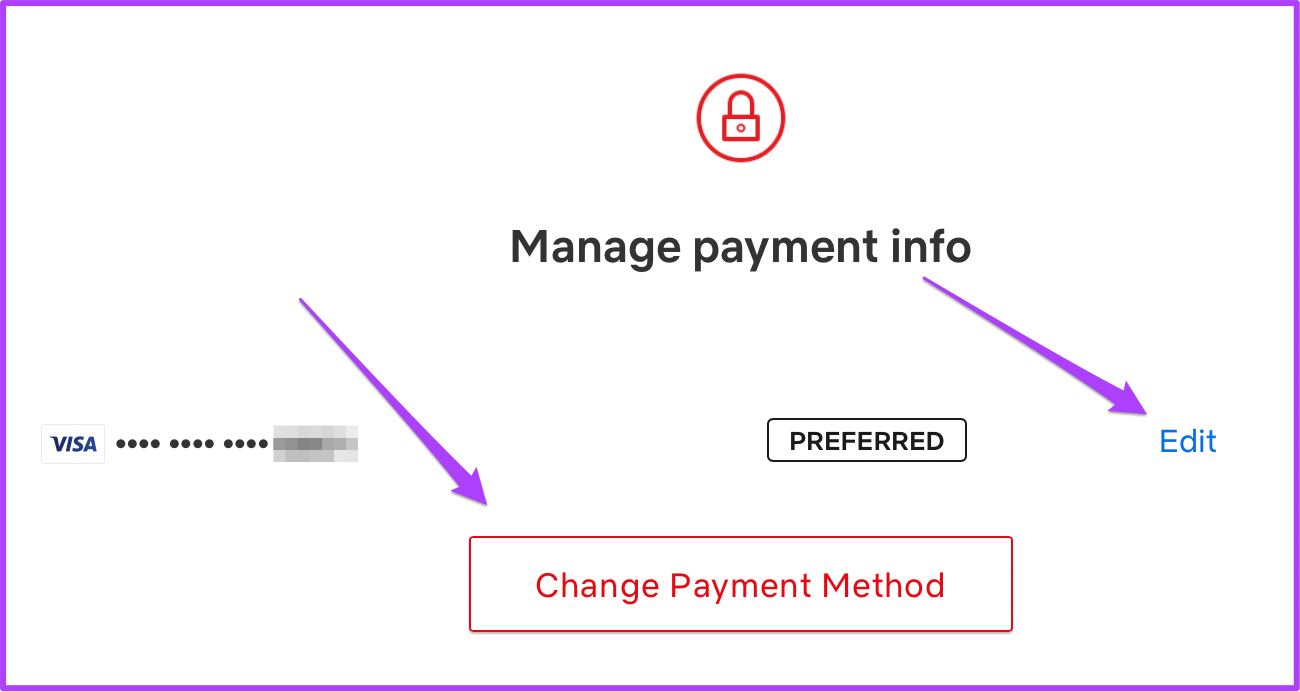
Step 2: Click on the Manage Payment Info option above Billing Details.

You can now choose to Edit the details of your preferred method or Change the Payment Method.
4. Check if Your Speakers Support Dolby Atmos
One of the crucial aspects to enjoy the Dolby Atmos audio is to check if your speakers support Dolby Atmos or not. Whether you’re using TV’s speakers, bluetooth speaker, or a home theater setup, it’s necessary to check if the respective models support Dolby Atmos. Otherwise, you’ll get sound, but it won’t be as immersive as Dolby Atmos would provide.
Visit the speaker manufacturer’s site and check the product or support page to check for Dolby Atmos support.
5. Check HDMI Connection With Android TV
Several smart TVs that run Android TV OS feature the support for the ARC (Audio Return Channel) in one of the HDMI ports at the back. The HDMI ARC provides wider bandwidth for audio signals with video signals, so you don’t require a separate audio cable for your Android TV.

If your speakers or audio setup (home theater, AVR, console, or streaming device) support Dolby Atmos, you need to connect its HDMI cable to the HDMI ARC port of your Android TV. Behind your TV, you can sport one of the ports with a label – HDMI (ARC) or HDMI (Audio Out).
6. Update the Netflix App
Updating the apps is a must for every platform. There is a chance that a bug in the Netflix app is restricting Dolby Atmos playback on your Android TV. Follow these steps to check if there’s an update available.
Step 1: Go to Play Store on your Android TV.
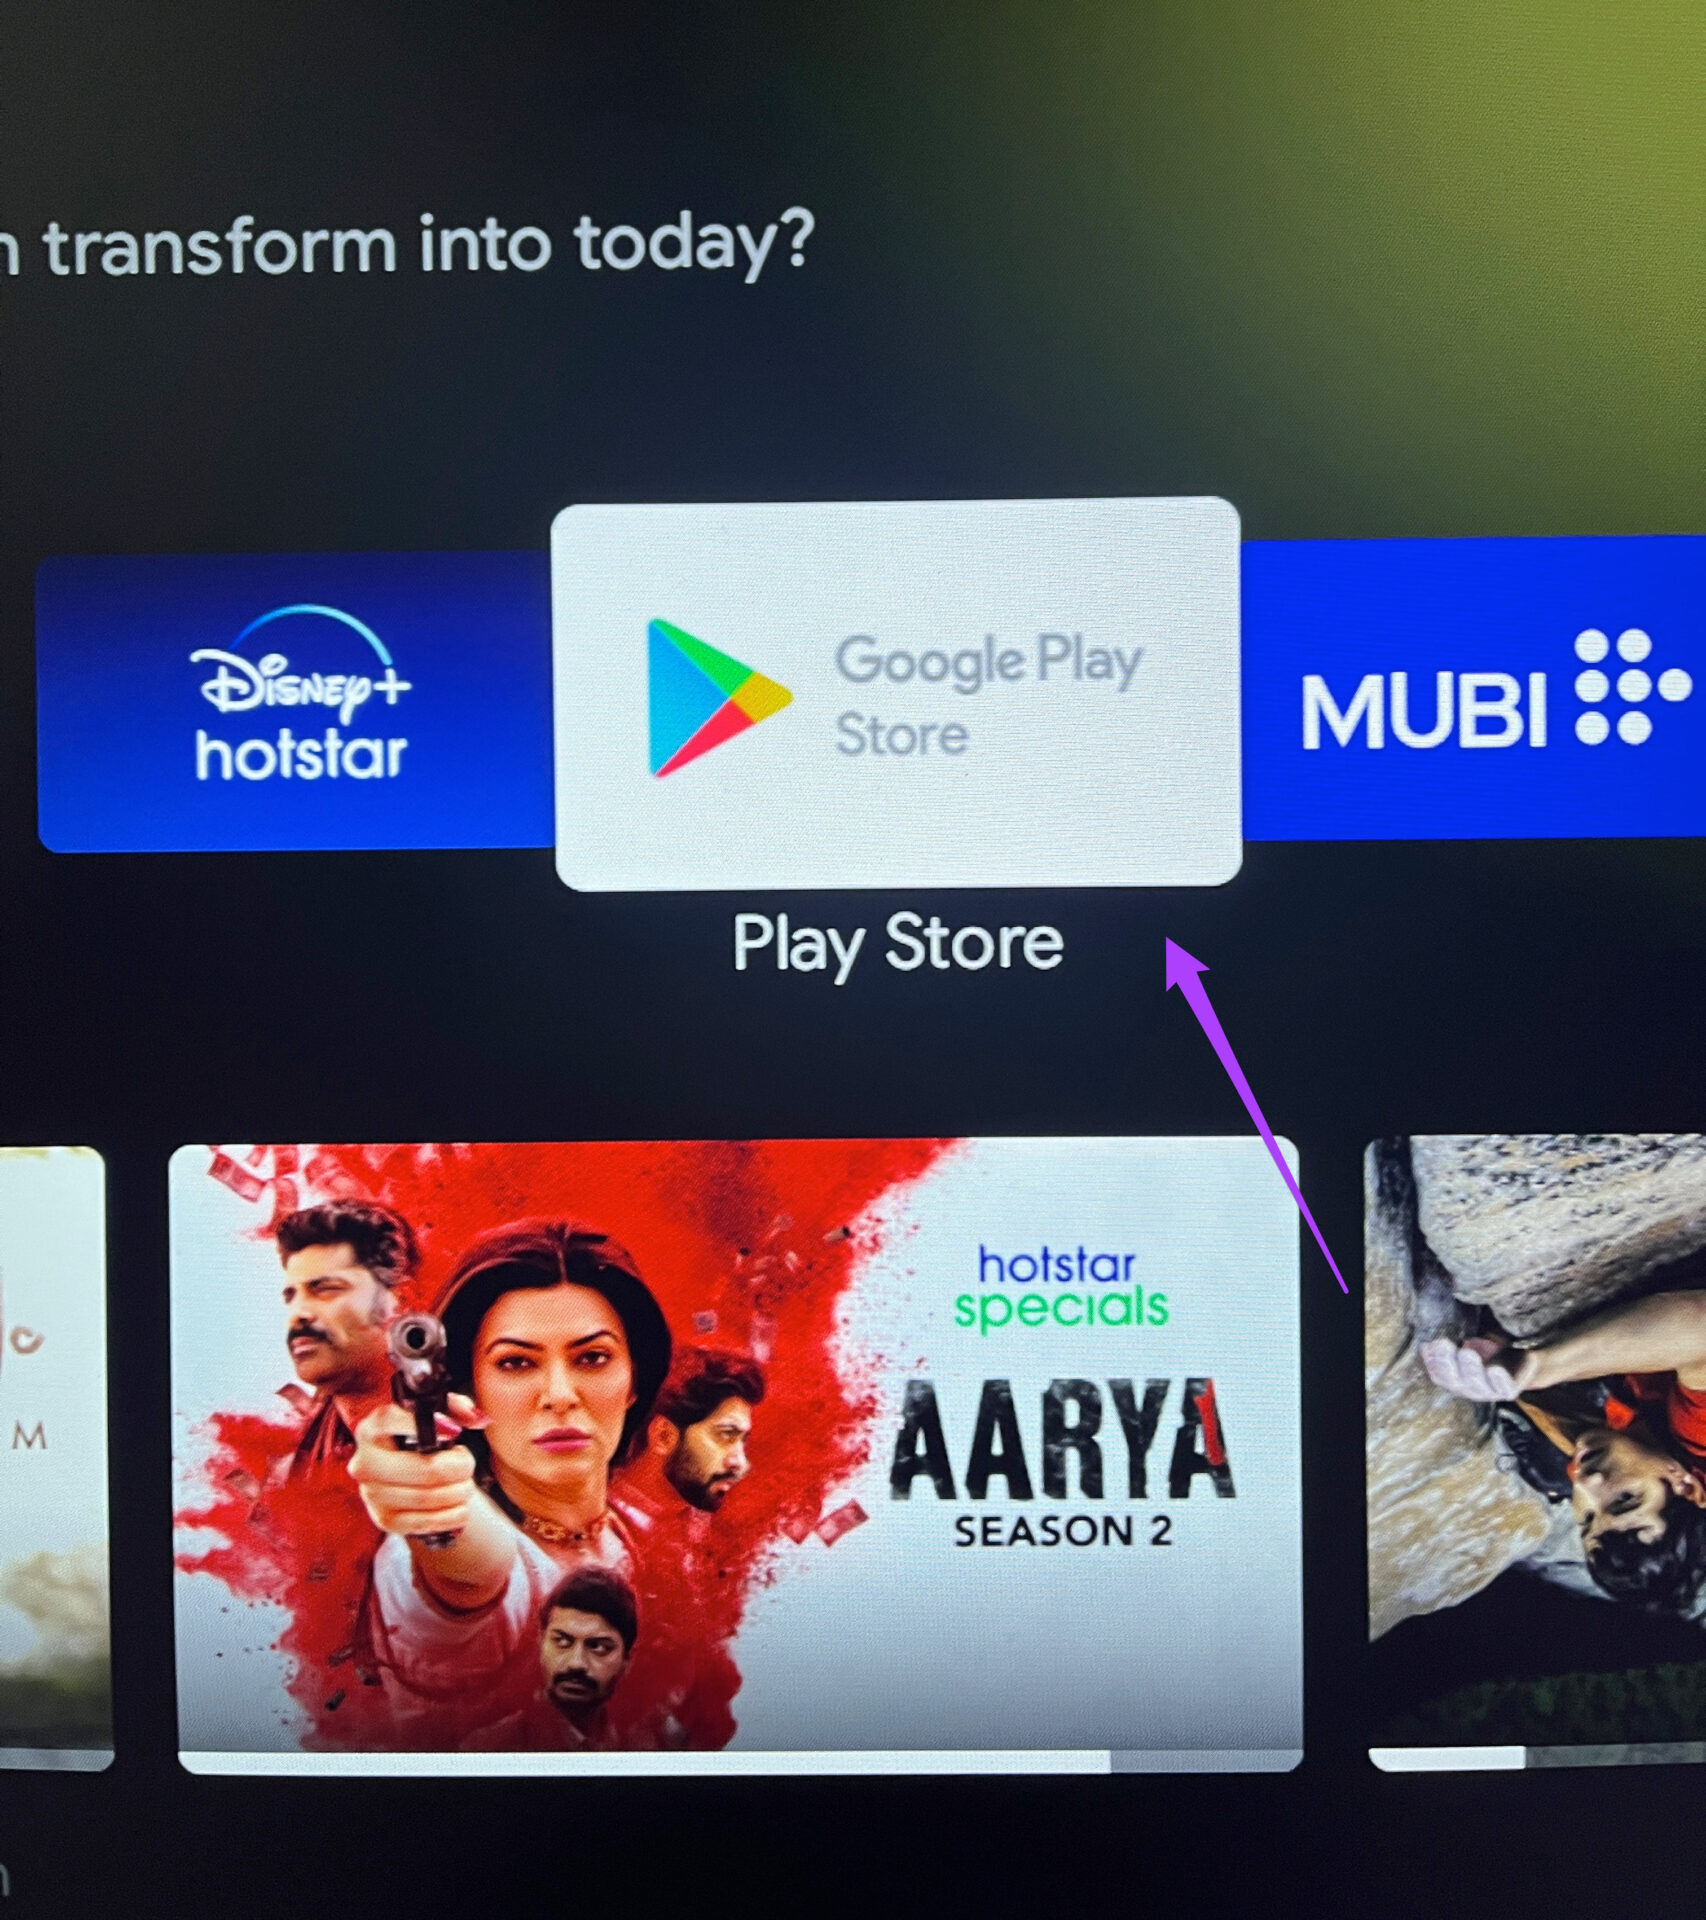
Step 2: Select your profile icon in the top-right corner.
![]()
Step 3: Select Manage Apps & Games.

Step 4: Select Check for Updates.

Instal app updates often on your Android TV.
7. Logout and Login Again
If you are not seeing Dolby Atmos getting enabled in Netflix despite following the above steps, we suggest signing out and signing in again to your Netflix account. Follow these steps.
Step 1: Open the Netflix app and select your profile.

Step 2: Go to the options on the left side of the app interface.
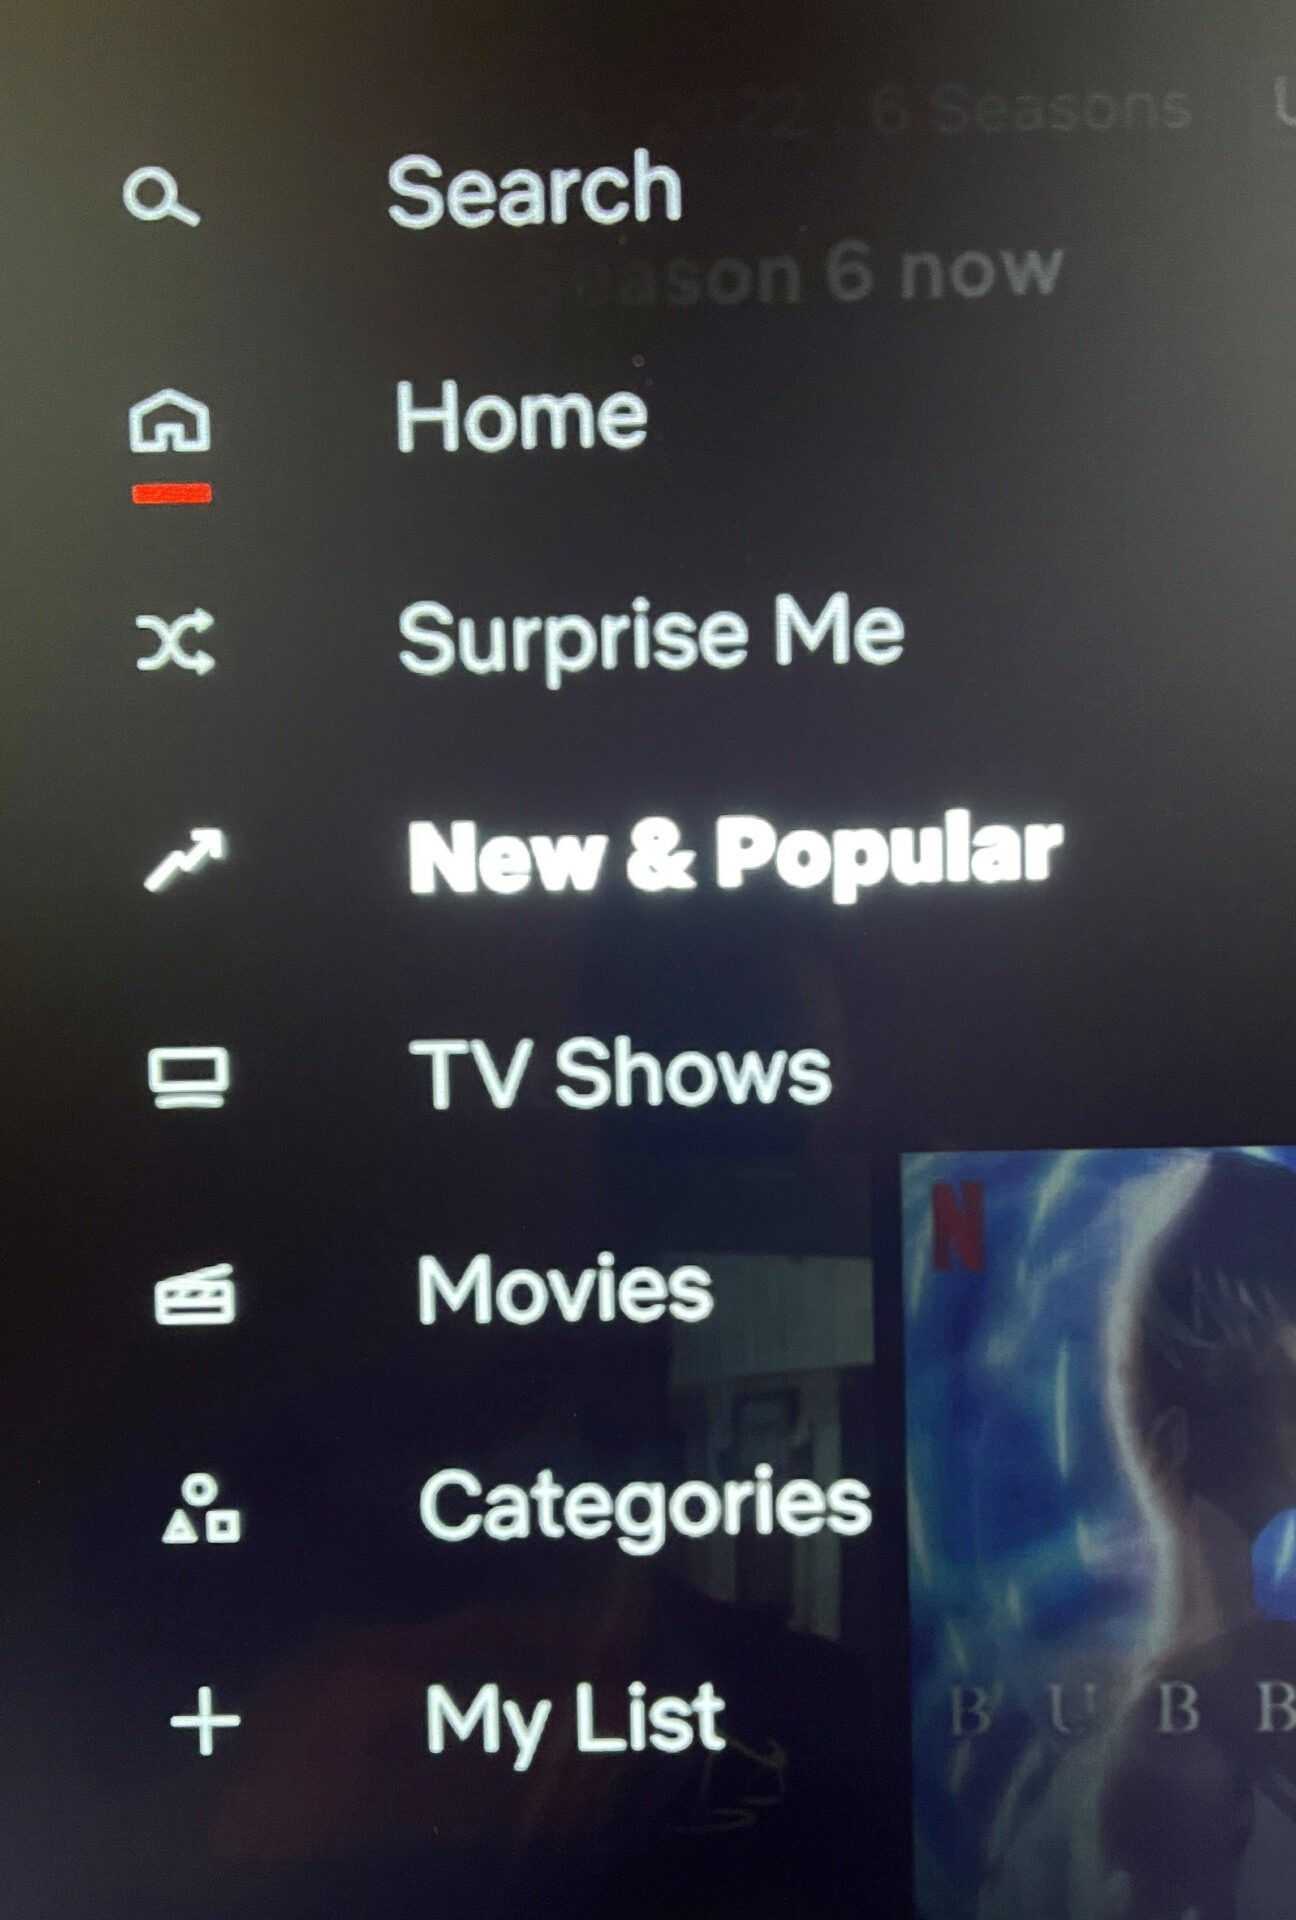
Step 3: Select the Get Help option in the bottom-right corner.
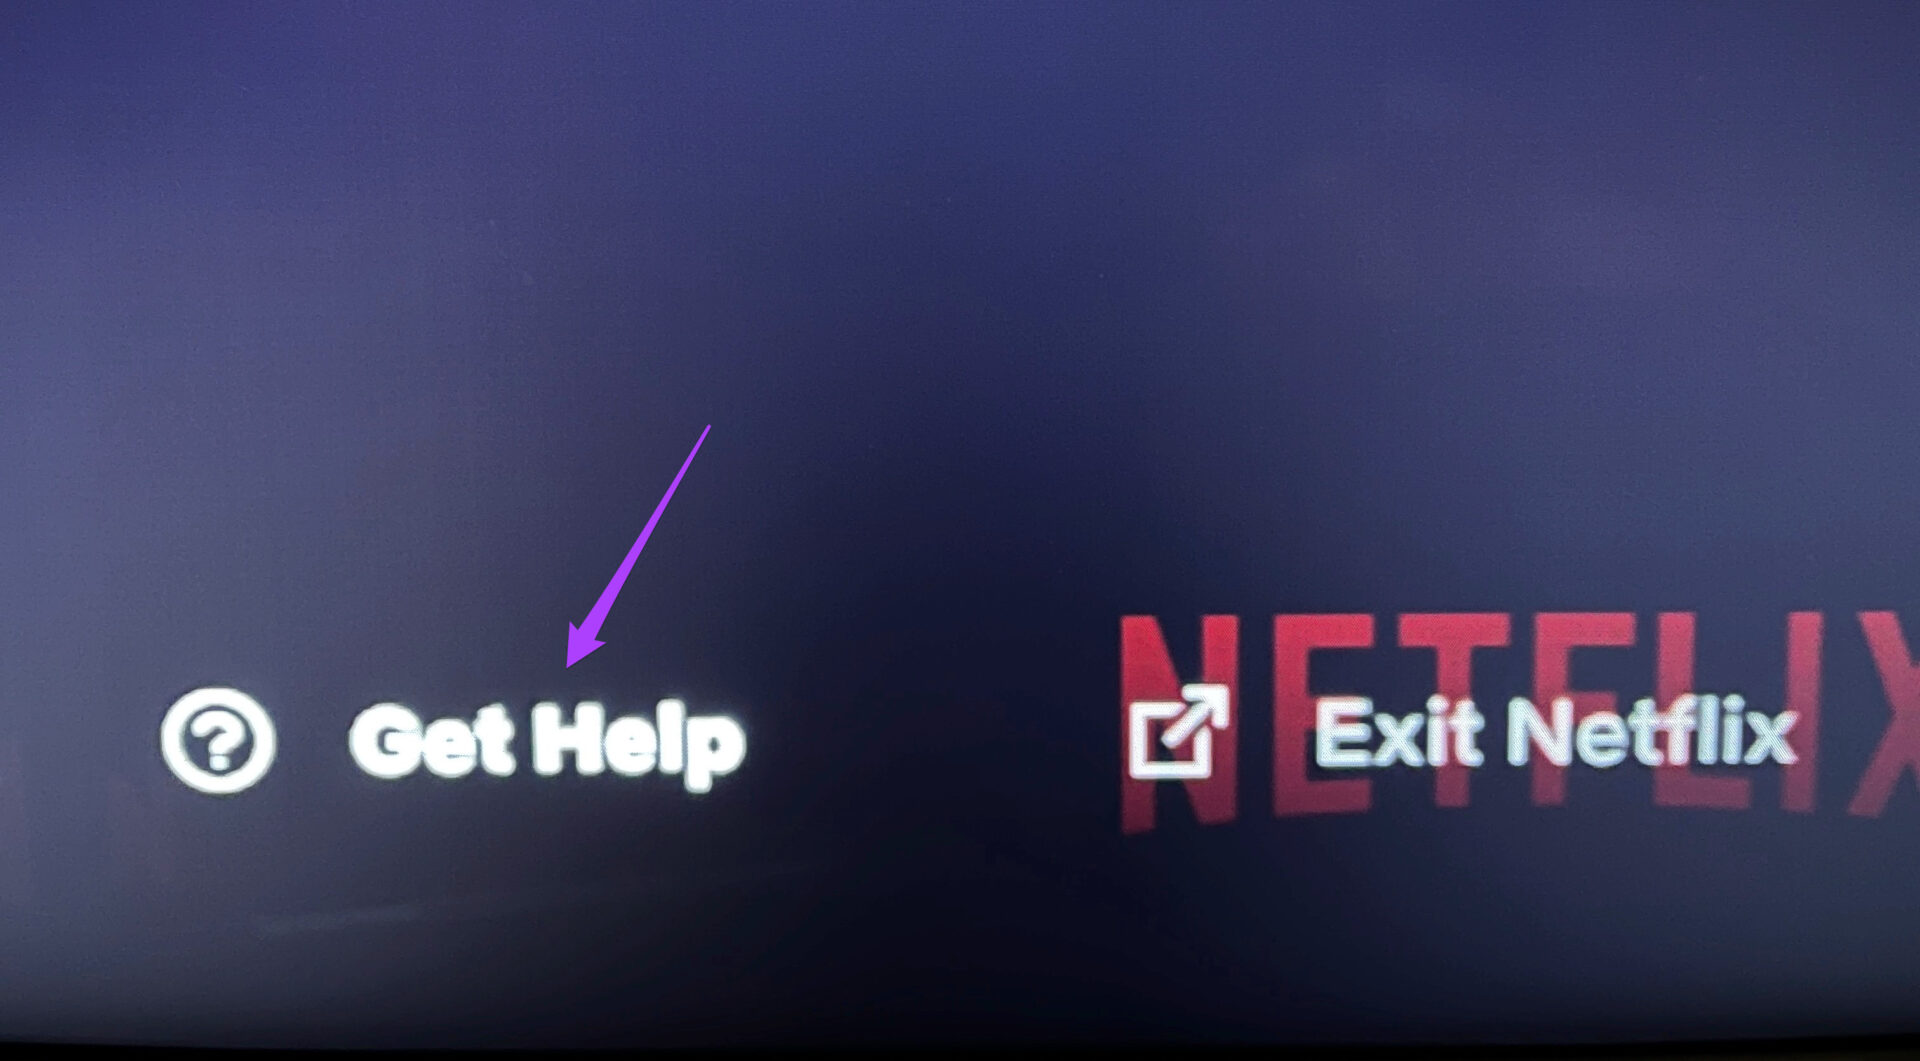
Step 4: Select Sign Out.

Step 5: Enter your Netflix ID and password again to log in.
Enjoy Dolby Atmos on Netflix
Several Netflix movies and original series come with Dolby Atmos playback. If you have a capable audio setup to make the best of Dolby Atmos audio, you should enable the option to enjoy immersive audio. The fixes mentioned above will help you if Dolby Atmos fails to work on your Android TV. Share this post with someone who is facing the same issue.
Was this helpful?
Last updated on 04 May, 2022
Read Next
 6 Best Fixes for Dolby Atmos Not Working in Fire TV Stick 4K
The Fire TV Stick 4K is an excellent gadget for improving your content viewing experience.
6 Best Fixes for Dolby Atmos Not Working in Fire TV Stick 4K
The Fire TV Stick 4K is an excellent gadget for improving your content viewing experience.
 6 Best Fixes for Dolby Atmos Not Working in Apple Music on iPhone
Dolby Atmos is available to enjoy in Apple Music for iPhone users.
6 Best Fixes for Dolby Atmos Not Working in Apple Music on iPhone
Dolby Atmos is available to enjoy in Apple Music for iPhone users.
 6 Best Fixes for Dolby Atmos Not Working in Apple TV 4K
Apple TV 4K lets you enjoy the best spatial audio experience with Dolby Atmos.
6 Best Fixes for Dolby Atmos Not Working in Apple TV 4K
Apple TV 4K lets you enjoy the best spatial audio experience with Dolby Atmos.
 How to Enable Dolby Atmos on iPhone, iPad, and Mac
Dolby Atmos audio technology provides an immersive sound experience.
How to Enable Dolby Atmos on iPhone, iPad, and Mac
Dolby Atmos audio technology provides an immersive sound experience.
 4 Best Ceiling Speakers for Dolby Atmos in the UK
If you're planning on setting up a home theatre room one of the first things on your mind would be getting the audio right.
4 Best Ceiling Speakers for Dolby Atmos in the UK
If you're planning on setting up a home theatre room one of the first things on your mind would be getting the audio right.
 5 Best Fixes for Dolby Vision Not Working on Apple TV 4K
Apple TV 4K is known for delivering a great cinematic experience at your home, thanks to Dolby Vision.
5 Best Fixes for Dolby Vision Not Working on Apple TV 4K
Apple TV 4K is known for delivering a great cinematic experience at your home, thanks to Dolby Vision.
 6 Best Fixes for Dolby Vision Not Working on Amazon Fire TV Stick 4K
The Amazon Fire TV Stick 4K can stream content in HDR10 and Dolby Vision.
6 Best Fixes for Dolby Vision Not Working on Amazon Fire TV Stick 4K
The Amazon Fire TV Stick 4K can stream content in HDR10 and Dolby Vision.
 Netflix Standard vs. Premium: Which Netflix Plan Is Best for You
With a diverse library of content, Netflix has been holding strong amongst other streaming services.
Netflix Standard vs. Premium: Which Netflix Plan Is Best for You
With a diverse library of content, Netflix has been holding strong amongst other streaming services.
The article above may contain affiliate links which help support Guiding Tech. The content remains unbiased and authentic and will never affect our editorial integrity.

