Pop-ups are windows or notifications that come out of nowhere when you are on a website. Due to the increased use of online advertising, pop-up ads are now more frequent than ever. One of the best ways to prevent pop-ups is by avoiding sites known to use them. However, this is almost impossible. Another alternative would be to use a browser with a pop-up blocking feature.

If you are a frequent Google Chrome user, you should be familiar with its pop-up blocking feature. By default, the Chrome app is set to block all pop-ups from websites perceived to be malicious. Therefore, you frequently get notified about a block whenever you are on particular websites that throw pop-ups automatically. However, if this feature isn’t working or you would like to disable the feature, here’s how you can do so:
How to Enable and Disable the Pop-up Blocker on Google Chrome for Desktop
Enabling the pop-up blocker on Chrome ensures that Google, screens every website you visit for pop-ups by default. However, when you disable it, you can decide for yourself subsequently if the pop-up from websites should be blocked or not. Here’s how to enable and disable the pop-up blocker on Google Chrome for Desktop:
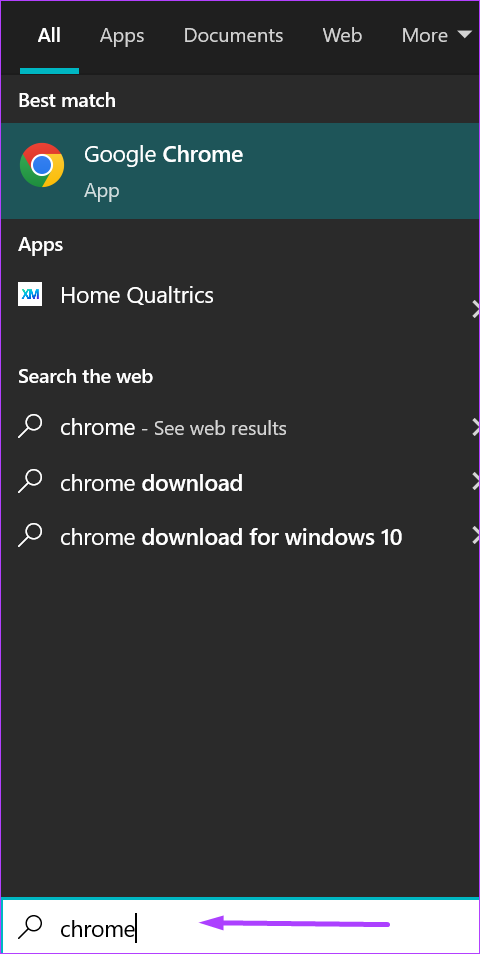
Step 1: On your PC, click on the Start menu and search for Chrome.
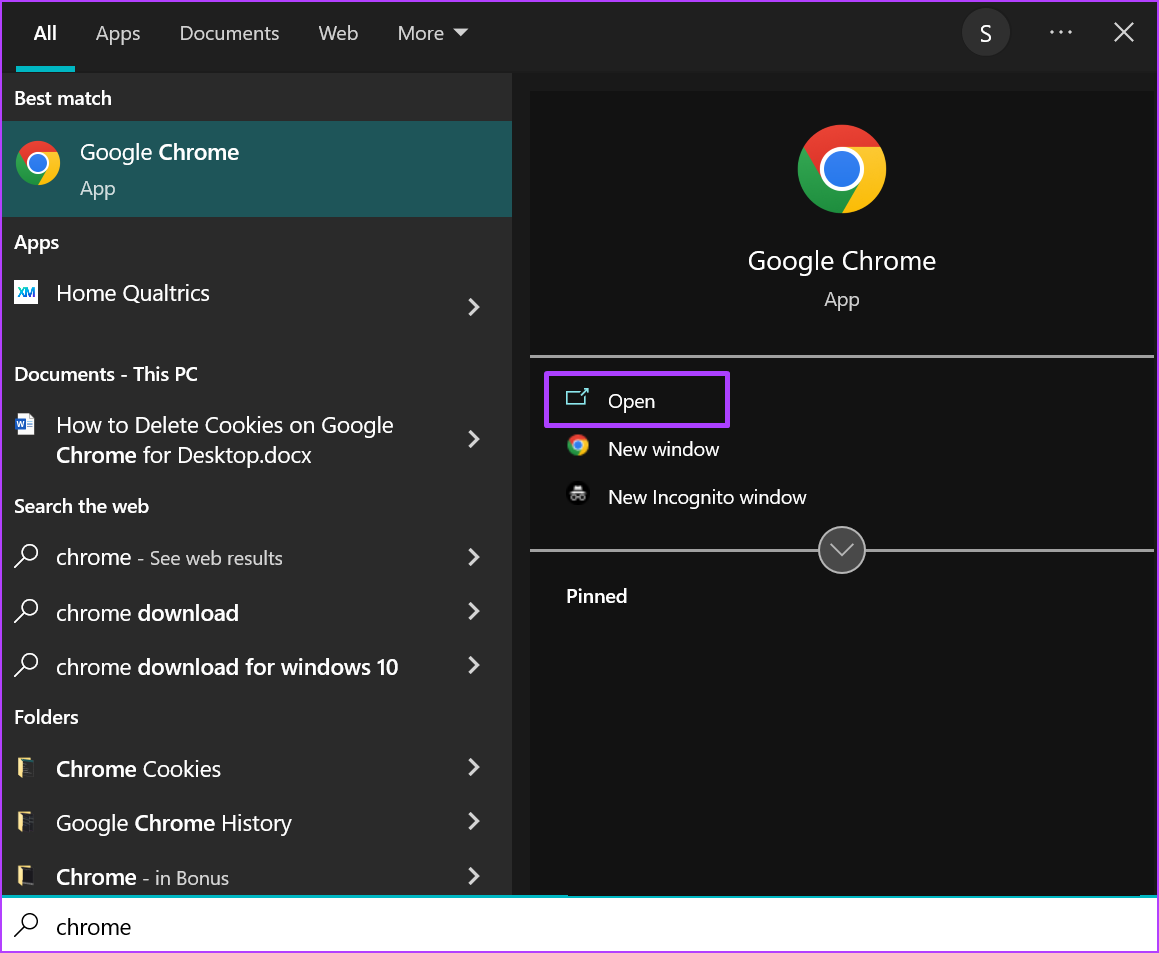
Step 2: Click on Open to launch the Chrome app from the results.
Step 3: Navigate your cursor to the top right of the browser and click on the vertical ellipsis to ‘Customize and control Google Chrome.’

Step 4: Click on Settings from the options.

To launch Chrome Settings, press Alt + E shortcut to open the ‘Customize and control Google Chrome’ menu. Subsequently, press S key to open Settings.
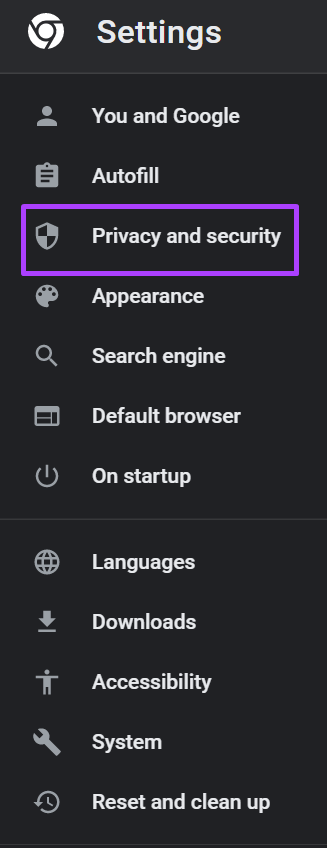
Step 5: Click on Privacy and Security.
Step 6: At the right of the page, click on Site Settings.

Step 7: Scroll through the options and click on Pop-ups and redirects.

Step 8: Under default behavior, if you want to enable the pop-up blocker, tick ‘Don’t allow sites to send pop-ups or use redirects.’ If you want to disable the pop-up blocker, tick ‘Sites can send pop-ups and use redirects.’

Your selected option should take effect immediately.
How to Enable and Disable the Pop-up Blocker on Google Chrome for iPhone
When using Google Chrome on an iPhone, a pop-up ad can easily create a new tab. Here’s how to enable and disable the pop-up blocker on Google Chrome for iPhone:
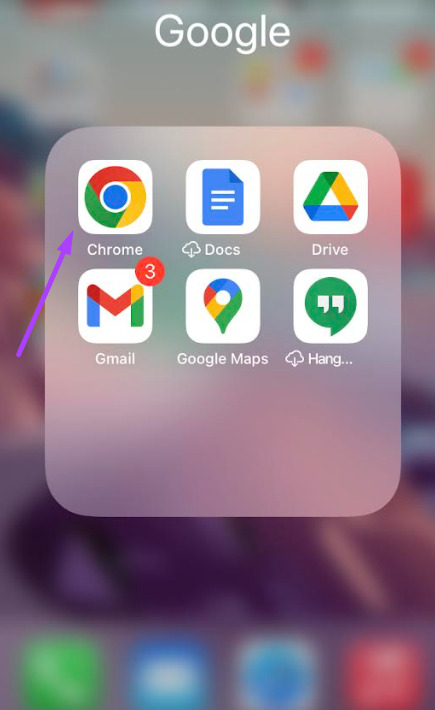
Step 1: Launch Google Chrome from your iPhone’s home screen.
Step 2: Tap on the horizontal ellipsis at the bottom of the page.

Step 3: Tap the Settings option.

Step 4: Tap the Content Settings option.

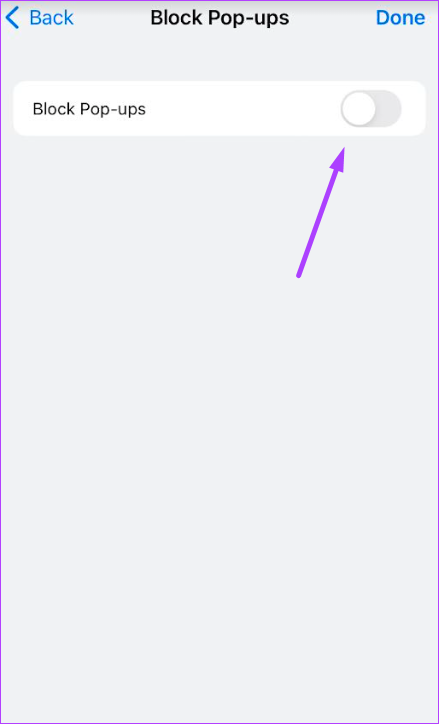
Step 5: Tap Block Pop-ups.

Step 6: If you want to enable the pop-up blocker, turn on the toggle for ‘Block Pop-ups.’ If you want to disable the pop-up blocker, turn off the toggle.
How to Enable and Disable the Pop-up Blocker on Google Chrome for Android
Android devices are the constant target of malicious ads and pop-ups. While enabling the pop-up blocker provides a safety net against malicious ads, there might be certain circumstances where you need to disable it. Here’s how to enable and disable the pop-up blocker on Google Chrome for Android:
Step 1: Launch Chrome from your device’s home screen.

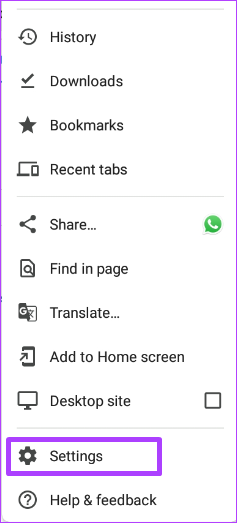
Step 2: Tap on the vertical ellipsis at the top of the page.

Step 3: Tap the Settings option.
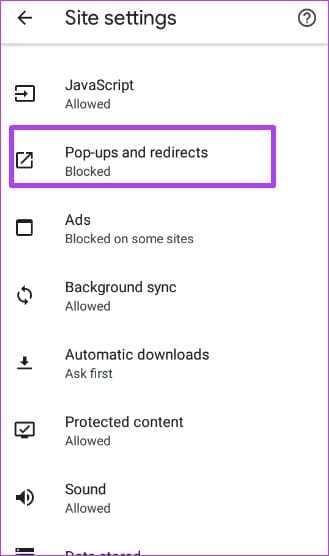
Step 4: Tap the Sites Settings option.

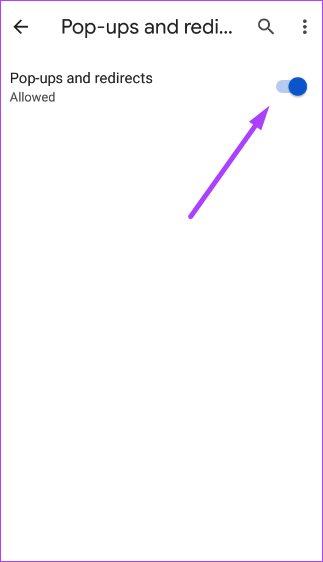
Step 5: Tap Pop-ups and redirects.
Step 6: If you want to enable the pop-up blocker, turn on the toggle for ‘Pop-ups and redirects.’ If you would like to disable the pop-up blocker, turn off the toggle.
Allowing Pop-Ups for Select Sites on Google Chrome
The steps above cover enabling or disabling the pop-up blocker on Google Chrome. However, using the pop-up blocker does not mean you can only choose one option. While you may want to block certain pop-ups, there may be times when you want other pop-ups to come through. In such a situation, Google Chrome has a setting that allows you to set up a filter to allow certain sites to show pop-ups.
Was this helpful?
Last updated on 23 July, 2022
Read Next
 How to Enable or Disable Safari Pop-up Blocker on Mac
Like any good browser, Safari comes equipped with a built-in pop-up blocker.
How to Enable or Disable Safari Pop-up Blocker on Mac
Like any good browser, Safari comes equipped with a built-in pop-up blocker.
 How to Enable or Disable Confirm on Delete Files Pop-up in Windows 10
Windows 10 packs multiple safety and security features to help you save your data from deleting due to accidental clicks and presses.
How to Enable or Disable Confirm on Delete Files Pop-up in Windows 10
Windows 10 packs multiple safety and security features to help you save your data from deleting due to accidental clicks and presses.
 What Is a USB Data Blocker and Why Do You Need One
If you’ve traveled several times, you’ve probably had one of those moments when your smartphone ran out of juice.
What Is a USB Data Blocker and Why Do You Need One
If you’ve traveled several times, you’ve probably had one of those moments when your smartphone ran out of juice.
 How to Disable or Enable Location Services in Google Chrome
By enabling location services in Google Chrome, you can share your location data with your trusted websites.
How to Disable or Enable Location Services in Google Chrome
By enabling location services in Google Chrome, you can share your location data with your trusted websites.
 How to Enable or Disable Autofill in Google Chrome for PC and Mobile
Are you tired of entering your personal information every time you fill out a form or make an online purchase?
How to Enable or Disable Autofill in Google Chrome for PC and Mobile
Are you tired of entering your personal information every time you fill out a form or make an online purchase?
 How to Enable or Disable Reader Mode in Chrome
Google Chrome is one of the most popular browsers in the world.
How to Enable or Disable Reader Mode in Chrome
Google Chrome is one of the most popular browsers in the world.
 How to Block or Allow Pop-Ups on Microsoft Edge
Ever been in a situation where you're reading an article in peace and out of nowhere, the website notifies you of something?
How to Block or Allow Pop-Ups on Microsoft Edge
Ever been in a situation where you're reading an article in peace and out of nowhere, the website notifies you of something?
 How to Allow or Block Pop-ups and Redirects on Opera
How to Allow or Block Pop-Ups and Redirects on Opera By default, Opera does not require you to block ads and pop-ups as it protects you from these annoying contents.
How to Allow or Block Pop-ups and Redirects on Opera
How to Allow or Block Pop-Ups and Redirects on Opera By default, Opera does not require you to block ads and pop-ups as it protects you from these annoying contents.
The article above may contain affiliate links which help support Guiding Tech. The content remains unbiased and authentic and will never affect our editorial integrity.