You can recollect the times you ran around looking for an actual scanner to get a digital copy of a document. The whole process was tedious and time-consuming. But today, your iPhone or Android can get similar results in a matter of seconds. Genius Scan and Adobe Scanner are two of the most popular document scanning apps for iPhone.
Both of these offer the convenience of converting printed text into digital just by the press of a button. All you need is some decent lighting, and the rest of the job will be carried out by the respective apps. But as we all know, a perfect app is a myth. And these apps also end up having a flaw or two.
When it comes to picking the best between Genius Scan and Adobe Scan, comparisons are bound to happen. Hence, in this post today, we shall pit Genius Scan against Adobe Scan and find out which scanner app is best for you.
Without further ado, let’s dive straight into it.
App Size
Genius Scan weights around 52 MB while the Adobe Scan is thrice its size at 146 MB. You can download them from the link below.
User Interface
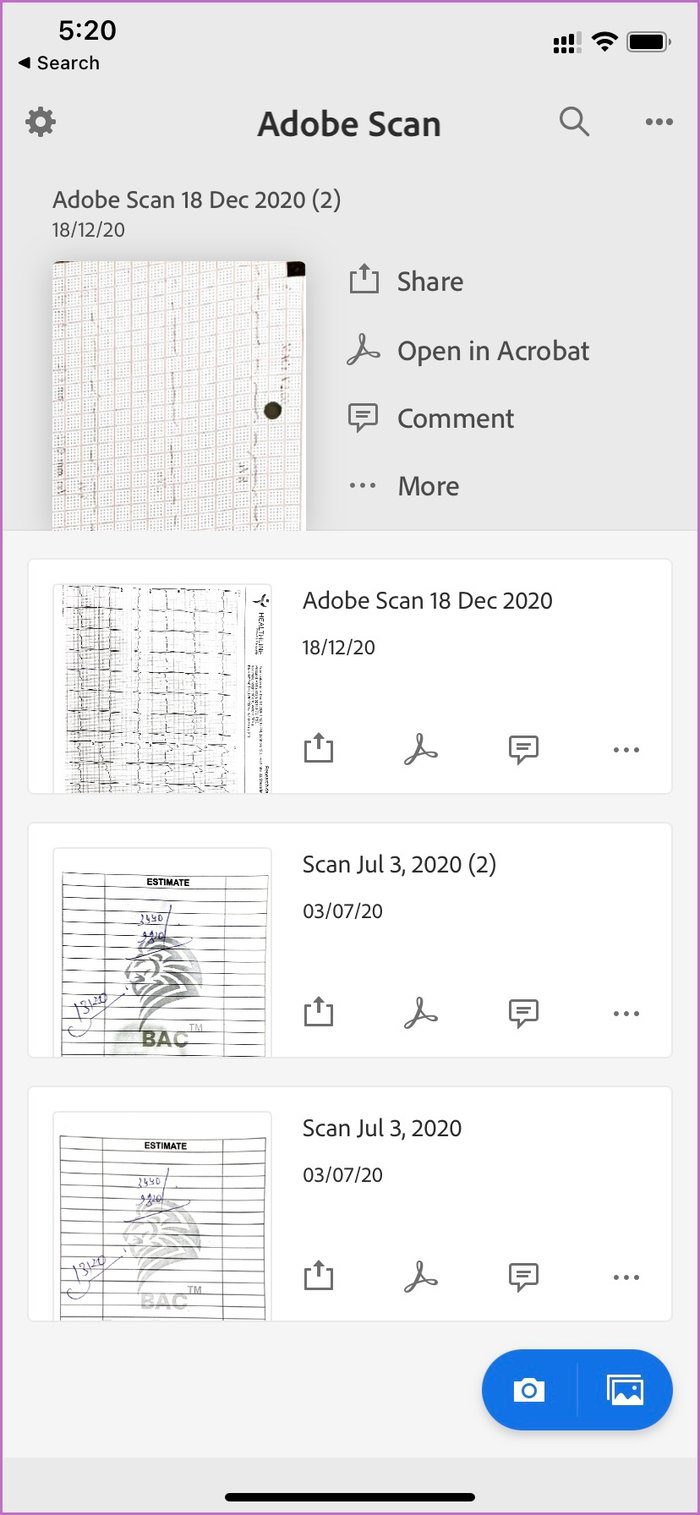
Both Adobe Scan and Genius Scan offer a standard home screen view with all the scanned documents on the front. Adobe goes a step ahead and allows you to directly import files and images from the Gallery or the Files app.
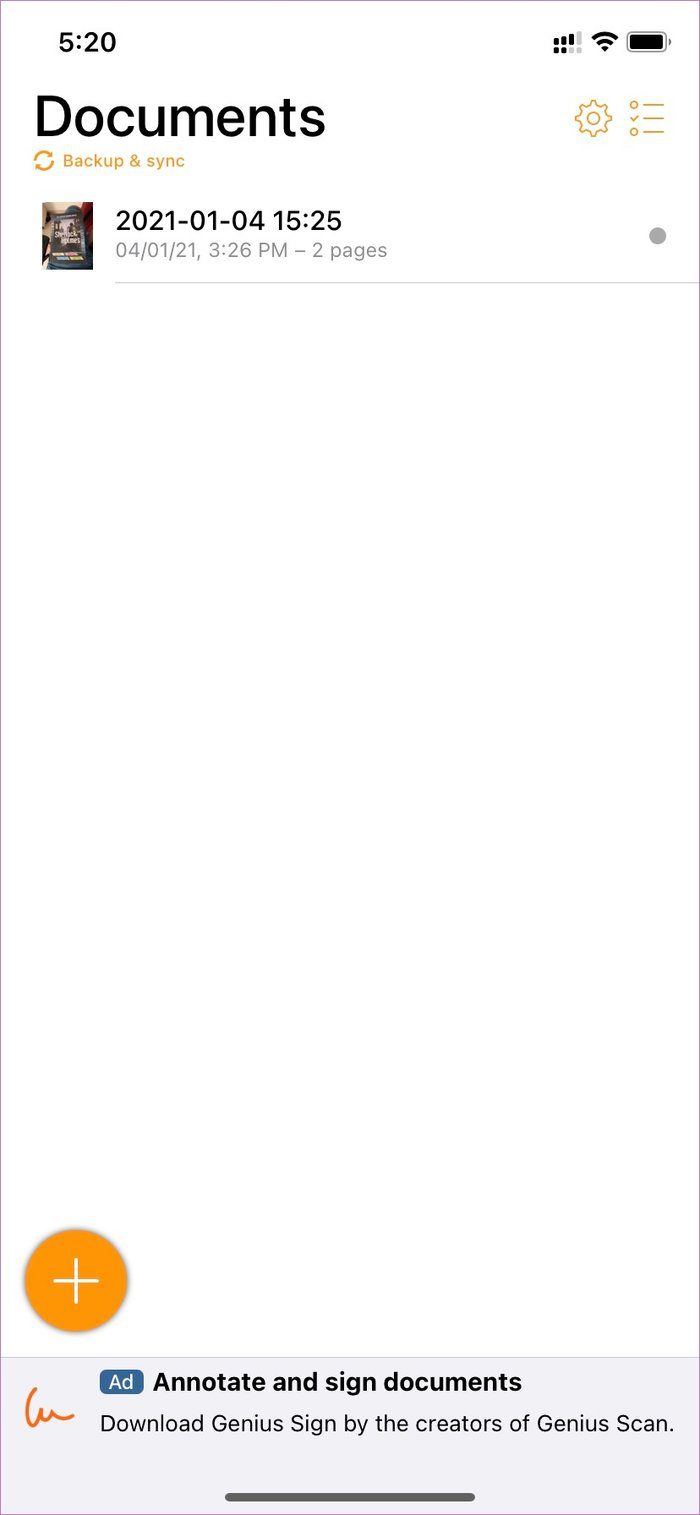
Genius Scan follows the same routine. It offers recently scanned documents, and you can use the camera capture button at the bottom to start scanning pages.
Unfortunately, none of the apps directly open the camera interface to scan documents on the go quickly. Again, that’s something to do with the way Apple has changed how you permit apps to access native features such as the Camera.
Multipage Scanning
Most scanner apps handle single-page scanning just fine. But what about multipage scanning? Let’s talk about that.
Multipage Scanning comes in handy when you have to scan a bunch of pages together. And at the same time, you do not want to lose track of the order of the pages. It’s an added advantage if the app has the feature to string all these pages together into a neat PDF file.
After scanning a document, Adobe Scan gives you an option to add more pages (yes, that tiny icon at the left). All you need to do is pick up a document from your gallery, scan a fresh new one, and then combine them into a PDF.

Genius Scan handles multipage scanning like a pro. You can continue to take document scans, and the app will showcase the number of pages you have scanned for the pdf file. You can press the Done button, and the app will generate a clean-looking pdf file to share.

Landscape Doc Scanning
When it comes to scanning documents in the landscape mode, Adobe Scan excels in the job. It recognizes the document layout almost instantly and captures a snapshot of it. You do not need to tap on the document; neither do you need to adjust the focus. It does everything automatically, and it does so rather exceptionally.
Speaking of Genius Scan, the app can also recognize documents in the landscape mode. However, the recognization is not fast and quick, and you might have to struggle with the camera position a bit, especially if the background is light.
Features
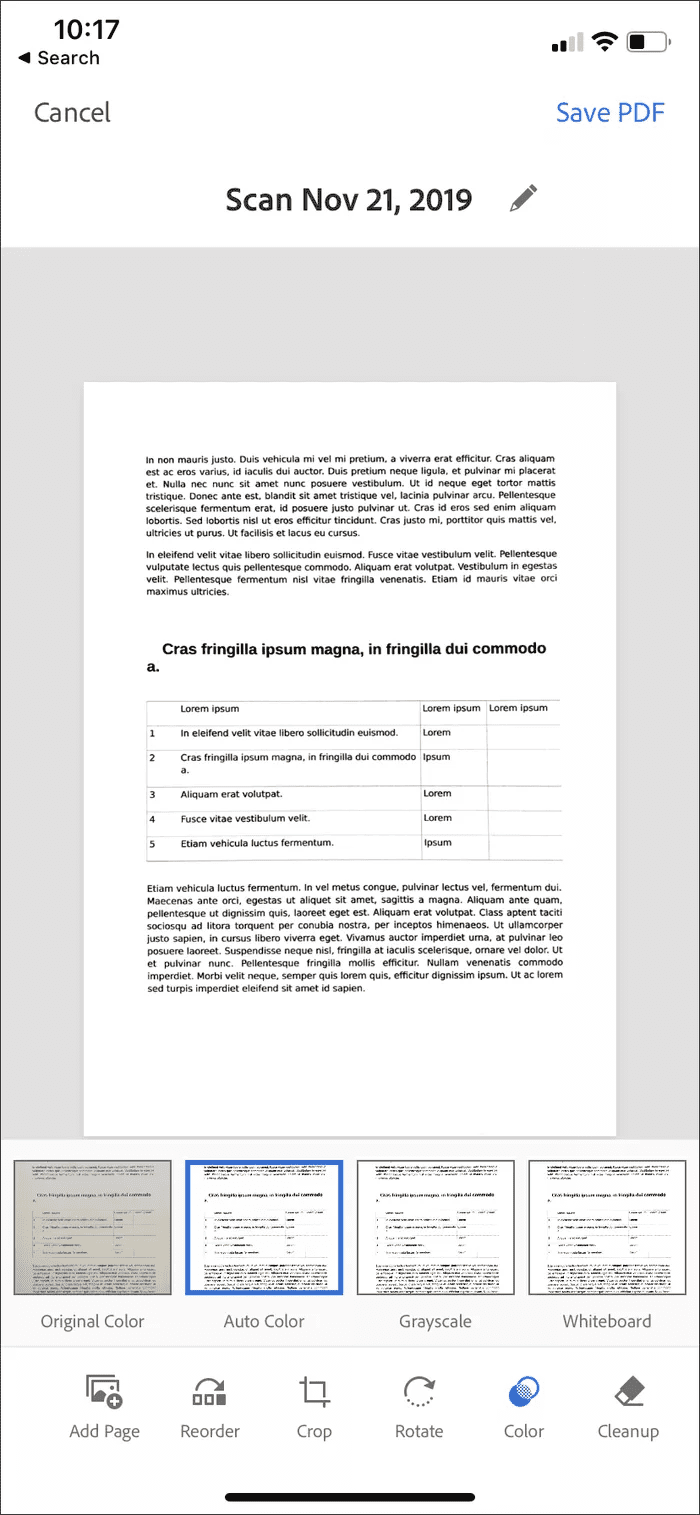
Adobe Scan comes with multiple editing tools that work well — you can rotate images, change colors, and clean up images from unwanted visual artifacts.
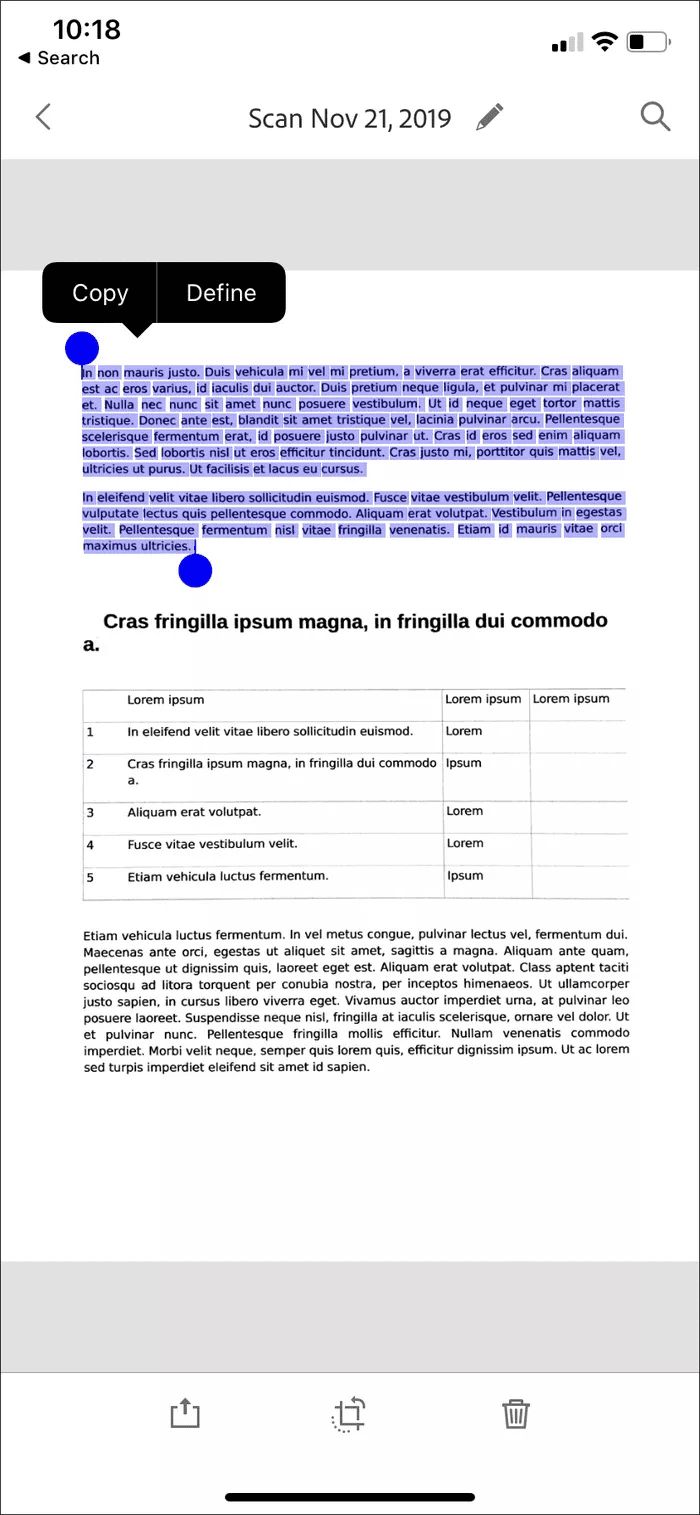
All scanned documents go through text recognition upon saving them. You can then manually copy text from your document scans over to the iPhone or iPad clipboard, or you can choose to edit them using a PDF editor.
Adobe Scan also features additional scan modes (Whiteboard, Form, and Business Card) that you can easily switch to while scanning, each with their specific functionalities. For example, with Business Card, you can scan business cards and easily add the details to the Contacts app.
Genius Scan focuses on the security part. You can password protect a PDF before sharing, and one can also enable Face ID authentication to keep prying eyes away.
Other add-ons include document editing, OCR (Text Recognition), Business card scanning, shadow removal, batch scanning, and more.

Scan Quality
Let’s talk about distortion and scan quality. Normal white pages won’t break the sweat of either Adobe Scan or Genius Scan. The real test starts when you try to use these apps on glossy documents or colored paper.
In some cases, you may notice the color bleeding. Or in worst-case scenarios, the colored background makes the text unrecognizable. The good news is, both Adobe Scan and Genius Scan are free of such issues. In my limited time of testing, I did find Adobe doing a slightly better job than its rival.
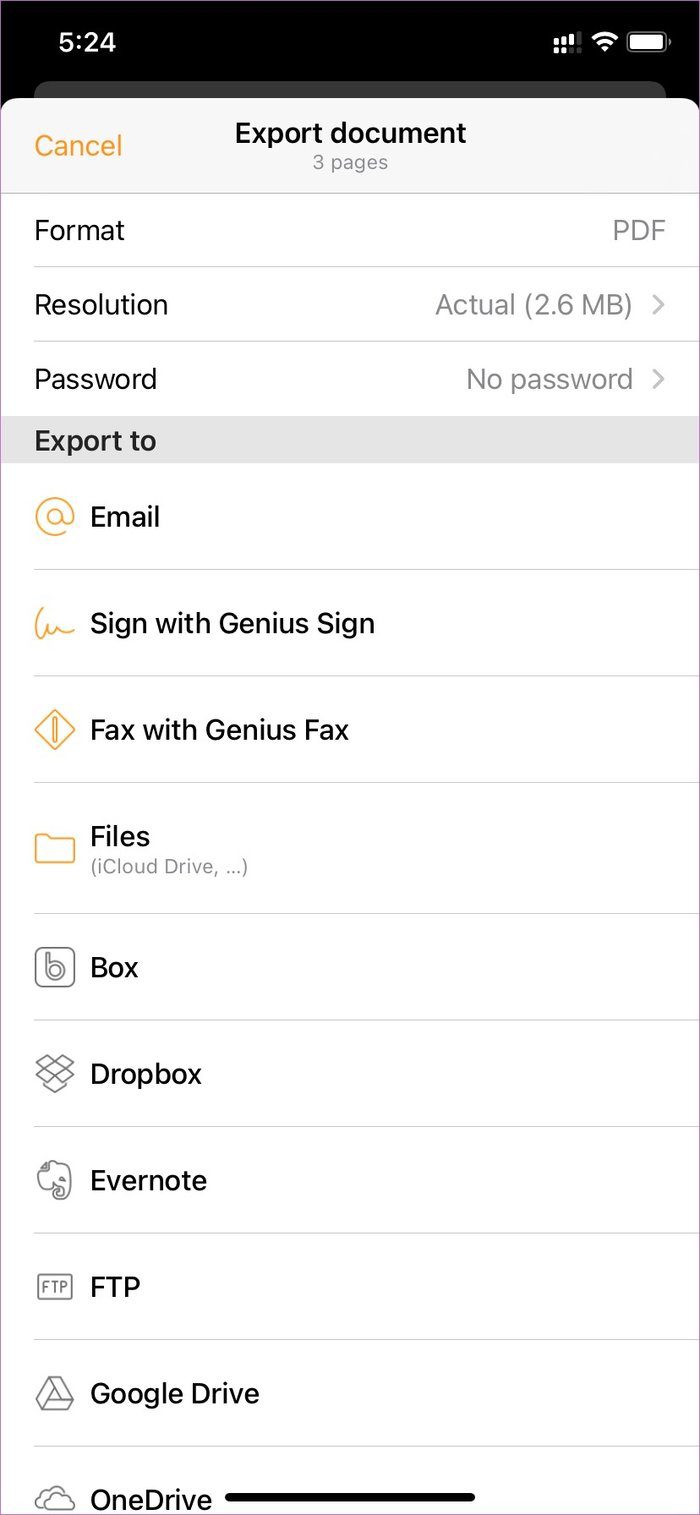
Storage and Export
Adobe Scan has limited options. This Adobe app stores everything in the Adobe cloud, giving you less control over managing your documents. You won’t be able to edit these documents directly. But thankfully, there’s the option of Make a copy using which you can share the PDF version via mail or WhatsApp.

Genius Scan is flexible here. You can export scanned documents to Box, Dropbox, Evernote, Expensify, Google Drive, iCloud Drive, OneDrive, and even OneNote.
Go Paperless
Both Adobe Scan and Genius Scan can get the job done for you. I have some observations when it comes to picking between these two. You can go with Adobe Scan if you live in an Adobe ecosystem and want the best possible product for scanning documents. Genius Scan is more flexible in the sharing department and has better privacy functions.
Next up: Looking to get CamScanner alternatives for iPhone? Read the post below to find the five best CamScanner alternatives for iPhone.
Was this helpful?
Last updated on 26 October, 2021
Read Next
 How to Scan and Add a Document into Google Docs
Attaching a scanned file to any document was a challenging job when smartphones weren’t mainstream.
How to Scan and Add a Document into Google Docs
Attaching a scanned file to any document was a challenging job when smartphones weren’t mainstream.
 2 Ways to Fix QR Code Scanner Not Working on iPhone
Common Fixes Use Camera in Photo mode: QR code scanning doesn't work in other camera modes such as Portrait, Pano, Macro, Video, etc.
2 Ways to Fix QR Code Scanner Not Working on iPhone
Common Fixes Use Camera in Photo mode: QR code scanning doesn't work in other camera modes such as Portrait, Pano, Macro, Video, etc.
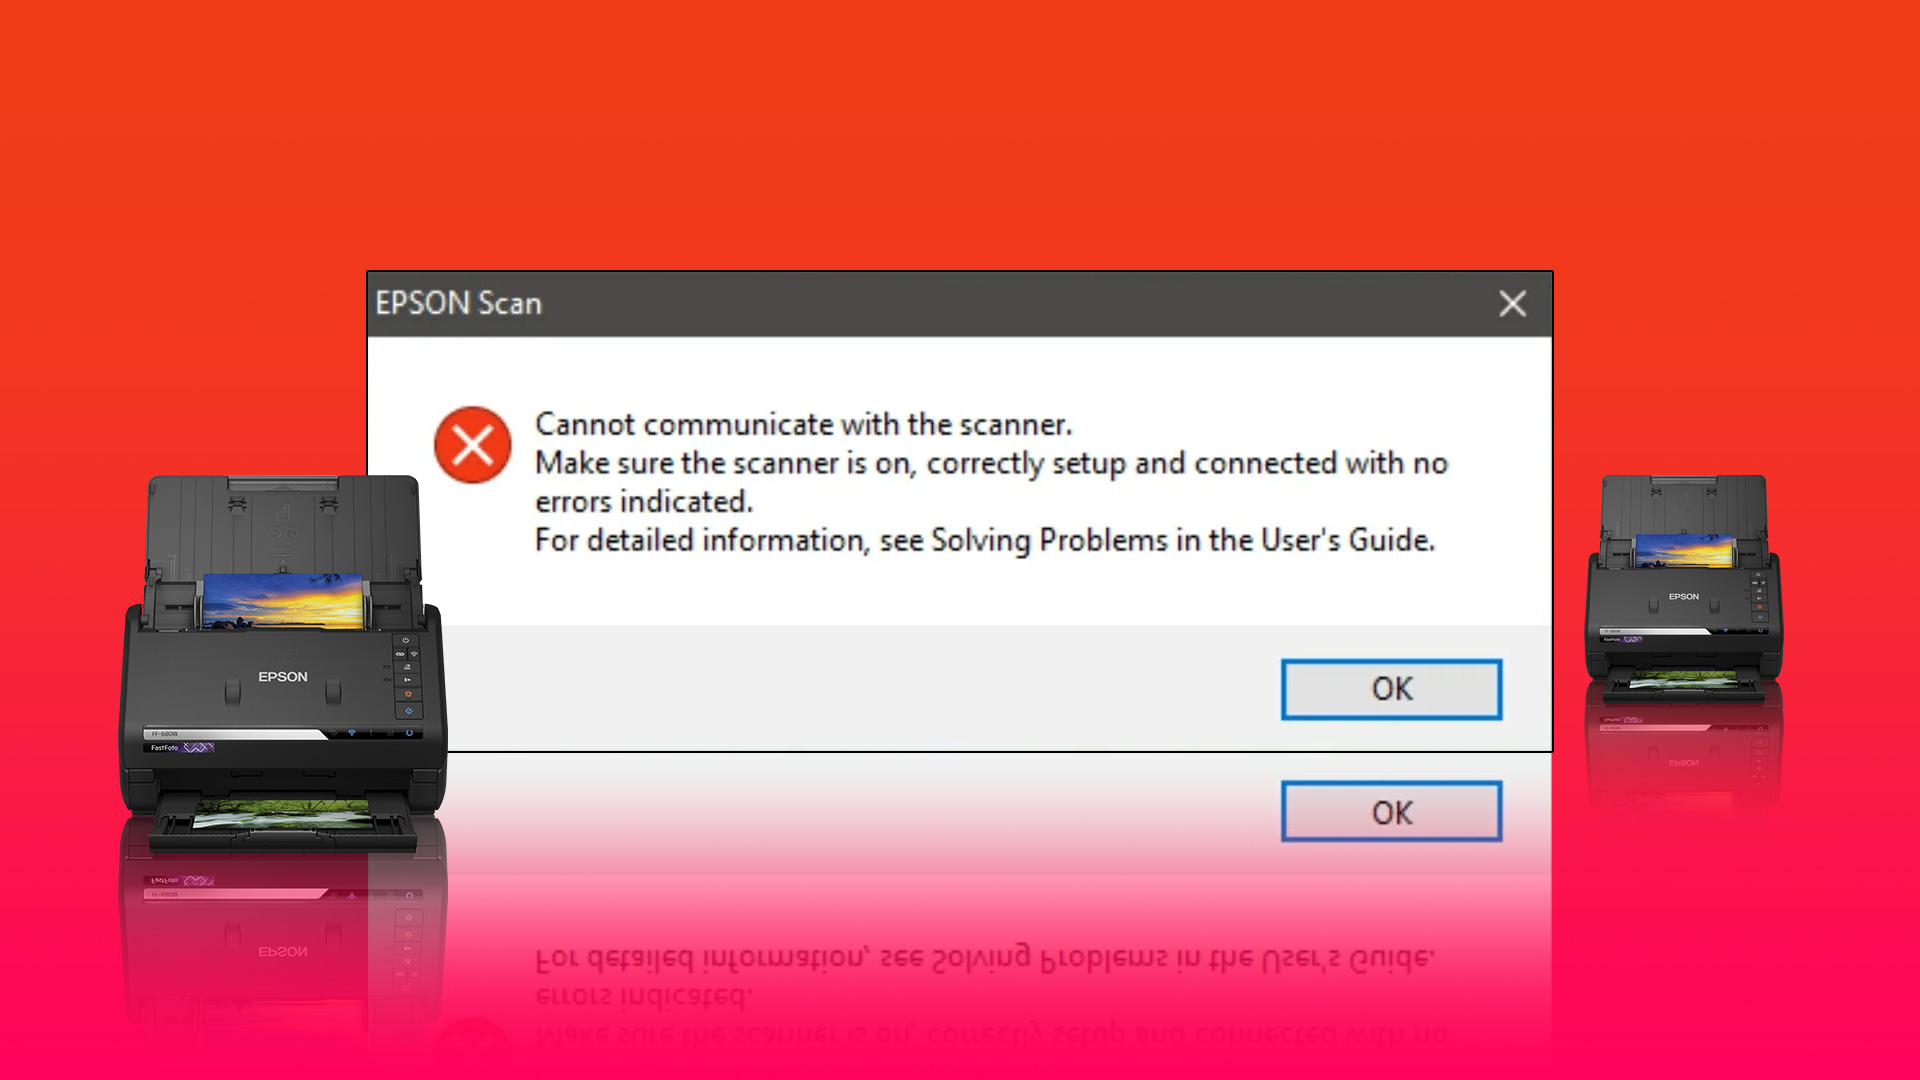 Top 6 Ways to Fix Scanner Not Working Windows 11
From time to time, you may need to use your scanner to store your important documents digitally.
Top 6 Ways to Fix Scanner Not Working Windows 11
From time to time, you may need to use your scanner to store your important documents digitally.
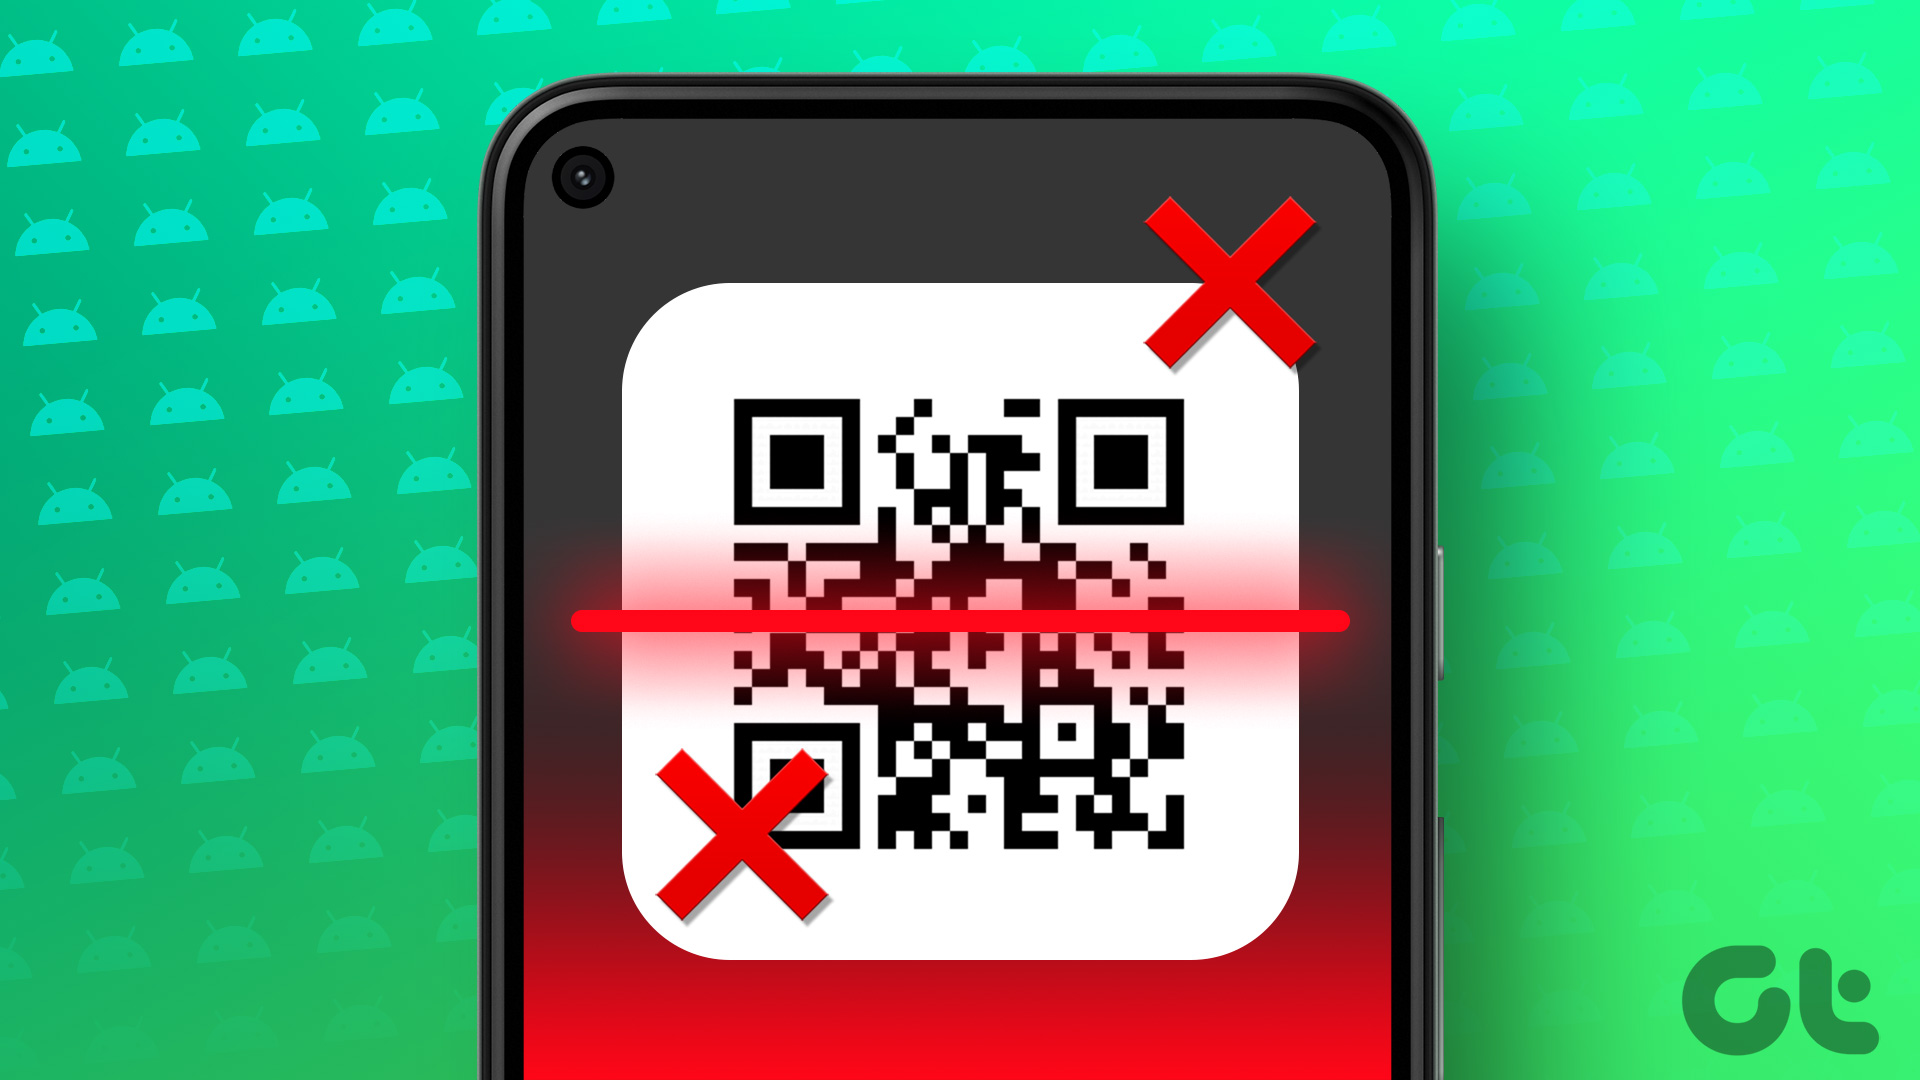 6 Best Ways to Fix QR Code Scanner Not Working on Android
With the Android 13 update, you now easily scan QR codes on your Android phone.
6 Best Ways to Fix QR Code Scanner Not Working on Android
With the Android 13 update, you now easily scan QR codes on your Android phone.
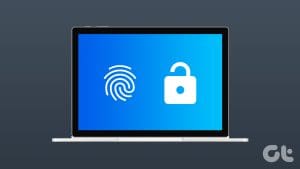 How to Unlock Your Windows PC Remotely With Fingerprint Scanner on Android
Thanks to Windows Hello, you can keep your PC safe from potential snoopers and keep your data safe.
How to Unlock Your Windows PC Remotely With Fingerprint Scanner on Android
Thanks to Windows Hello, you can keep your PC safe from potential snoopers and keep your data safe.
 How to Check the File Format of a Document or Photo on iPhone
Have you downloaded an attachment from an email or a file from a site?
How to Check the File Format of a Document or Photo on iPhone
Have you downloaded an attachment from an email or a file from a site?
 7 Best Fixes for Can’t Scan QR Code Using Google Messages App
You can use Google Messages app on your laptop or PC to check your messages.
7 Best Fixes for Can’t Scan QR Code Using Google Messages App
You can use Google Messages app on your laptop or PC to check your messages.
The article above may contain affiliate links which help support Guiding Tech. The content remains unbiased and authentic and will never affect our editorial integrity.