Android phones these days come with enormous display screens. Back in the day when we had a smaller display screen, a thumbnail caller image looked pretty amazing but now if you see the same caller ID on your 4” beast, you might not be very impressed.
By default when you apply a picture as a contact photo, it takes up only one-third area of the screen leaving the two-third area or I should say wasting the screen real estate completely.
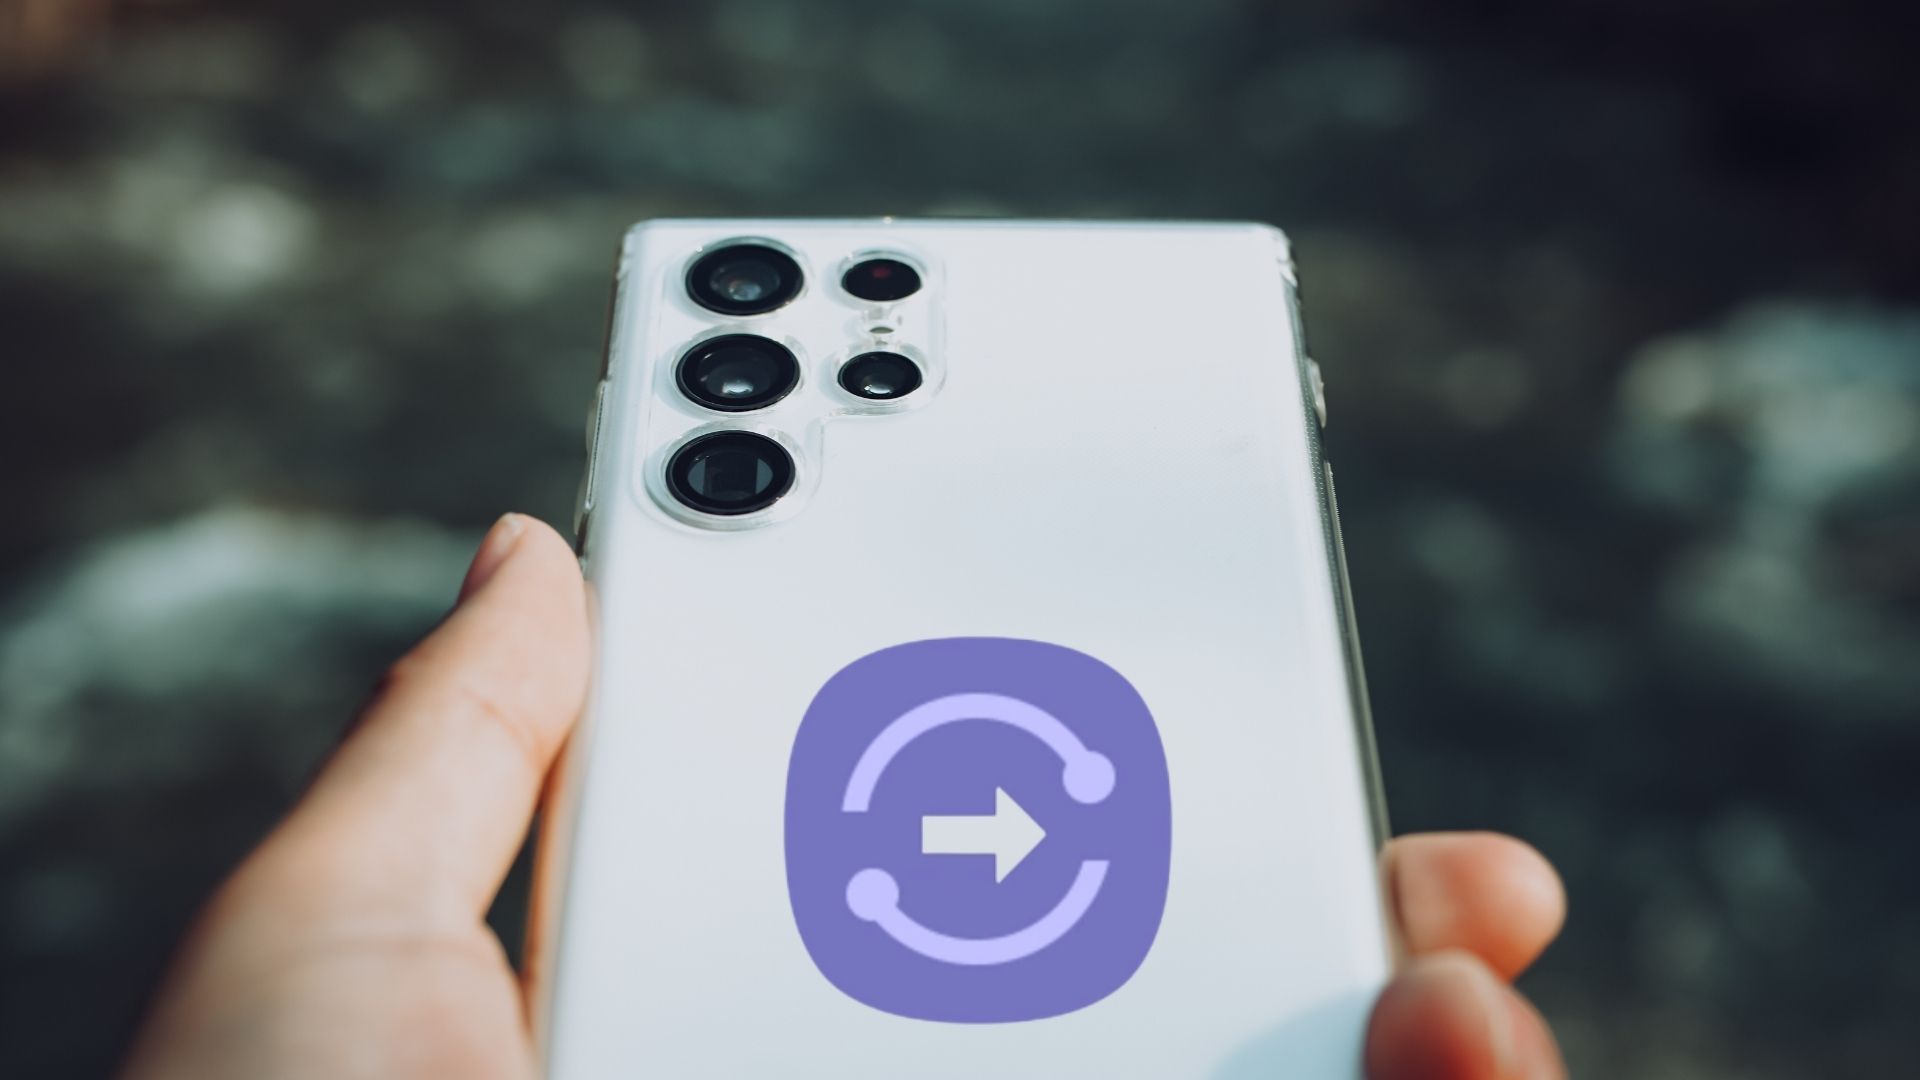
Today, I will show you how you can apply good resolution full screen pics as your call screen images or screen caller IDs, and actually use the full screen image to identify the caller.
Ultimate Caller Screen is an amazing application available on Google Play Store for your Android phone, which provides the option to apply good-quality images as caller ID photos.
Furthermore, these images are displayed in full screen when someone calls you.
Other Stories: Top 3 Caller ID Apps for AndroidHow It Works
Step 1: Download and install Ultimate Call Screen HD Free on your Android phone. The application works on all the devices which are running on Android 2.1 and above (sorry Apple users).
Step 2: When you launch the application, you will land on the settings menu. Before we proceed any further, please make sure you have downloaded the pictures you are going to use as your caller images to your SD card.
If you want a perfect result, crop the result in a ratio of 3:2 in landscape mode using any of the free image editors you are comfortable with. Once you have saved all the photos to your phone memory, it’s time to apply them to contacts.
Step 3: In the app, click on Contact Manager to load the list of all the contacts you have in your phone. Now, search for the contact you want to apply an HD image to (if you have a large contact list, finding the contact may be cumbersome) and click on it.
Step 4: The contact will open up where you can set the HD caller image. You can shoot an image from your camera, or you could use an image that’s already in your SD card.
After applying the image, click on the preview button to have a look of how of how the image will look like when the caller calls you. You can make some changes if you want. Once you are satisfied, press the back button to save the changes.
Step 5: On the app home screen check the option Activate Ultimate Caller Screen to activate the HD caller screen.
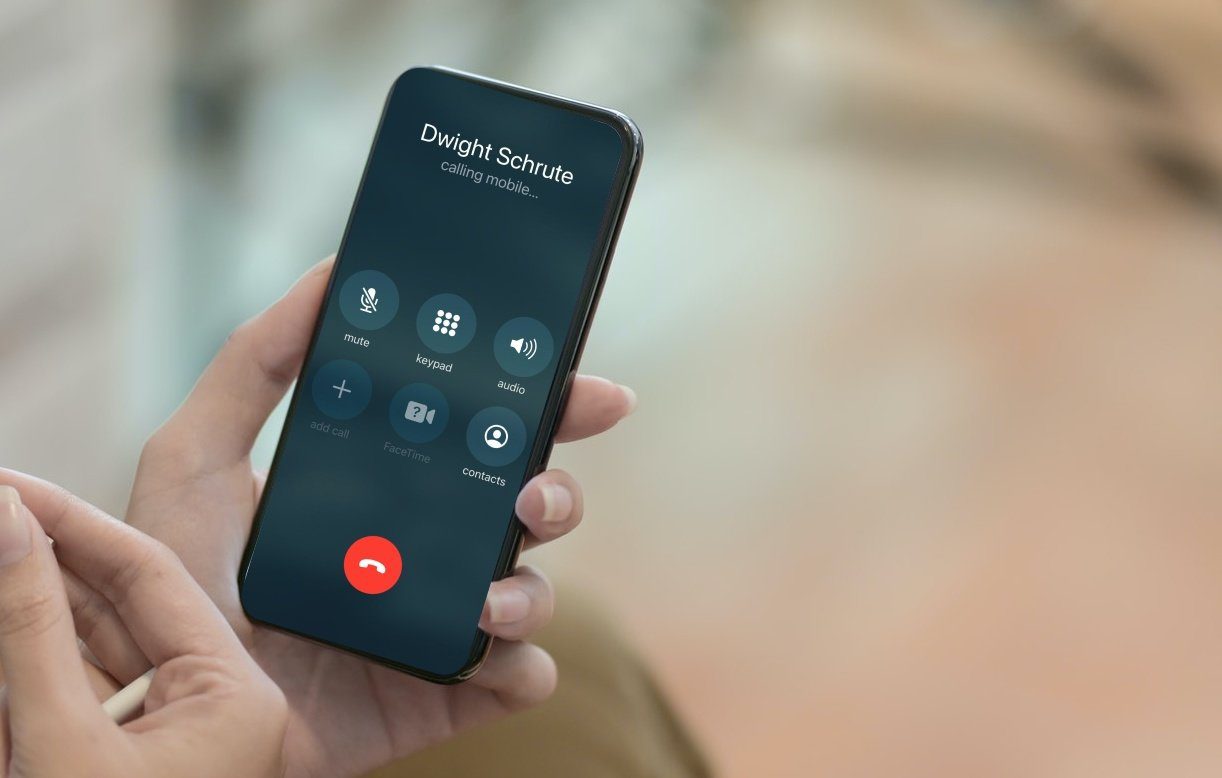
Now, all your contacts will have a full screen caller image. To the ones you applied a custom image, the selected pic will be shown, for the rest, the default image will used. You can change the default image from the settings menu.
Note:The tools also provide options like flip to reject, silent or loudspeaker option.
Conclusion
I’m sure, with all these HD caller images, you will never have to actually read the name of the person calling you. So go on, and try out the app and tell us how it went.
Moreover, if you are bored with just images and ringtone when someone calls you, see how you can apply a video as a video tone for incoming calls in our next article. Stay tuned for that.
See Next: How To Disable or Block Your Caller ID on an iPhoneWas this helpful?
Last updated on 03 February, 2022
Read Next
 How to Make Your Android Announce Caller’s Name or Number
Image by Aaron Amat via Shutterstock.I recently bought a new car with a double DIN Bluetooth stereo system.
How to Make Your Android Announce Caller’s Name or Number
Image by Aaron Amat via Shutterstock.I recently bought a new car with a double DIN Bluetooth stereo system.
 How to Enable, Disable, or Block Your Caller ID on an iPhone
In the era where contact posters boldly show who’s calling, some people like to hide their phone numbers for privacy reasons.
How to Enable, Disable, or Block Your Caller ID on an iPhone
In the era where contact posters boldly show who’s calling, some people like to hide their phone numbers for privacy reasons.
 Top 4 Fixes for iPhone Showing Wrong Caller ID
Picture this: your iPhone rings, and according to the caller ID on the screen, Karen, a colleague from work, is the caller.
Top 4 Fixes for iPhone Showing Wrong Caller ID
Picture this: your iPhone rings, and according to the caller ID on the screen, Karen, a colleague from work, is the caller.
 What Does ‘No Caller ID’ Mean on Any Phone
Mobile phones have made getting in touch with people easier.
What Does ‘No Caller ID’ Mean on Any Phone
Mobile phones have made getting in touch with people easier.
 5 Ways to Fix Windows 10 Full Screen Start Menu Stuck Issue
The Start Menu on Windows has had a long journey.
5 Ways to Fix Windows 10 Full Screen Start Menu Stuck Issue
The Start Menu on Windows has had a long journey.
 How to Open a PDF in Full Screen Mode Using Adobe Acrobat on Windows 11
While exchanging documents and forms, many prefer to convert those files to PDFs.
How to Open a PDF in Full Screen Mode Using Adobe Acrobat on Windows 11
While exchanging documents and forms, many prefer to convert those files to PDFs.
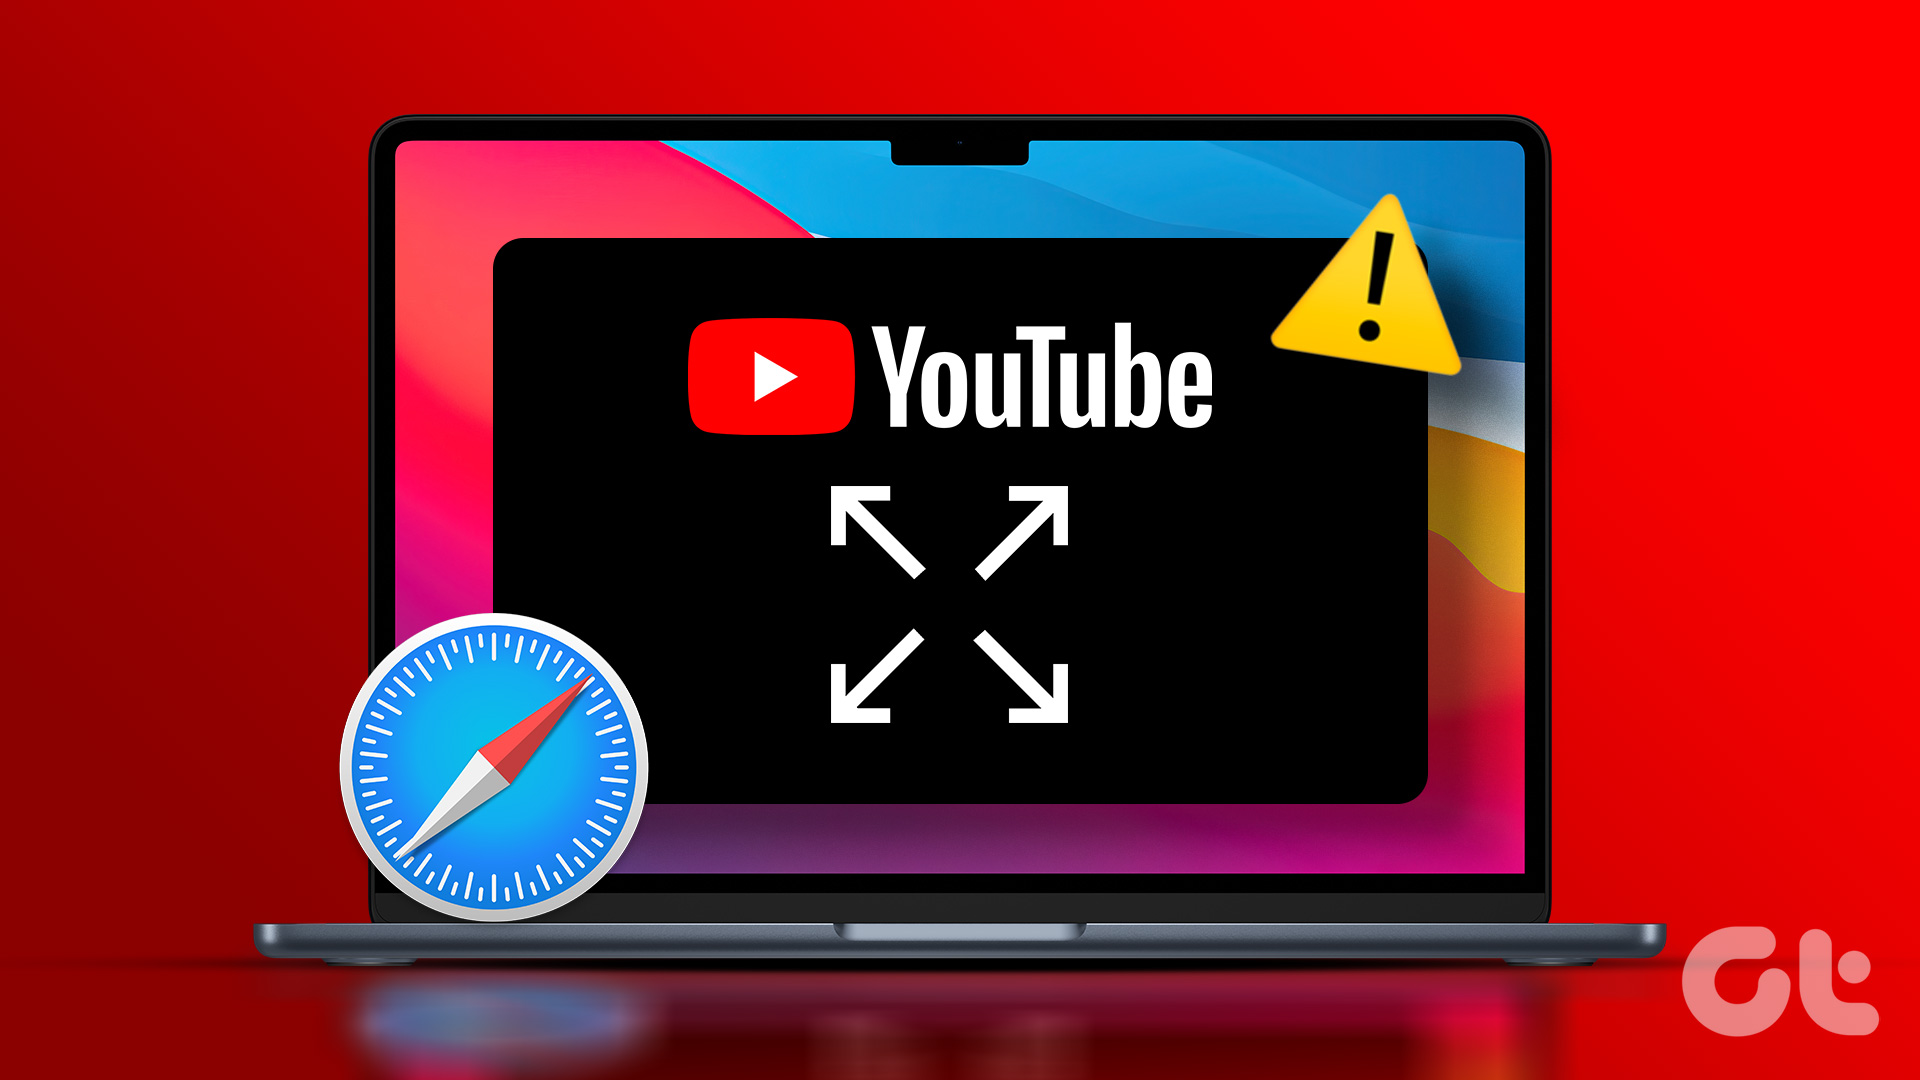 7 Best Fixes for YouTube Video Not Switching to Full Screen in Safari on Mac
YouTube app is fantastic for browsing the platform and streaming videos.
7 Best Fixes for YouTube Video Not Switching to Full Screen in Safari on Mac
YouTube app is fantastic for browsing the platform and streaming videos.
 Top 6 Ways to Fix Games Not Opening in Full Screen on Windows 11
Are you surprised that all the games on Windows computer open in in windowed mode?
Top 6 Ways to Fix Games Not Opening in Full Screen on Windows 11
Are you surprised that all the games on Windows computer open in in windowed mode?
The article above may contain affiliate links which help support Guiding Tech. The content remains unbiased and authentic and will never affect our editorial integrity.